Tag Archives: HOLIDAY

MAKE IT | shibori furoshiki wrapping

SHIBORI FUROSHIKI WRAPPING blackbirdblog TITLE

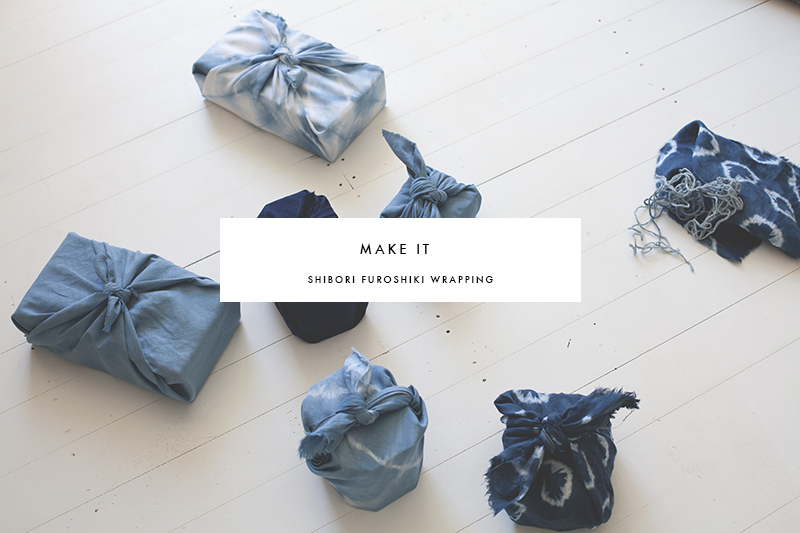
Each year I do a wrapping DIY, I am a wrapping addict, I seriously love it. Last year I made paint splatter wrapping but this year, keeping in theme of both a more sustainable christmas, and my continuing obsession with Indigo, I decided to make Shibori Furoshiki wrapping!

Furoshiki is a traditional wrapping used to wrap and transport everything from clothes to wine. There are so many ways to wrap, but I chose the basic wrap.

Shibori Furoshiki  BLACKBIRD BLOG

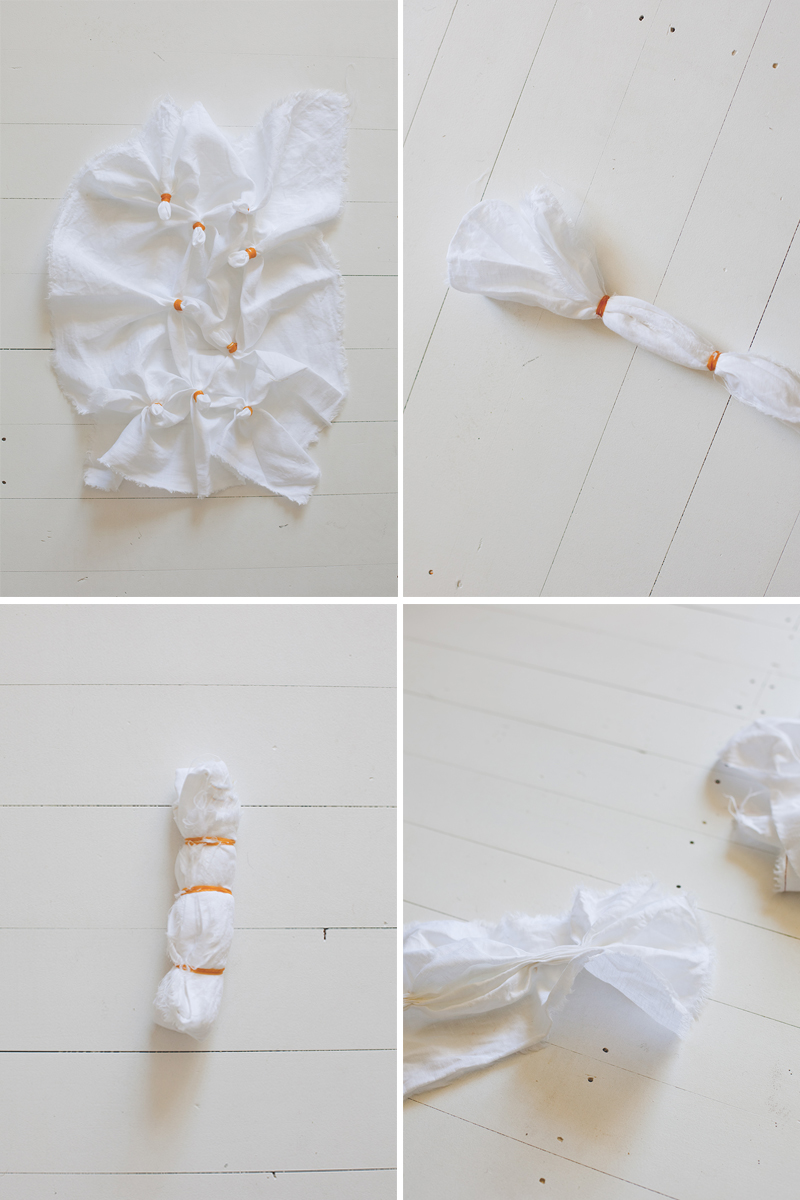
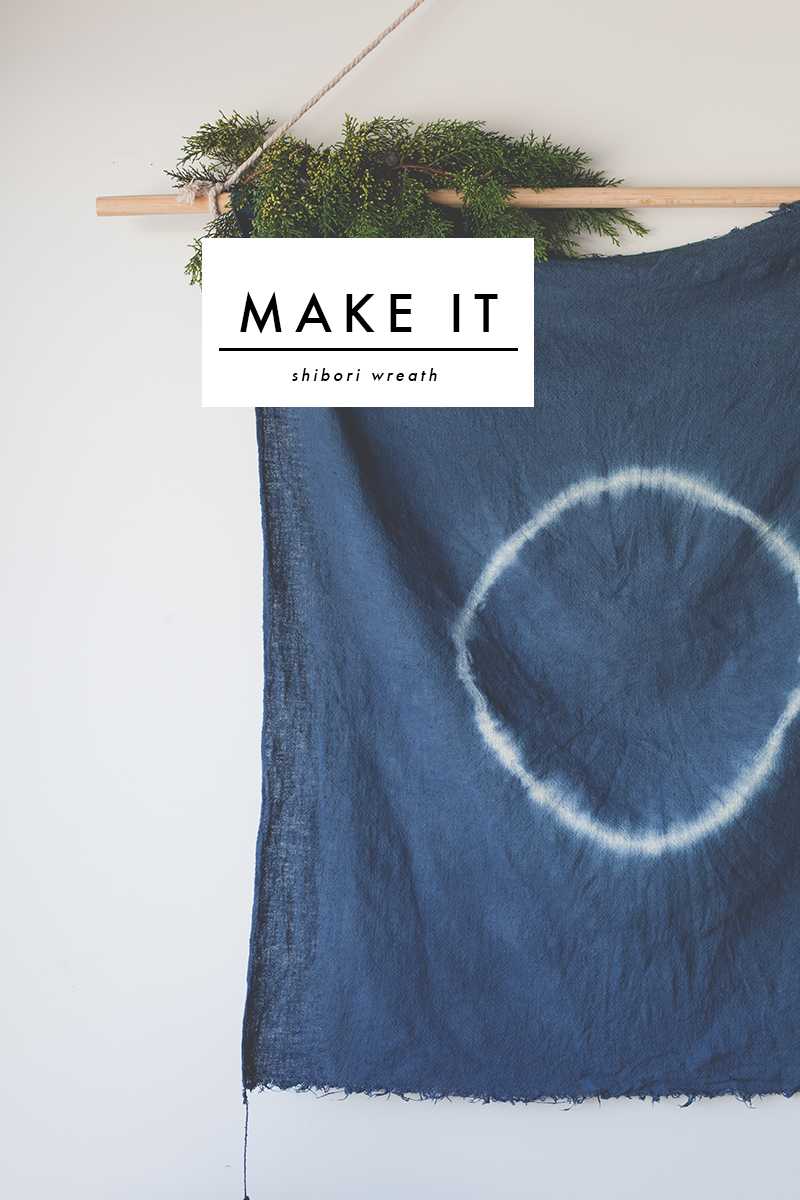
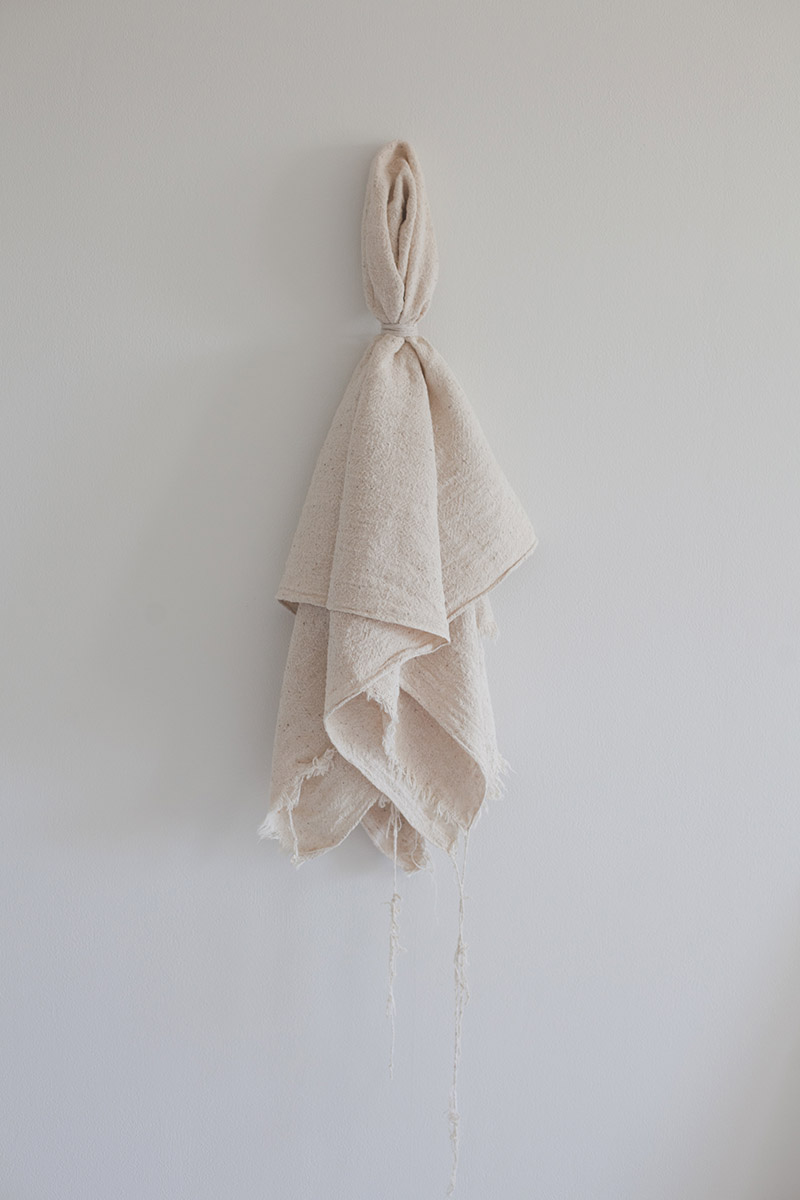
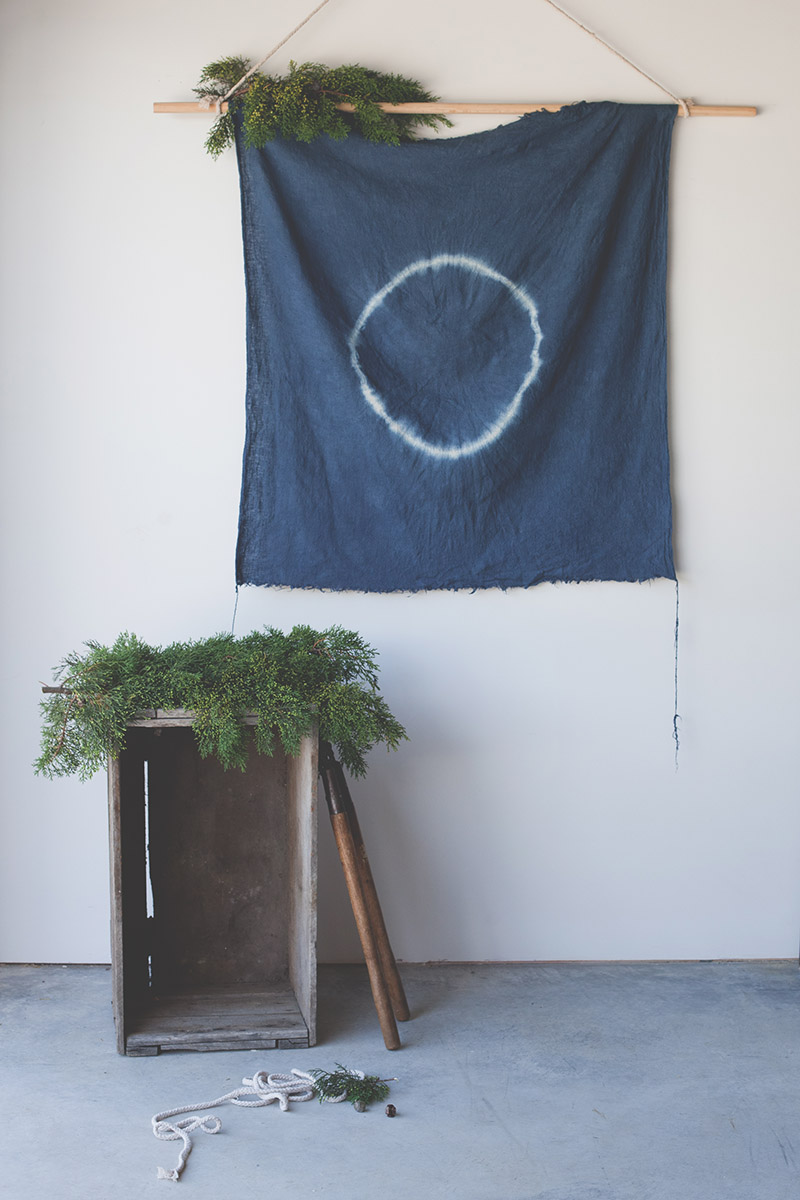
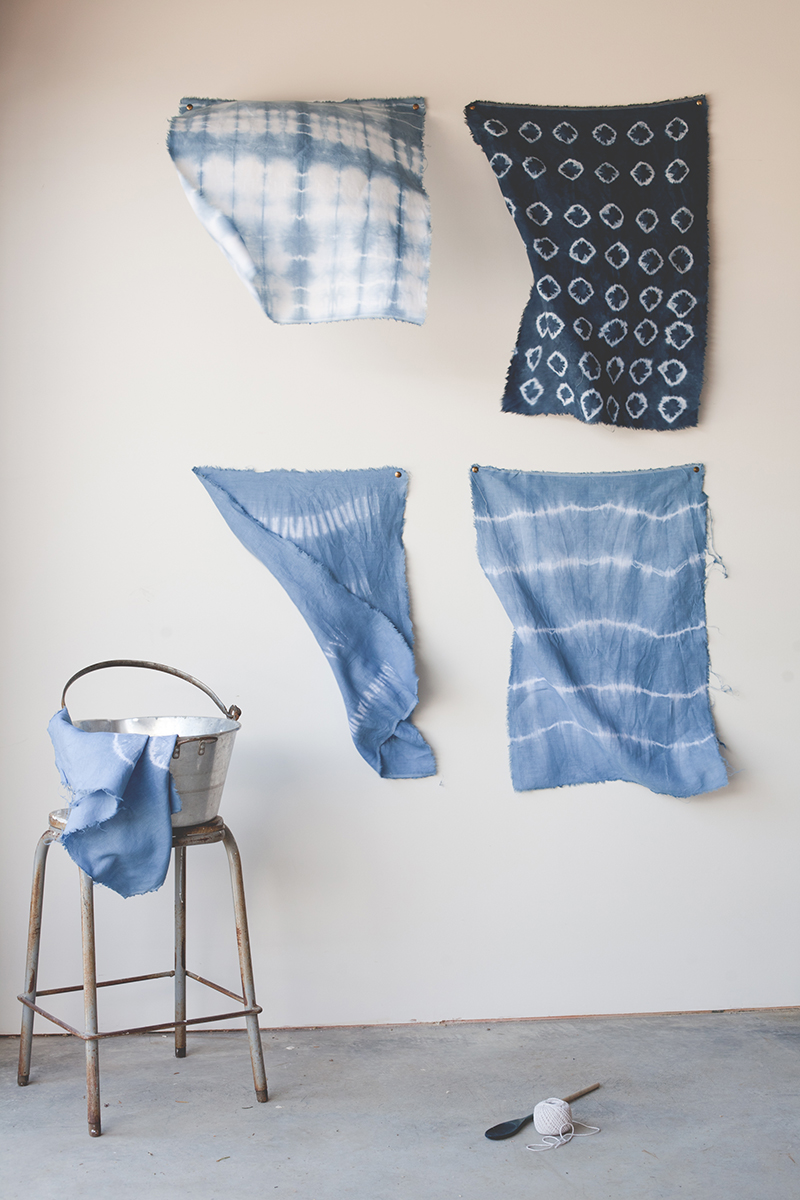
For the shibori, I once again used linen fabric, ripped into 40cm x 68cm rectangles ( traditionally Furoshiki is around 68cm x 68cm ) Then using the same dye and technique as my Shibori Wreath I tied each one differently. One in a ring pattern, simply bunch up a small wad of fabric anywhere on your larger fabric piece, and place a rubber band around it. The areas covered by the rubber bands will create small, abstract rings of white. One in a line pattern, bunching the fabric horizontally, then binding every 5cm. One with an accordion fold then binding, and One pleating and stitching every 10cm. But you can choose whatever technique you want. I also left some plain, using the dregs of the dye for a light shade. Once again letting them to dry in the shade, and finally ripping into squares.

IMG_9709 IMG_9723IMG_9741

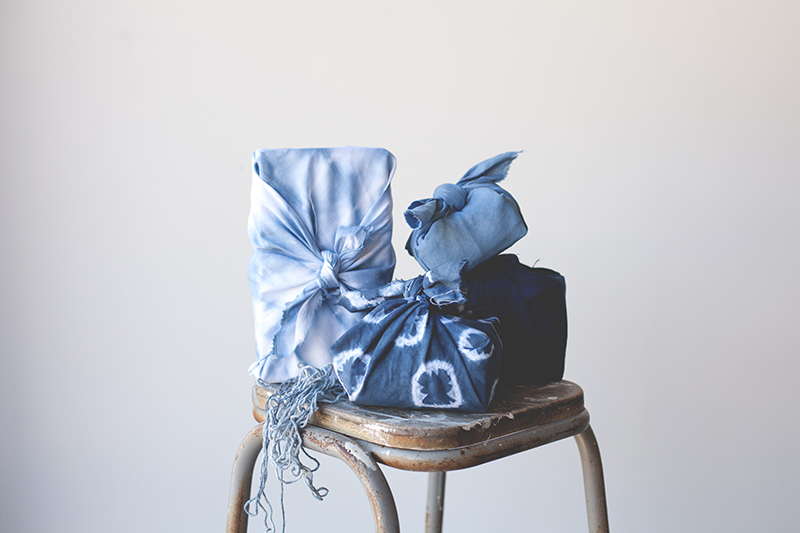
I wrapped following these simple Furoshiki instructions, It is such a great way to give a gift, it feels luxurious and thoughtful, plus they then have a piece of unique fabric to do with as they please!

Happy Wrapping!

Until next time,BlackbirdBLOG signature

MAKE IT | shibori wreath

ShiboriWreathDIYblackbird IMG_9615 IMG_9685 IMG_9695

As I mentioned in my Driftwood Centrepiece DIY, I am trying for a simpler christmas. This year as well as a foraged wreath, I decided to turn my hand to shibori dyeing and make a wall hanging that can last the year as well as the festive season. Plus, a nice alternative for our allergy prone friends!

Once again, this is such a simple idea that has such a big impact. Here’s how to do it..

YOU WILL NEED | Dylons Blue Jeans dye, Water, Salt, String, Metal Bucket, Rubber Gloves, 1m squared cotton, linen or other natural fibre material ( polyesters, and even mixes do not take the dye well and the result is a patchy or dull colour )

I decided to rip and leave the edges raw on mine, but this would be the time to hem if you wanted to.

First off, take your piece or material,  and fold in half, then half again. This will give you your middle point,  pinch the corner and shake the fabric to loosen the folds. Decide how big you would like your ‘wreath’. I chose 30cm from the middle. Once you have decided, measure to chosen point. Holding it firmly, begin to wind your string around tightly. The wider you wind the string the wider the ‘wreath’. Now you are ready to dye! Follow the instructions on your specific dye packet as they may vary. I kept mine submerged for 45 minutes, occasionally turning and moving it. Once dyed, ring out the excess water and dry somewhere out of the sun. DO NOT take the string off until the fabric is dry!

And your done! Time to hang it and enjoy!

Until next time,BlackbirdBLOG signature

MAKE IT | driftwood centrepiece

TITLE

It’s true. I love Christmas. Every year the tree is up on the 1st December and I begin preparing around October. But it’s not all love and mistletoe. I love the festivity, the celebration, the gatherering and the chance to decorate and wrapping presents ( Seriously,  put me in a room with paper, ribbon and empty boxes, I will wrap them. And love it. ). But I am not a fan of the frill, red, white and green, the stress and the need for mass consumption. So this year I am getting back to basics, buying purposefully, and trying to strip it back. Beginning with this centrepiece.

Realistically this is something you could use at any point in the year, it’s simple, understated, doesn’t scream HO HO HO and suuuuuper easy to make. Here’s how.

Driftwood2

YOU WILL NEED :

– Driftwood, or any other wood for that matter, as long as it can sit and not roll over

– Drill

– Appropriate sized drill bit, you want this to be ever so slightly larger than the candle you are using.

– Candles, mine were found in a thrift store, but you can pick  similar candles up at your local emporium.

– Pencil and Blutack

METHOD :

Decide where you want your candles, I chose a random pattern, but you can pick whatever you like. Mark with a pencil indent.

Take your drill with the appopriate sized drill bit ( or get a handy someone to help you )

Drill slowly, straight down. The hole should be around an inch, or around 3cm down. Clean out the saw dust.

Put a small ball of blutack on the bottom of your candle and place in the hole, press firmly.

Done! ( told you it was easy )

Driftwood4

Here is to a simple, low cost, low impact Christmas.

Until next time,BlackbirdBLOG signature

Adventure // Vietnam

title copyIMG_8283 IMG_8264 IMG_7172halongbay3IMG_8060 halongbay IMG_7998IMG_8182IMG_8030 IMG_8051 IMG_8048title copy IMG_7456IMG_7509twoIMG_7440IMG_7441 IMG_7853 IMG_7832 IMG_7637 IMG_7628 IMG_7807 IMG_7808 copy IMG_7547 IMG_7515IMG_7918 IMG_7279 IMG_7235

After being home for over a month I realised it was time to knuckle down and troll through, edit and post something from our Vietnam adventure. So here we are. I will keep it short and sweet and let the pictures do the talking.

Vietnam is like nowhere else we have ever been. We fell completely in love with the place, the people, the land and the food. Spending most of our time in the beautiful Hoi An, eating, drinking, swimming, getting a HEAP of clothes made, riding scooters to Marble Mountain, My Son, Walking the streets of the Old Town and generally not wanting to come home. Bar the humidity ( hence my very puffy faced photos ) I could be pretty happy living there. It was exactly what we needed to heal and to rest.

We cannot wait to go back.

Until next time,BlackbirdBLOG signature