Tag Archives: INTERIOR MAKE OVER

Kitchen Sneak Peek | Giveaway CLOSED

IMG_9091 IMG_9185 IMG_9169 IMG_9180 IMG_9201 IMG_9208

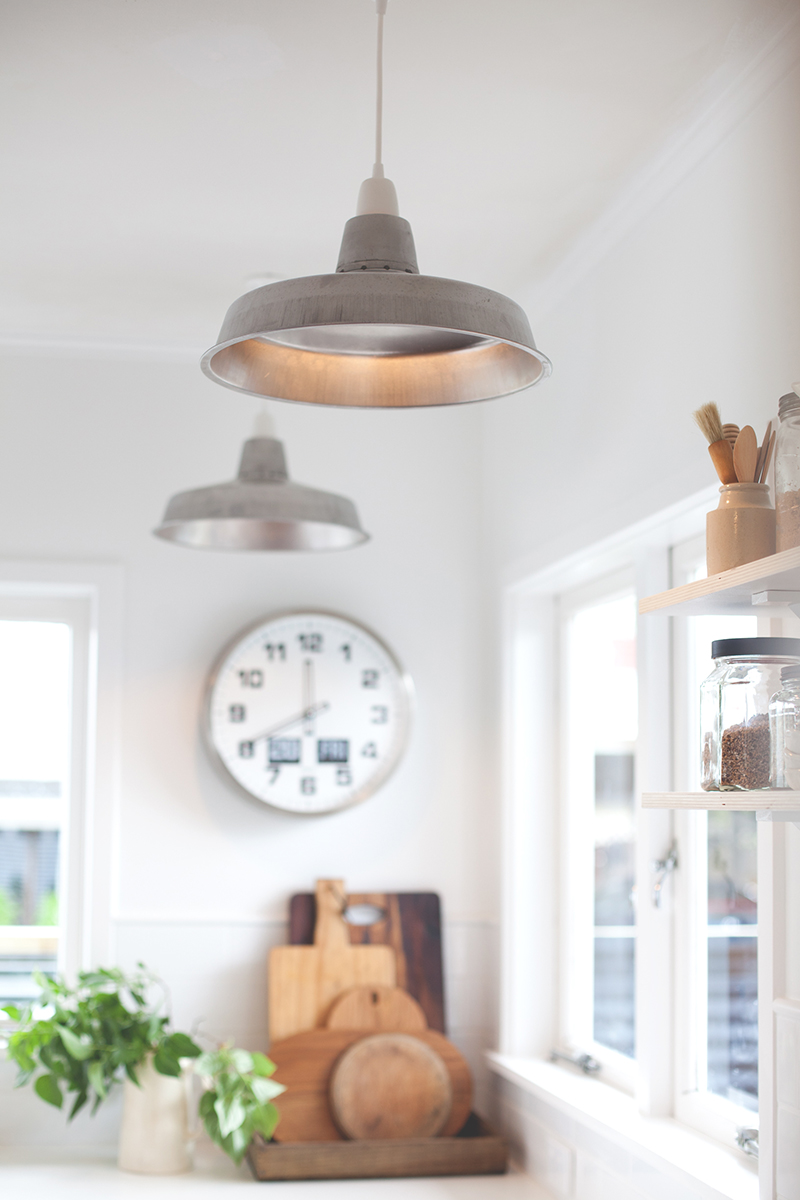
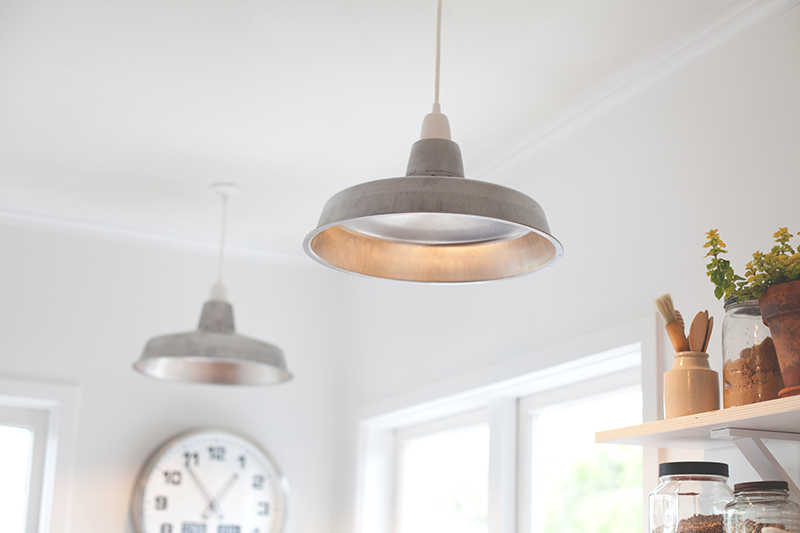
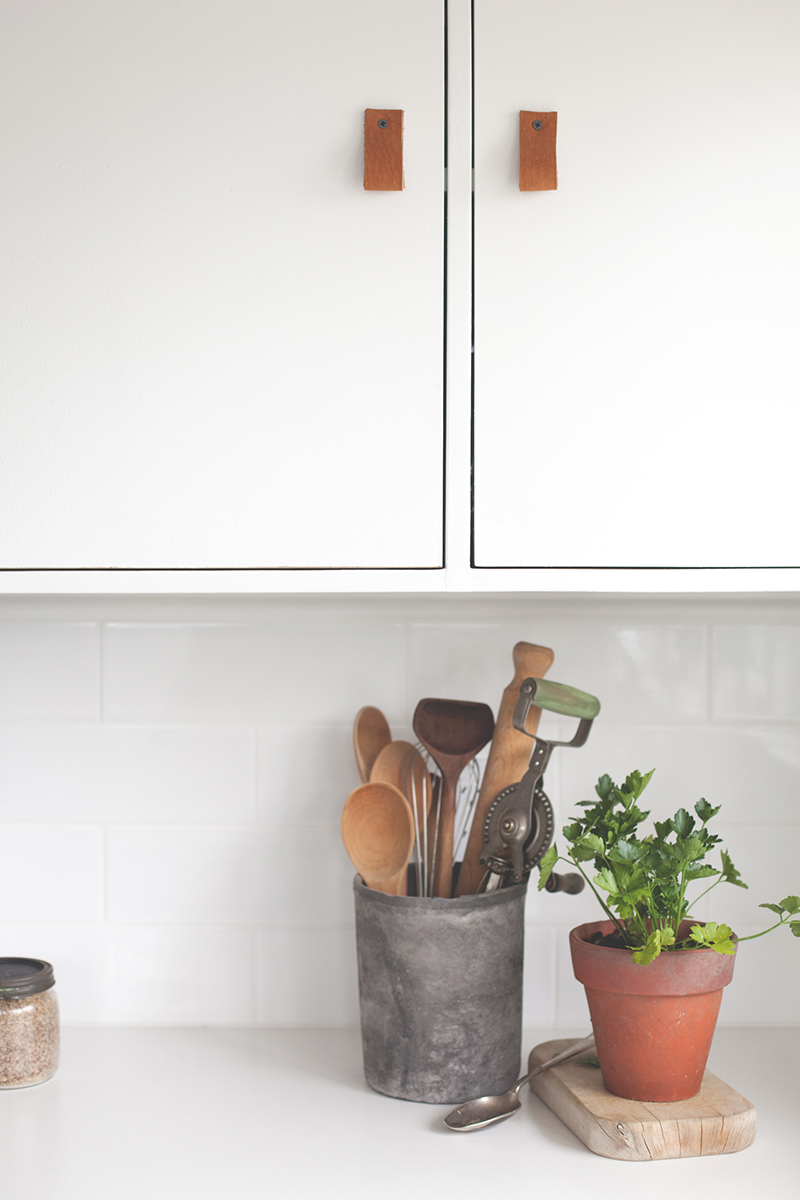
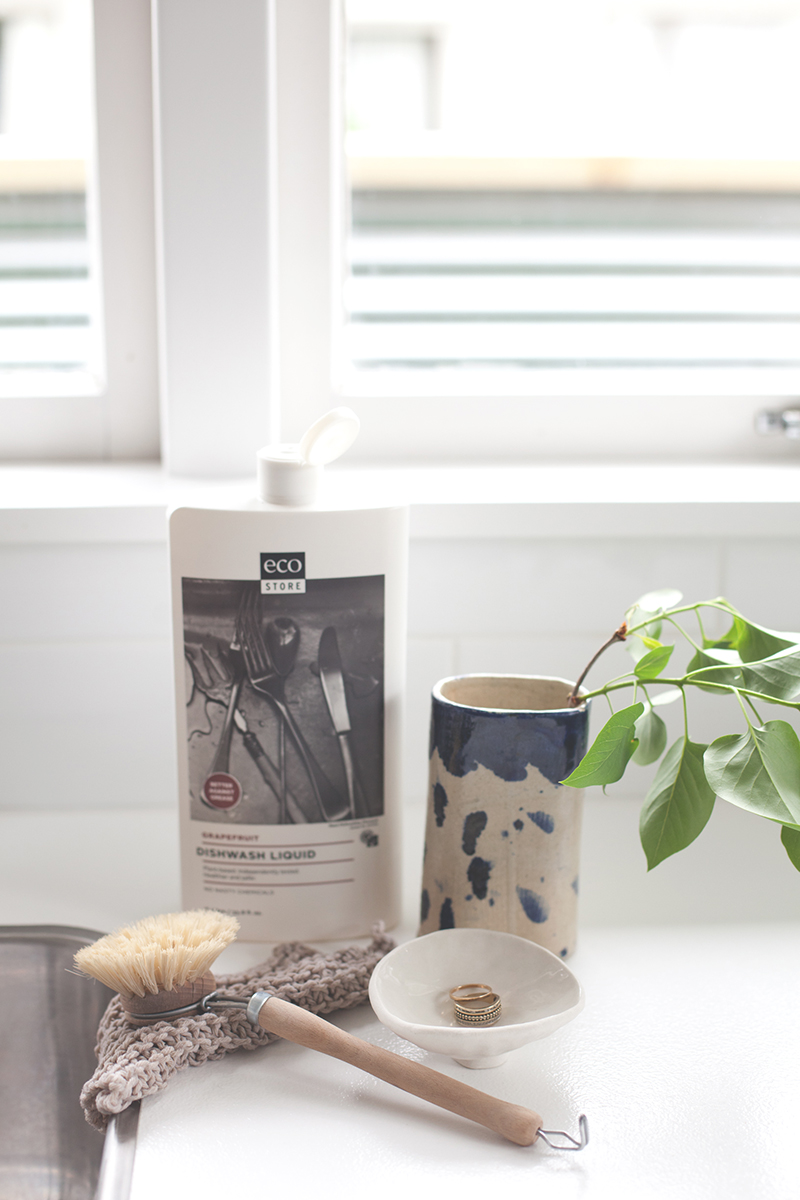
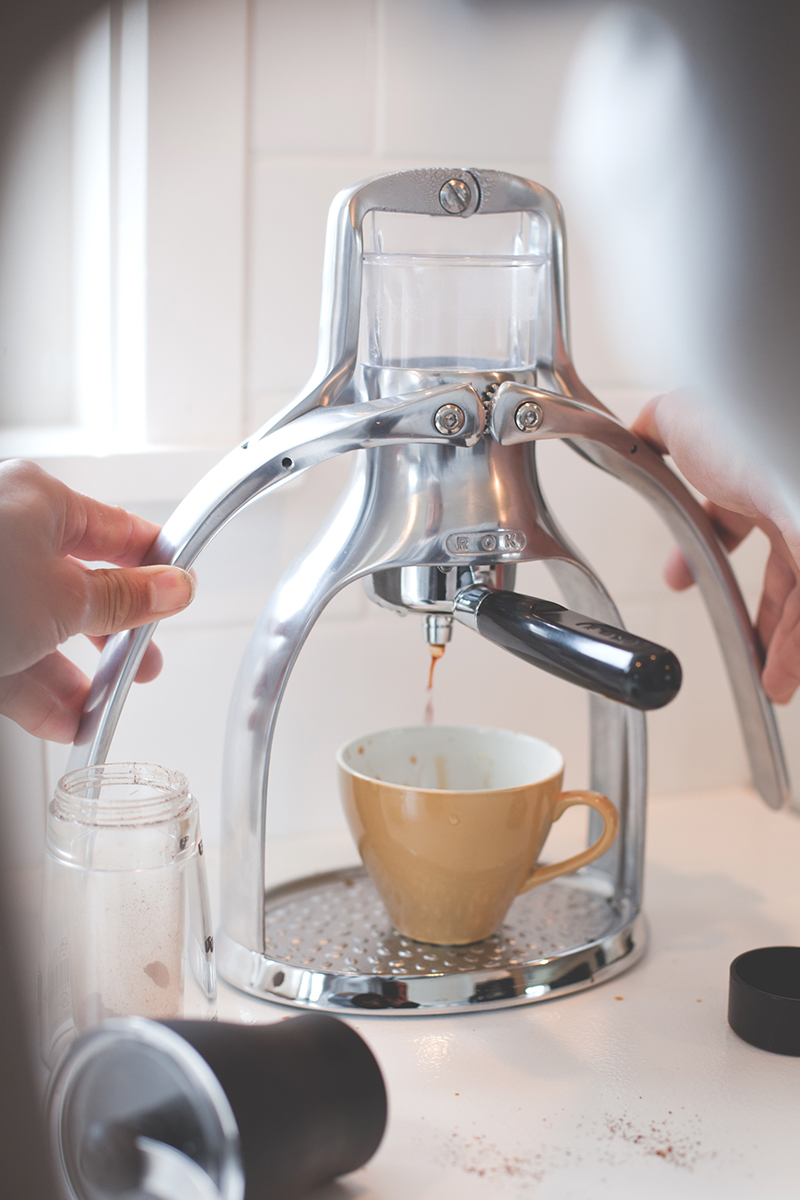
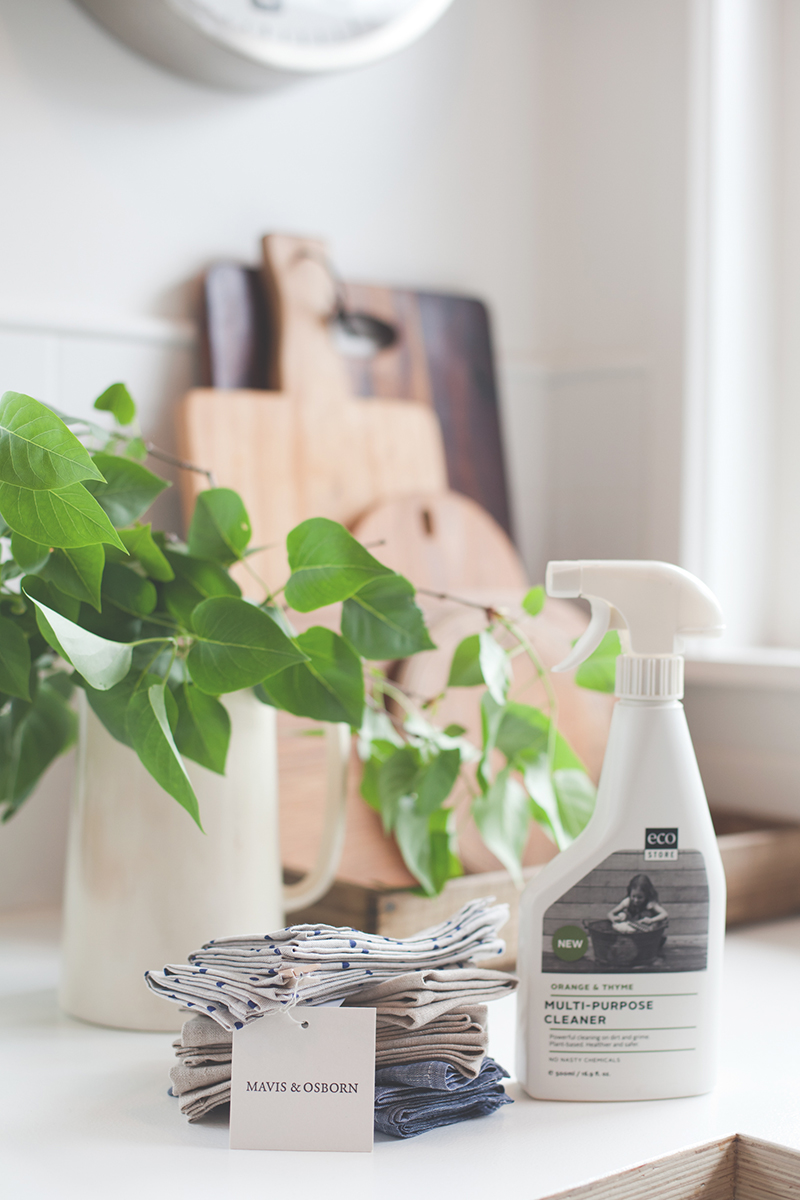
Industrial lights from Kiwi Living | Tea Towels from Mavis & Osborn | Cleaners and brush by Ecostore | Ring dish made by yours truly | Coffee machine by Espresso Unplugged | Leather for pulls from Lapco

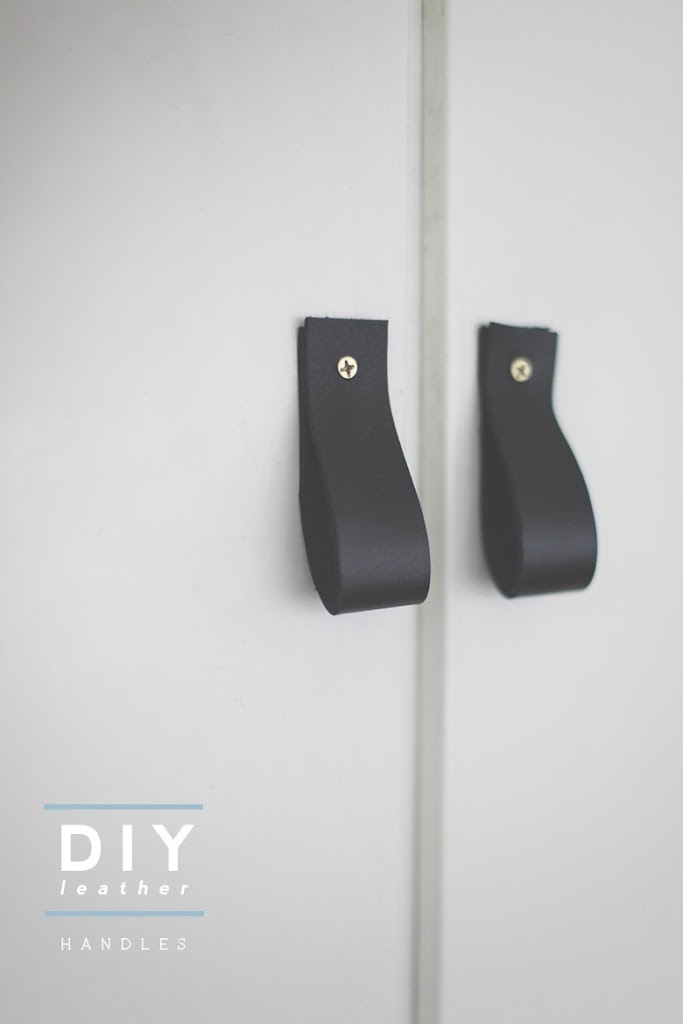
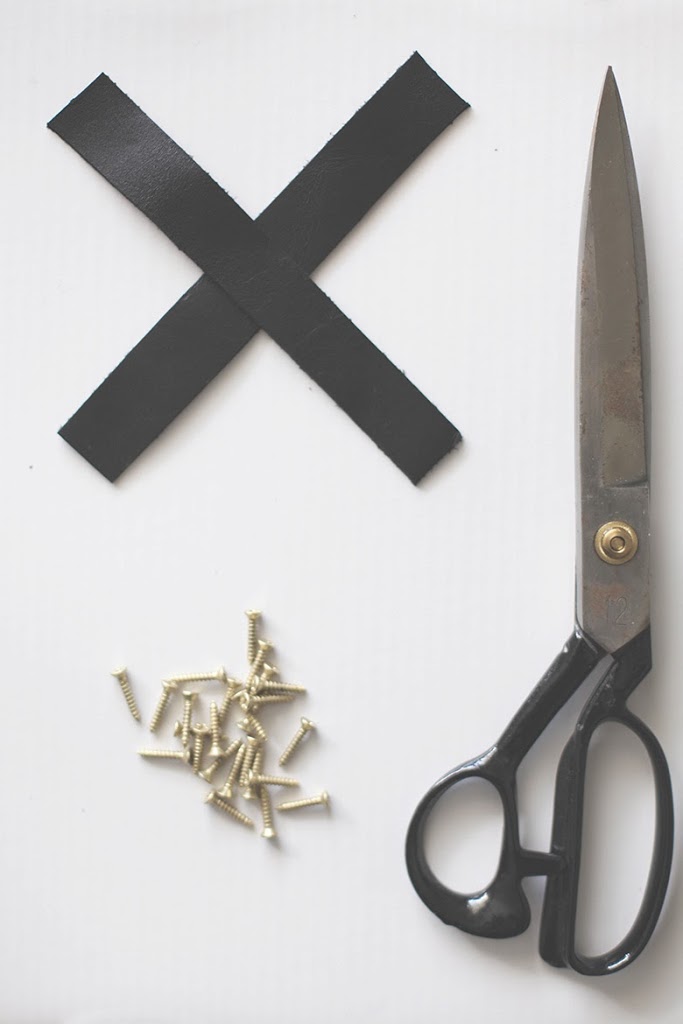
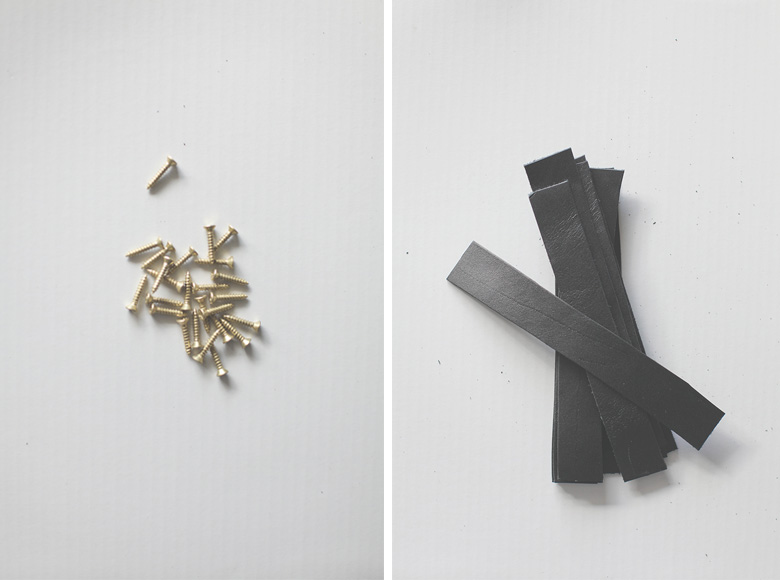
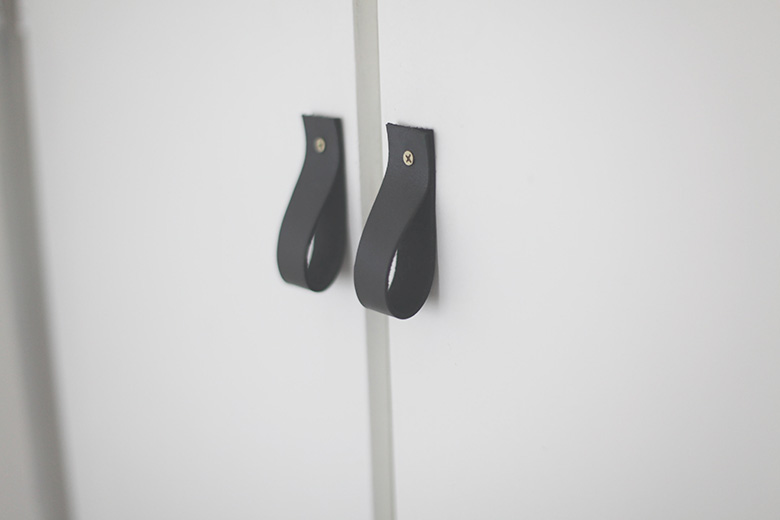
Renovating on a budget is hard at the best of times, let alone when you are living in it too. But the perks are seeing the finishing touches.  Once again we painted every surface white with Resene, this time opting for Double Alabaster. We also chose to make our own handles again and sourced leather from Lapco. The raw industrial lights came from Kiwi Living, the linen tea towels from beautiful Mavis and Osborn, and I finally got my mits on a a Presso from Espresso Unplugged ( delish and silent, perfect )

 So finally it’s done,  and with a bit of elbow grease (and the help of our friends at Ecostore) the grime, dust, tile adhesive and paint that gets EVERYWHERE in renovations was gone and we were able to cook our first meal in our new kitchen.

Also, we have a giveaway! A set of napkins from the delightful Mavis & Osbourn and a few goodies from our pals at Ecostore!

To Enter comment below what you would like most from Mavis & Osbourn and what your favourite Ecostore product is!

Giveaway CLOSED

 Full reveal in Homestyle magazine in the new year!

Good Luck!

Until next time,BlackbirdBLOG signature

MAKE IT // Leather handles

Hands up if you rent? Hands up if your rental is pretty darn ugly? Hands up if you don’t really want to fork out loads of cash, but you don’t know if you will survive all the ugliness?

I hear you. And so does Almost Makes Perfect. ( If you haven’t been reading her blog, you reaaaally should. She is pretty cool if you ask me. And instructions for this DIY are HERE) And here is the answer. Leather pull straps. So.Easy.

Okay, maybe it was really easy because I bought the stuff and then handed it over to the husband. But even if it’s not the easiest, it is a heck of a lot cheaper than buying new handles. So there.

I used leather I got from Lapco and brass screws from Bunnings.

Done! No more ugly handles! Phew.

Until next time
BlackbirdBLOG signature
P.s That husband ah. Bit of a babe.

1 0 1 // Bookshelf Styling

IMG_0400

( above photo is my bookshelf after an overhall! )

Personally I think that every part of a home should be styled. It creates a flow through the house and lets your eyes have a happy little stop over in each place. Starting with the humble bookshelf.

  HERE ARE SOME TIPS ON HOW TO  //

COLOUR CODING // Often a bookshelf looks messy because of all the different coloured jackets. But by grouping them together it looks cohesive and you still get the lovely look of the spines.

STACKING // Try stacking different ways, in a pile, horizontal or even with the ends facing forward.

PROPS // No bookshelf is complete without a few bits & bobs. We all have them around our home, and often it’s hard to find a place for them. The bookshelf is the perfect spot. Old cameras, photos, nic-nacs and vases, anything works.

HATE IT? PAINT IT // Often we are given things, or buy things and our taste changes, but you still love the sentiment of the item. Painting it gives it a new lease of life, so you can put it back on display!

SPACE // Allow space for the items to ‘breathe’, There is no need to push them all together, creating space gives a more ordered and purposeful look.

STORAGE // Remember that not everything needs to be on display, using storage such as wooden or wire crates, decorative boxes and baskets can ‘hide’ things with making them still easily accessible. Then pop them on the shelf and it looks great!

REMEMBER // Inject your own personality into your bookcase, it is a fun place to showcase!

Until next time.

BlackbirdBLOG signature

M A K E I T // dot wall DIY

We, like most, live in a rental. So I am always looking for temporary and affordable options to make the place our own. I have been obsessed over the spotted wall for a while now, and finally got around to doing it. It is one of the easiest, and pretty cheap DIYS.

YOU WILL NEED //

 A pack of quik stik dots, colour of your choice : I got mine from Warehouse Stationary
Blue-tack

Personally I like the more random patterned effect  and spaced out. So I just got on a ladder and started blue-tacking my dots to the wall! You can do it however works for you. Simple, easy, affordable and easily removed!

Perfect.

Until next time.

BlackbirdBLOG signature