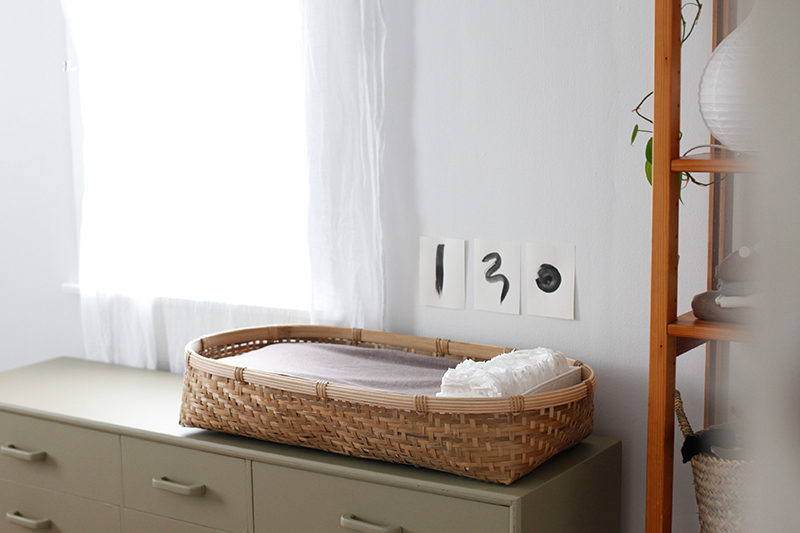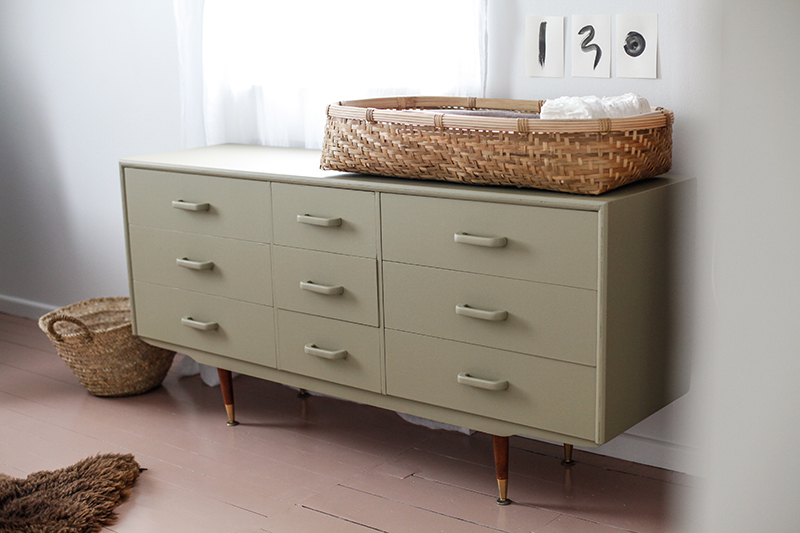


Floor in Resene Rascal, walls in Resene Black White, and change table in Resene Clay Creek | Linen drapes from Ezibuy, Monochromatic prints made by me, Sheepskin, basket on floor and change pad cover from Blackbird Goods, Change basket from Citta, Drawers from Trade Me.
Okay, so I know the previous post I said I was taking a break, buuuuuut here I am. Although I have been on maternity leave since Christmas, It has only really been in the last week I have had the chance to potter and enjoy the last days before babe, yes single digits now, well, until the due date anyway, so really, who knows! We have been getting the babes room ready, and feel grateful to have the time and space to actually get it done, amongst the more pressing renovations, ! And while I wont be sharing the whole space just yet, I wanted to share my latest project, mostly because of the response I got when I posted about it on my Instagram story.
So, change tables, I debated for a while of even having one, but realised I would at least need somewhere to store little clothes etc. So started my search for a versatile, non baby looking change table, that would grow and change with the babe and her needs. And with no luck, I decided it was time to do a little DIY. I scoured Trade Me, and found that blue and lime green ( sheesh ) little number locally. It was the perfect size, simple style, and of course the right price, coming in at a grand total of $80.00. I then went about choosing my paint colour and landed on Resene Clay Creek, a muted and muddied green which I paired with my Resene Rascal floors ( *Quick Tip, when painting floors use Resene Sureseal as a pre paint sealer, stops wood stains and pigments coming through – although get someone else to apply it if you are pregnant, as that stuff is oil based and potent!)
Next up I had to work out how I wanted to use it as a change table. Seeing as I wanted it to change with our soon to arrive child, I wanted something that was easily adaptable and not just have a single use. I decided on a low basket from Citta, my thoughts being this will make a great little toy or blanket storage in the future, then used a natural latex pillow with a pillow protector and Dehei jersey cotton pillow case that I nabbed from our shop. Last but not least I popped an IKEA organiser in, for those bits and pieces.
And done! A movable changing basket and adaptable piece of furniture, tick, tick tick. Now we just need the babe!
x

This is so beautiful Gem, (not that I would have expected anything less!) Also, glad to see you came back with another post ;-) Enjoy these last few days pottering, resting and waiting for your precious wee girl (squeee!) X
Love this! Such a great idea to have such a versatile piece.
Hi Jodine! Thanks! And its one I made!