MADE & MAKING

MAKE IT | shibori dip cushions

titleSHIBORIDIPblackbird

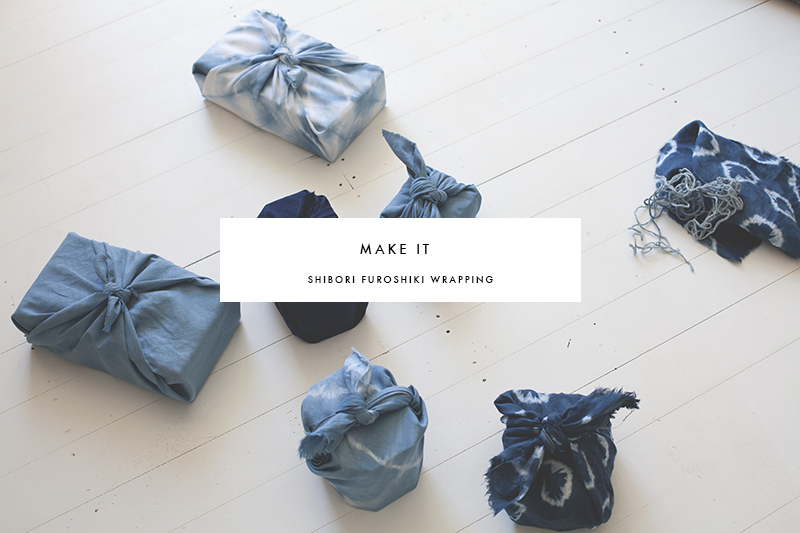
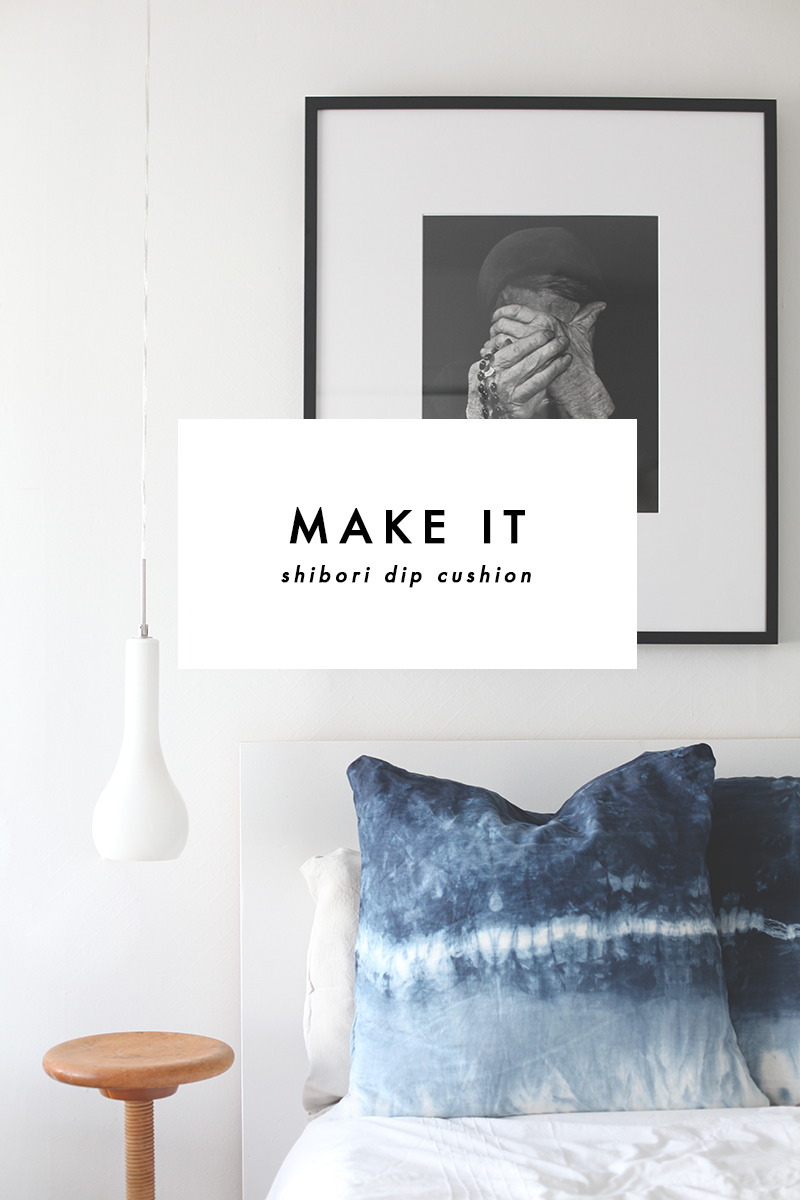
Even as winter rolls in, I am loving this summer shade of indigo. Injecting a little colour into my otherwise neural house is as easy as some beautiful linen cushions and a little dye.

IMG_9183

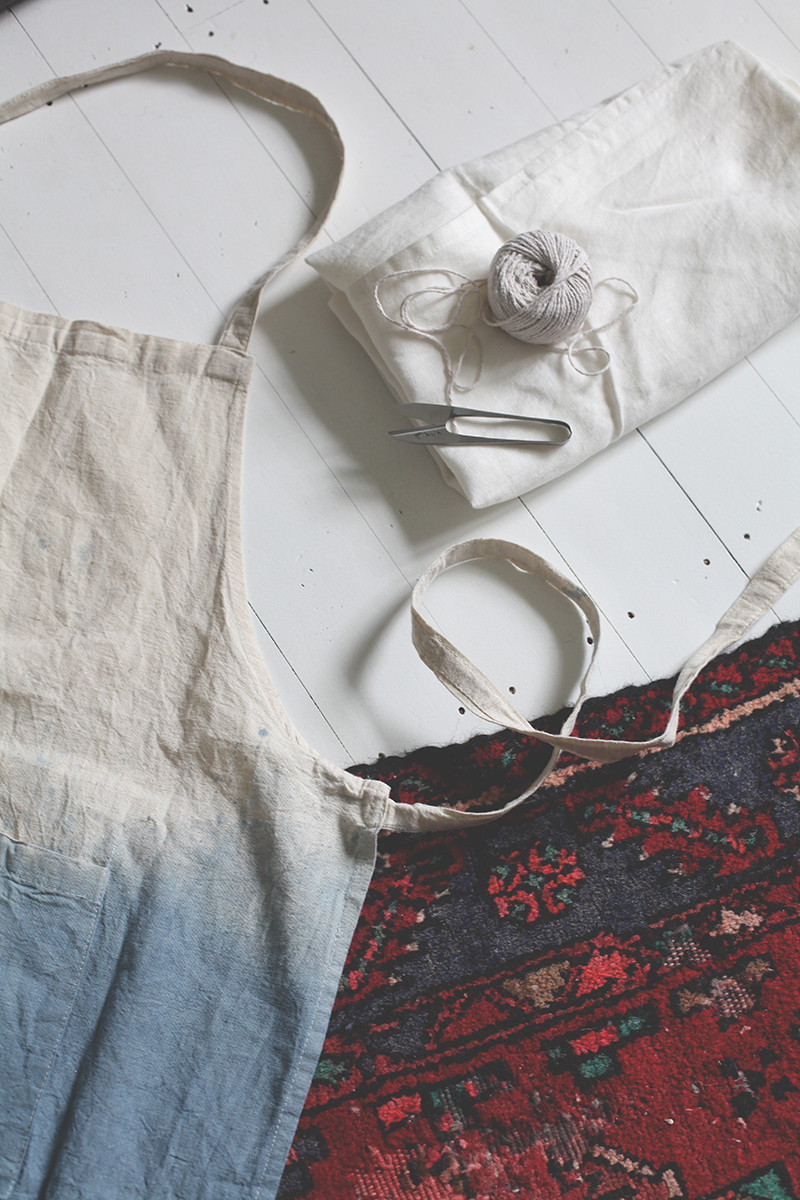
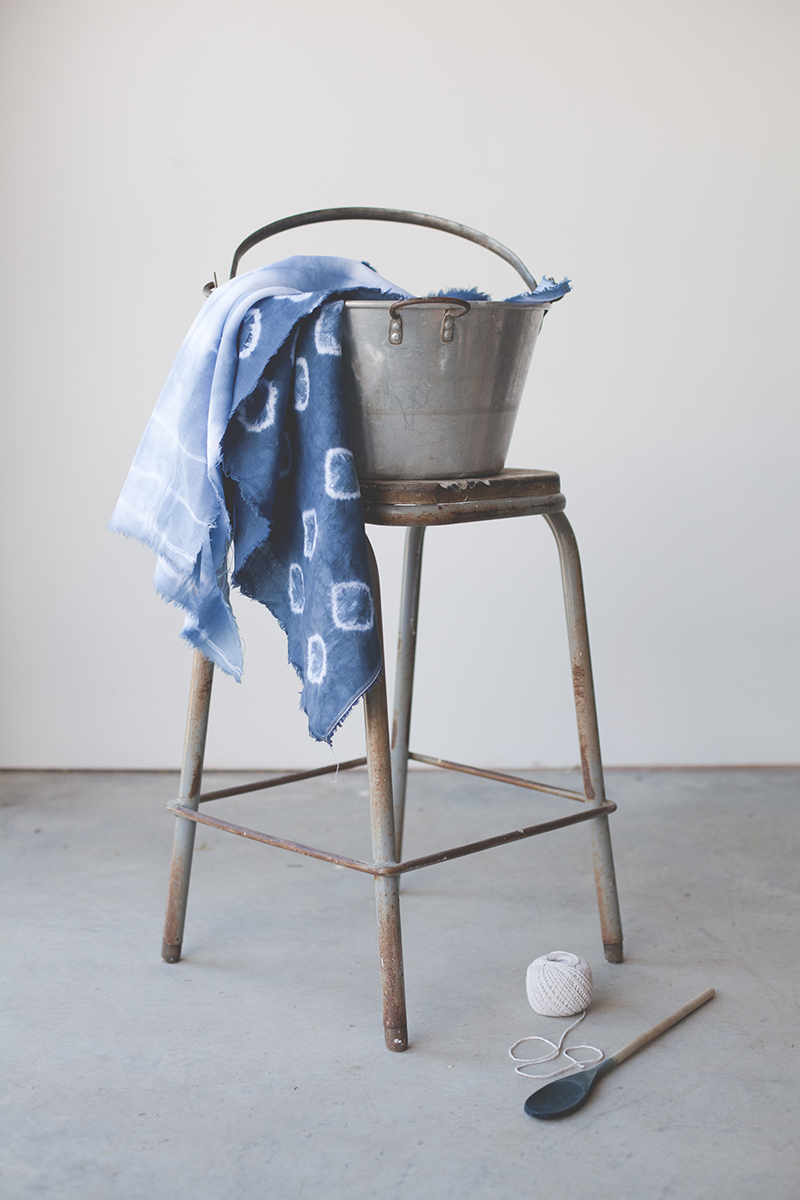
Here is what you will need : Two linen cushion covers – I chose euro size from Citta Design, one packet of Blue Jeans by DYLON Fabric Dye, snips or scissors, salt, string, a couple of buckets and rubber gloves.

IMG_9186

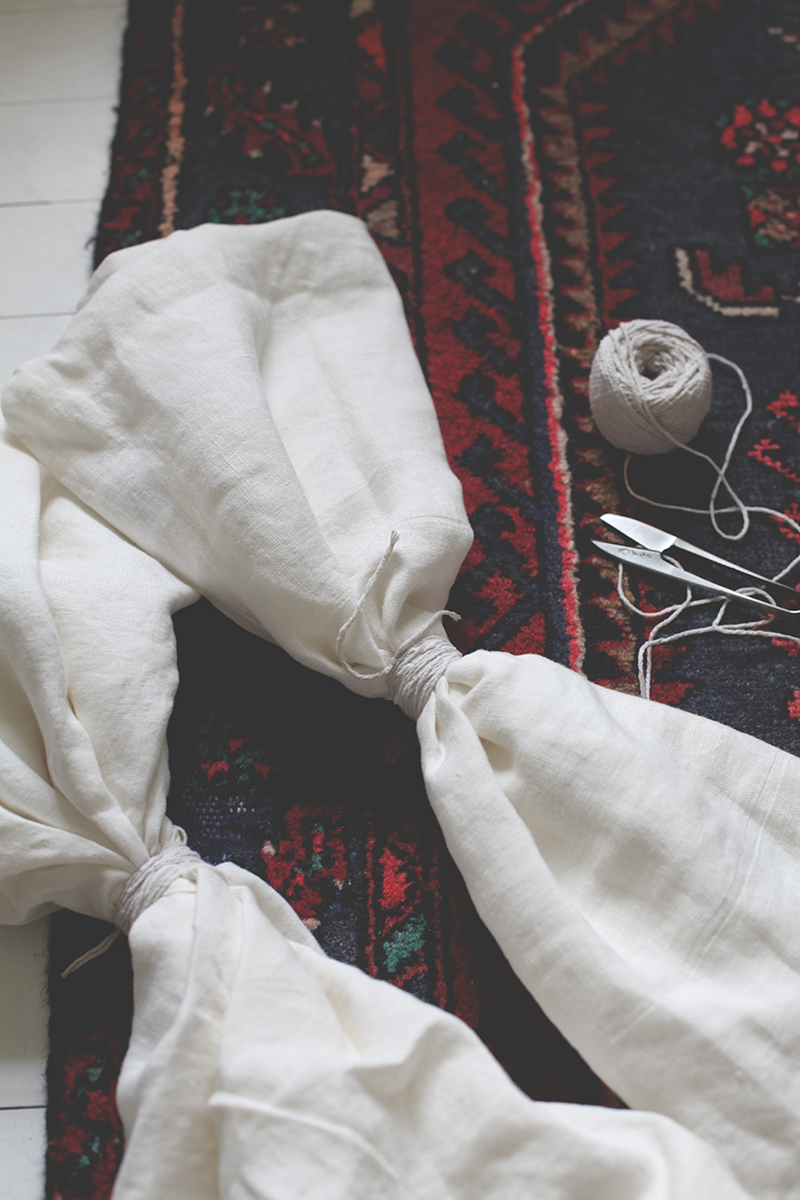
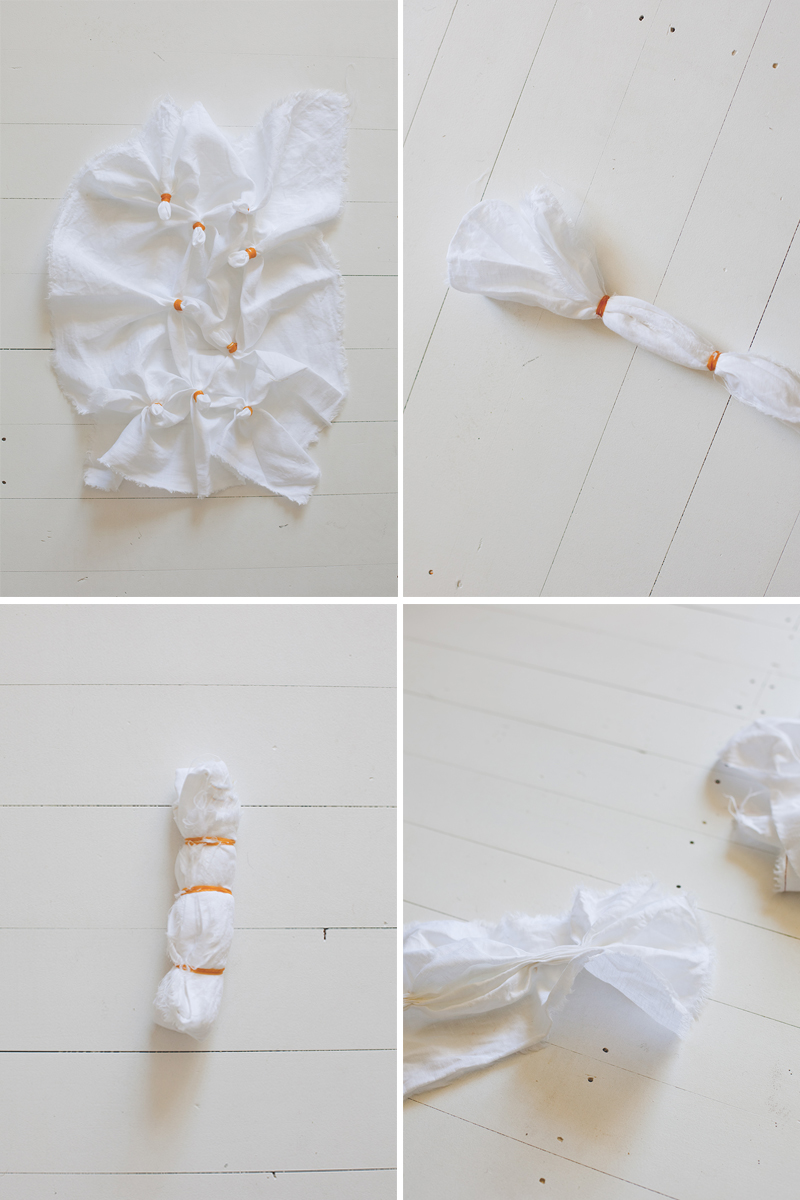
Taking your pre washed cushion covers, simply bunch through the middle and tie firmly with your string. Note : Any gaps in the string will let the dye through, also the tighter you tie it, the less dye that penetrates.

IMG_9193

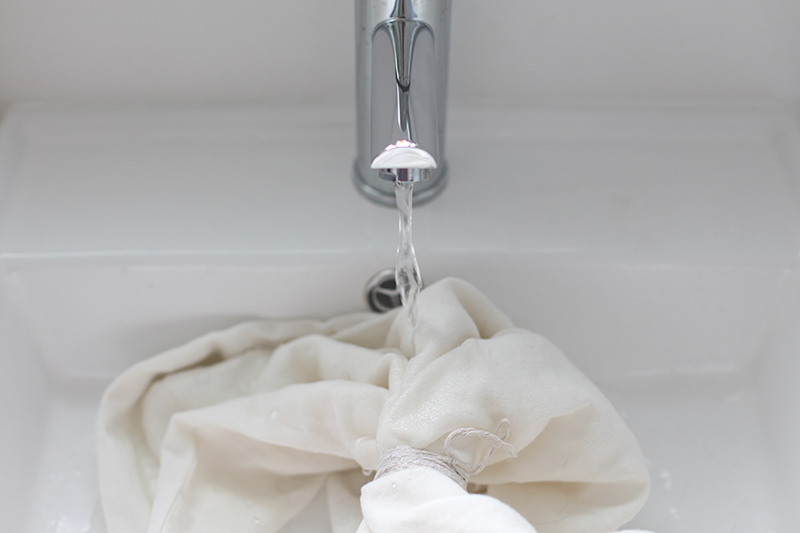
Next,  wet the covers and ring out. This will create more of a gradual line, a dry piece of fabric will have a far blunter transition.

steps

Follow the instructions on your particular dye packet to mix your dye.

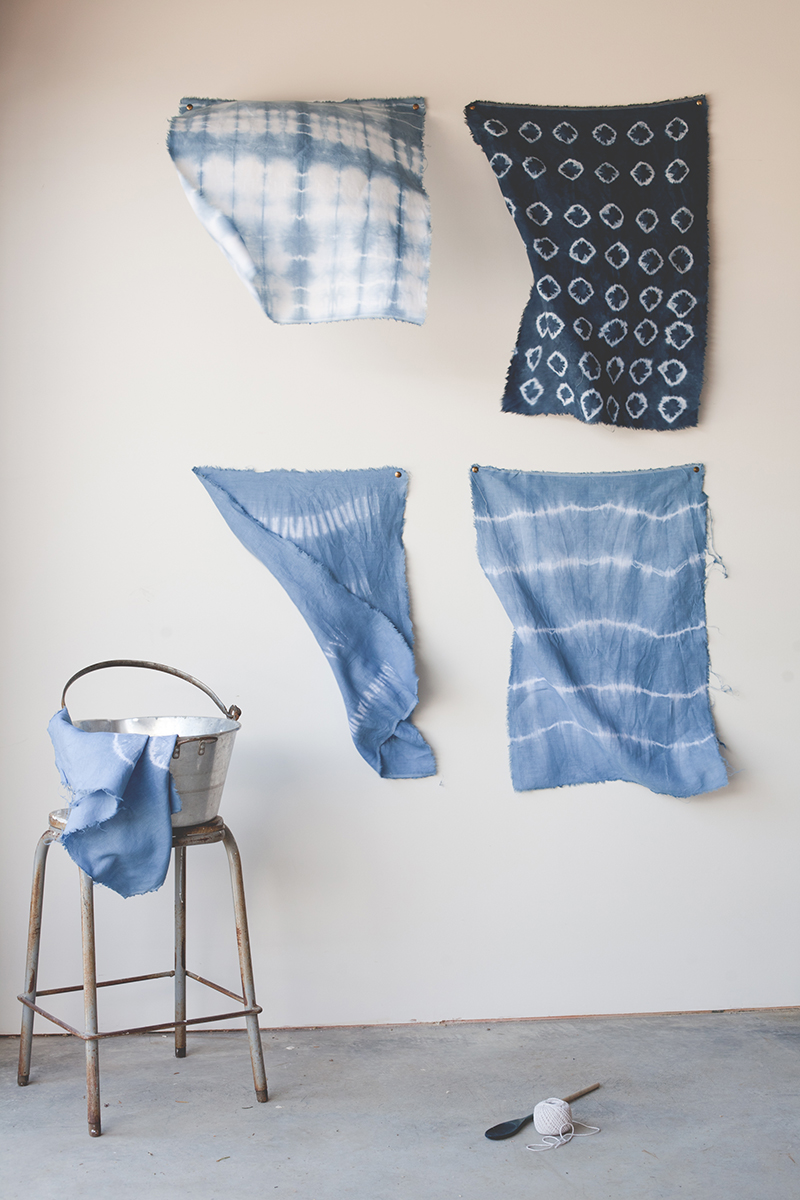
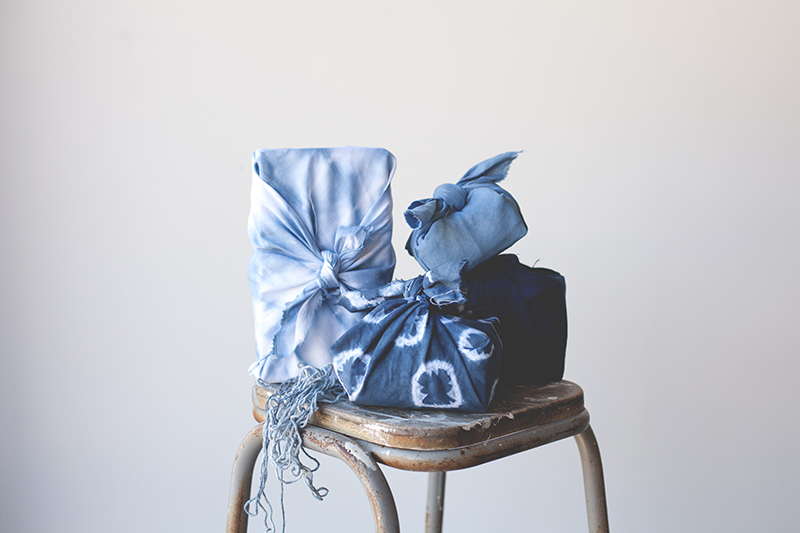
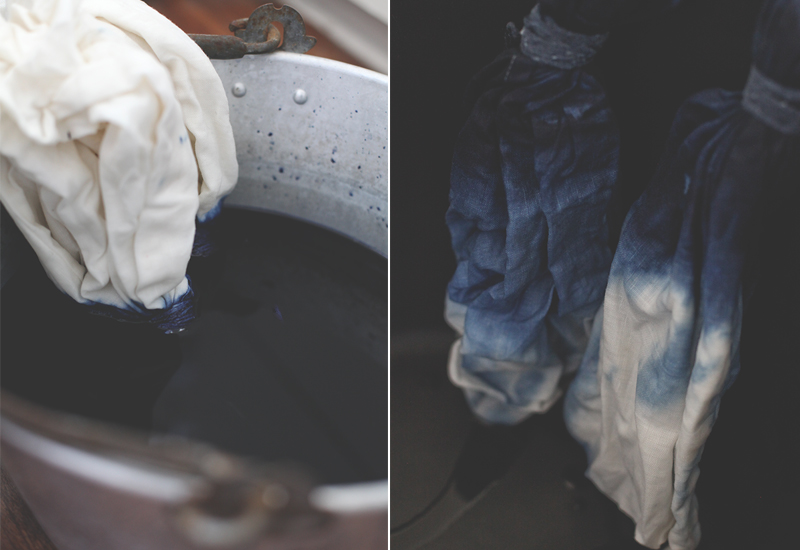
Next,  dip half your cover and allow to soak for 45 minutes . At this stage you can push a little more of the cover under the dye, and soak for another 10 minutes. Lift out and leave them to hang over another bucket with the undyed end at the bottom. Gradually your dye will seep down, the longer you leave it, the more dye fades over the white. Make sure you dry somewhere out of the sun. DO NOT take the string off until the fabric is dry!

IMG_9691

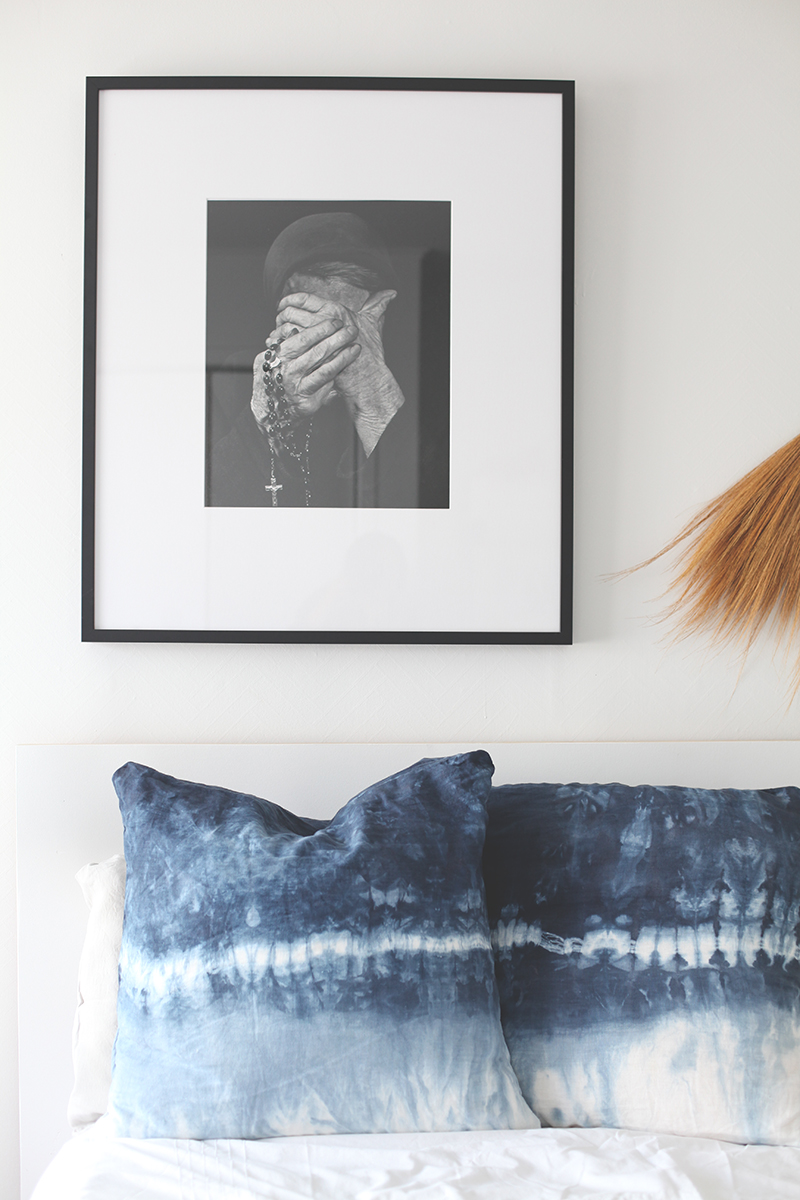
And there you have it! Fresh summer cushion covers all year round!

Until next time

BlackbirdBLOG-signature

MAKE IT | pot holder

blackbirdblogPOTHOLDER

Nothing beats a simple afternoon project to kick off the year right. And I decided to start the year with new pot holders. I used this super simple tutorial from The Purl Bee, with a slight variation at the end.

You will need :

Cotton Fabric – Enough for two rectangles of 20cm wide by 33cm tall, per holder, I chose an indigo plain and stripe from The Fabric Store

Insul-lite – Enough for two rectangles of 20cm wide by 33cm tall, per holder, from Spotlight

Wool wadding – Enough for two rectangles of 20cm wide by 33cm tall, per holder, from Spotlight

Cotton Twill – Enough for 15cm length, per holder, from my local emporium

Needle and thread.

IMG_9632

First off, orient the cotton rectangle so that the long sides are vertical, the short sides are horizontal and the right side is facing up. Next fold the twill tape in half so that the two raw ends meet and there is a half twist in the tape, as shown above. Place the raw ends of the twill tape at the center of the top short side of the cotton rectangle. Place the wool rectangle, wrong side up, on top of the cotton rectangle, making sure that the twill tape stays in place. Then place the lining on top of these layers and pin all three layers together along all four edges. Using your machine’s walking foot and a 1cm seam allowance, sew all the layers together along both long sides and the top short side (including the twill tape), leaving the bottom short edge unsewn.

IMG_9636

 Turn the hot pad right sides out. The cotton will be on one side, the lining will be in the center, and the wool will be on the other side. Pin the bottom with the raw edges facing inward, and hand or machine sew the bottom closed. Then mark out where you want your stitching to be, I decided to machine sew mine in an X.

IMG_9639

IMG_9648

And you’re done!

Happy making!

Until next time,BlackbirdBLOG signature

MAKE IT | orange ornaments

DehydratedornamentsBLACKBIRDBLOG IMG_9767 IMG_9770 IMG_9779

Every year I decide on my new Christmas ‘theme’ and hunt high and low for the right decorations, as well as try my hand at making a few.  And the next year, I don’t like them anymore and I generally give them to the op shop. So this year on my quest for a more thoughtful Christmas I decided enough was enough.

After reading this article again in Kinfolk

“Instead of buying a bunch of meaningless ornaments just for the sake of having something to hang, let them accumulate over time so they have real stories and significance attached to them. In the meantime, adorn your home with more temporary accoutrements such as leafy satsumas, or fragrant oranges “

It resonated with me, and so I decided to do just that.

I used two oranges, cutting them around half a centimeter thick, nice and even. I then took a baking tray, lined it with grease proof paper (otherwise they stick like no bodies business) and popped the oranges on. With the oven at 120 degrees celsius, I put them in and waited. Mine seemed to dehydrate in around 2 hours. Make sure to turn them a few times or they will stick a little. I then used cotton thread and made a loop to hang them from. And that was it! Unbelievably easy.

So this year our tree holds copper lights, wooden nut crackers I bought in America the first year we were married, and dehydrated oranges.   Simple, but quite pretty really.

Until next time,BlackbirdBLOG signature

MAKE IT | shibori furoshiki wrapping

SHIBORI FUROSHIKI WRAPPING blackbirdblog TITLE

Each year I do a wrapping DIY, I am a wrapping addict, I seriously love it. Last year I made paint splatter wrapping but this year, keeping in theme of both a more sustainable christmas, and my continuing obsession with Indigo, I decided to make Shibori Furoshiki wrapping!

Furoshiki is a traditional wrapping used to wrap and transport everything from clothes to wine. There are so many ways to wrap, but I chose the basic wrap.

Shibori Furoshiki  BLACKBIRD BLOG

For the shibori, I once again used linen fabric, ripped into 40cm x 68cm rectangles ( traditionally Furoshiki is around 68cm x 68cm ) Then using the same dye and technique as my Shibori Wreath I tied each one differently. One in a ring pattern, simply bunch up a small wad of fabric anywhere on your larger fabric piece, and place a rubber band around it. The areas covered by the rubber bands will create small, abstract rings of white. One in a line pattern, bunching the fabric horizontally, then binding every 5cm. One with an accordion fold then binding, and One pleating and stitching every 10cm. But you can choose whatever technique you want. I also left some plain, using the dregs of the dye for a light shade. Once again letting them to dry in the shade, and finally ripping into squares.

IMG_9709 IMG_9723IMG_9741

I wrapped following these simple Furoshiki instructions, It is such a great way to give a gift, it feels luxurious and thoughtful, plus they then have a piece of unique fabric to do with as they please!

Happy Wrapping!

Until next time,BlackbirdBLOG signature