
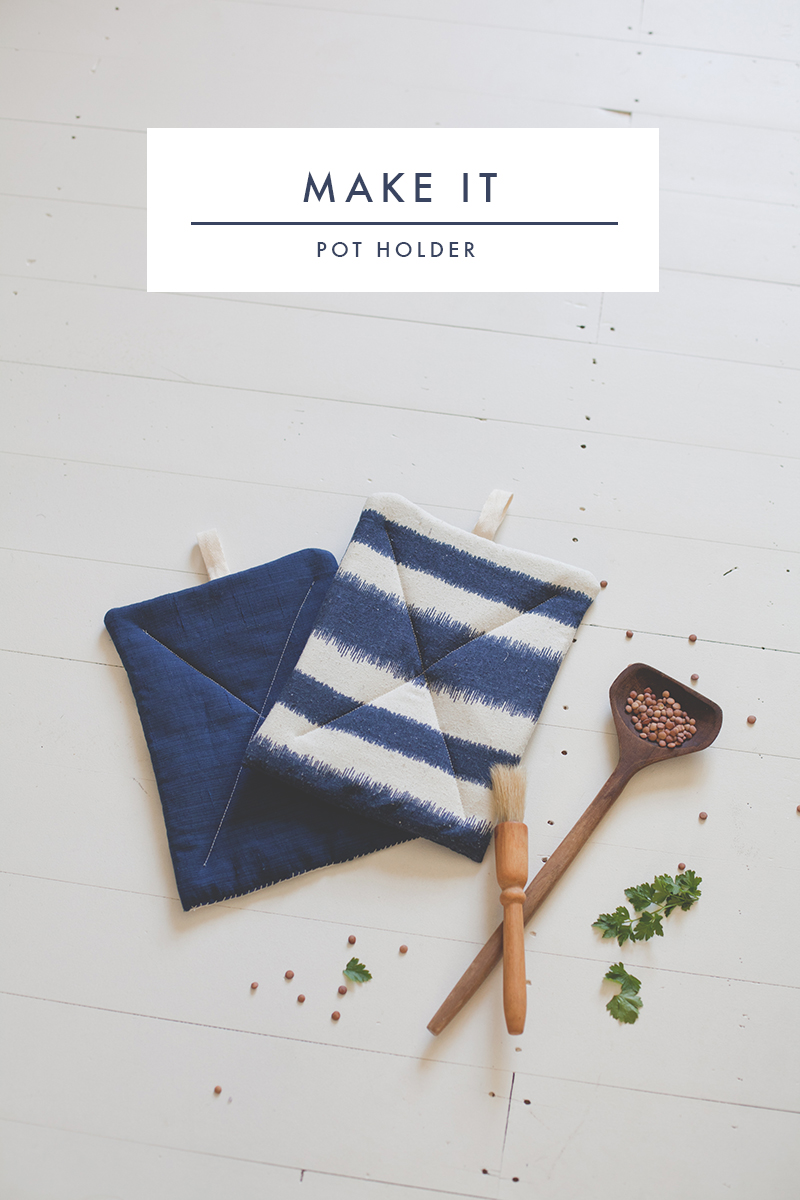
Nothing beats a simple afternoon project to kick off the year right. And I decided to start the year with new pot holders. I used this super simple tutorial from The Purl Bee, with a slight variation at the end.
You will need :
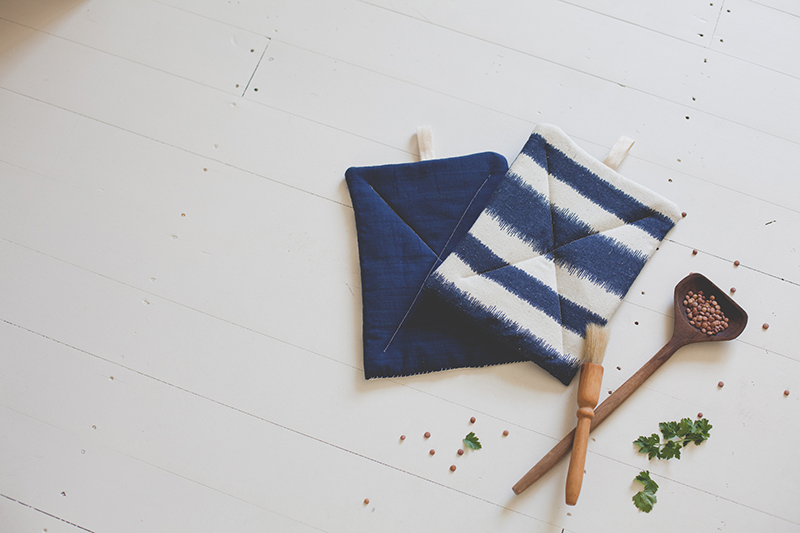
Cotton Fabric – Enough for two rectangles of 20cm wide by 33cm tall, per holder, I chose an indigo plain and stripe from The Fabric Store
Insul-lite – Enough for two rectangles of 20cm wide by 33cm tall, per holder, from Spotlight
Wool wadding – Enough for two rectangles of 20cm wide by 33cm tall, per holder, from Spotlight
Cotton Twill – Enough for 15cm length, per holder, from my local emporium
Needle and thread.
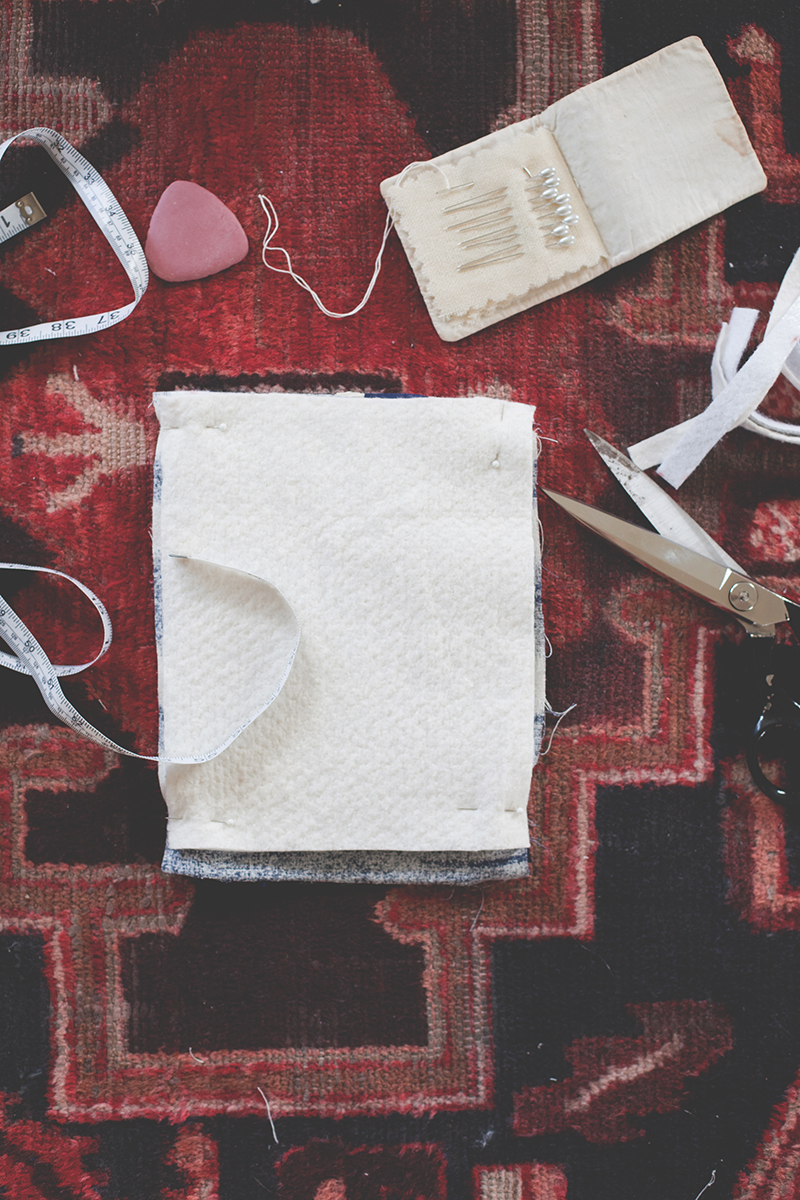
First off, orient the cotton rectangle so that the long sides are vertical, the short sides are horizontal and the right side is facing up. Next fold the twill tape in half so that the two raw ends meet and there is a half twist in the tape, as shown above. Place the raw ends of the twill tape at the center of the top short side of the cotton rectangle. Place the wool rectangle, wrong side up, on top of the cotton rectangle, making sure that the twill tape stays in place. Then place the lining on top of these layers and pin all three layers together along all four edges. Using your machine’s walking foot and a 1cm seam allowance, sew all the layers together along both long sides and the top short side (including the twill tape), leaving the bottom short edge unsewn.
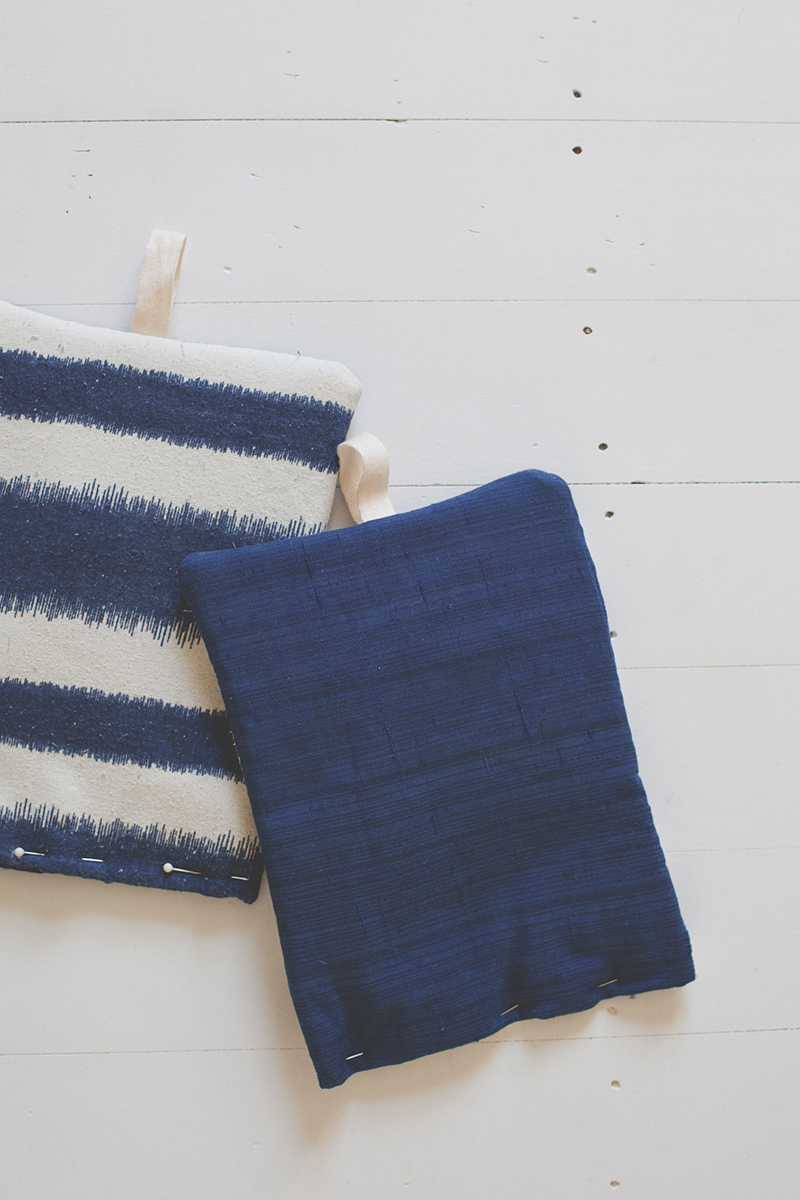
Turn the hot pad right sides out. The cotton will be on one side, the lining will be in the center, and the wool will be on the other side. Pin the bottom with the raw edges facing inward, and hand or machine sew the bottom closed. Then mark out where you want your stitching to be, I decided to machine sew mine in an X.
And you’re done!
Happy making!
Until next time,