MADE & MAKING

MAKE IT | shibori wreath

ShiboriWreathDIYblackbird IMG_9615 IMG_9685 IMG_9695

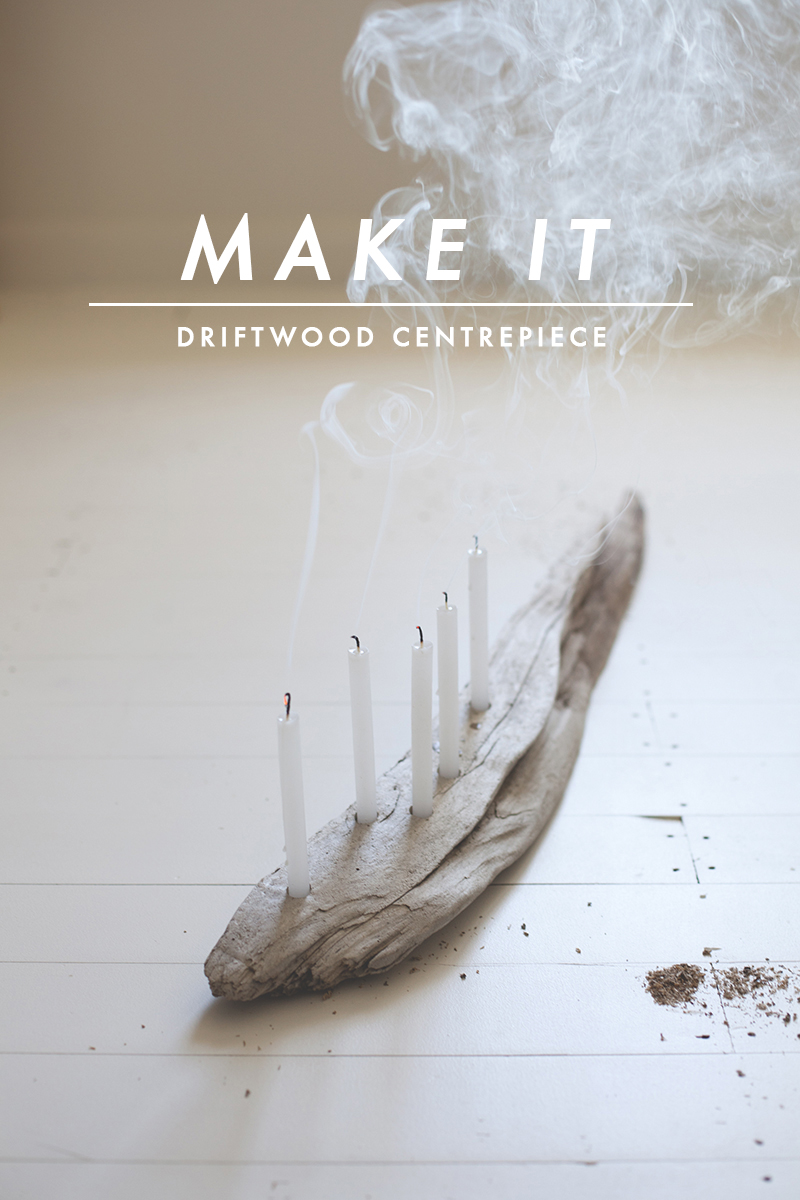
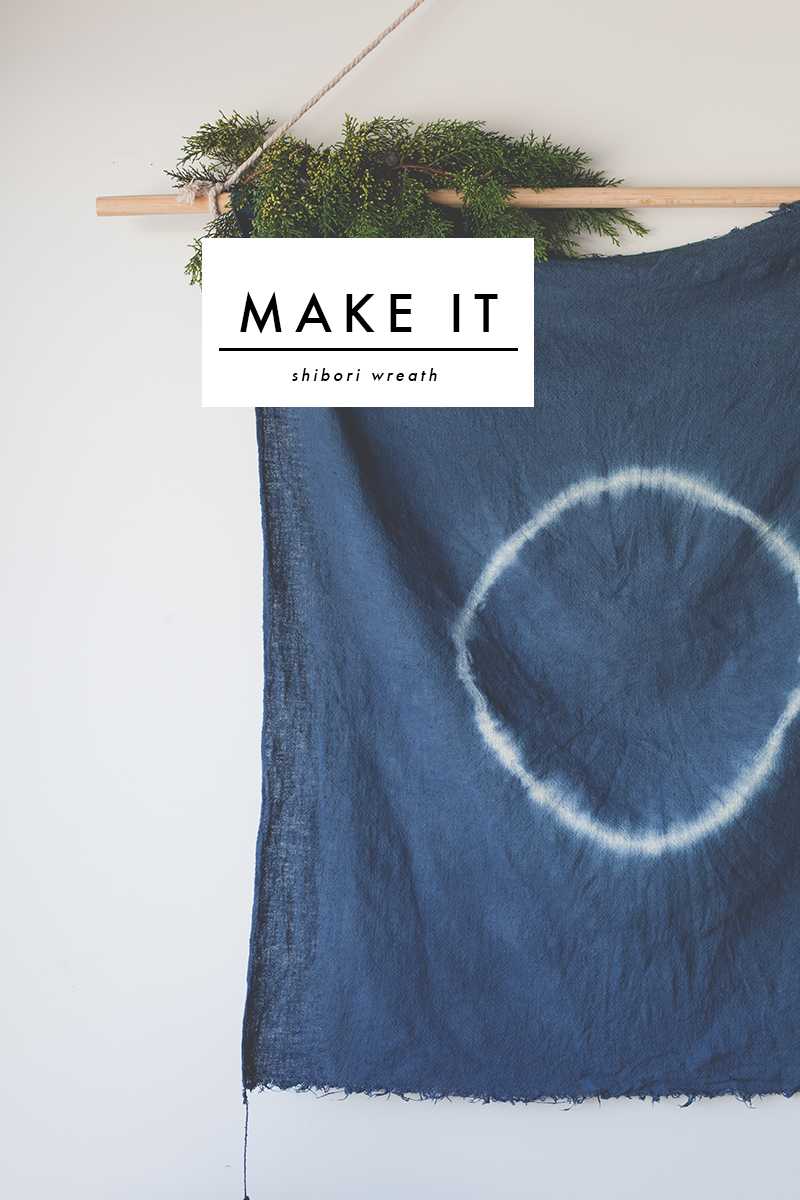
As I mentioned in my Driftwood Centrepiece DIY, I am trying for a simpler christmas. This year as well as a foraged wreath, I decided to turn my hand to shibori dyeing and make a wall hanging that can last the year as well as the festive season. Plus, a nice alternative for our allergy prone friends!

Once again, this is such a simple idea that has such a big impact. Here’s how to do it..

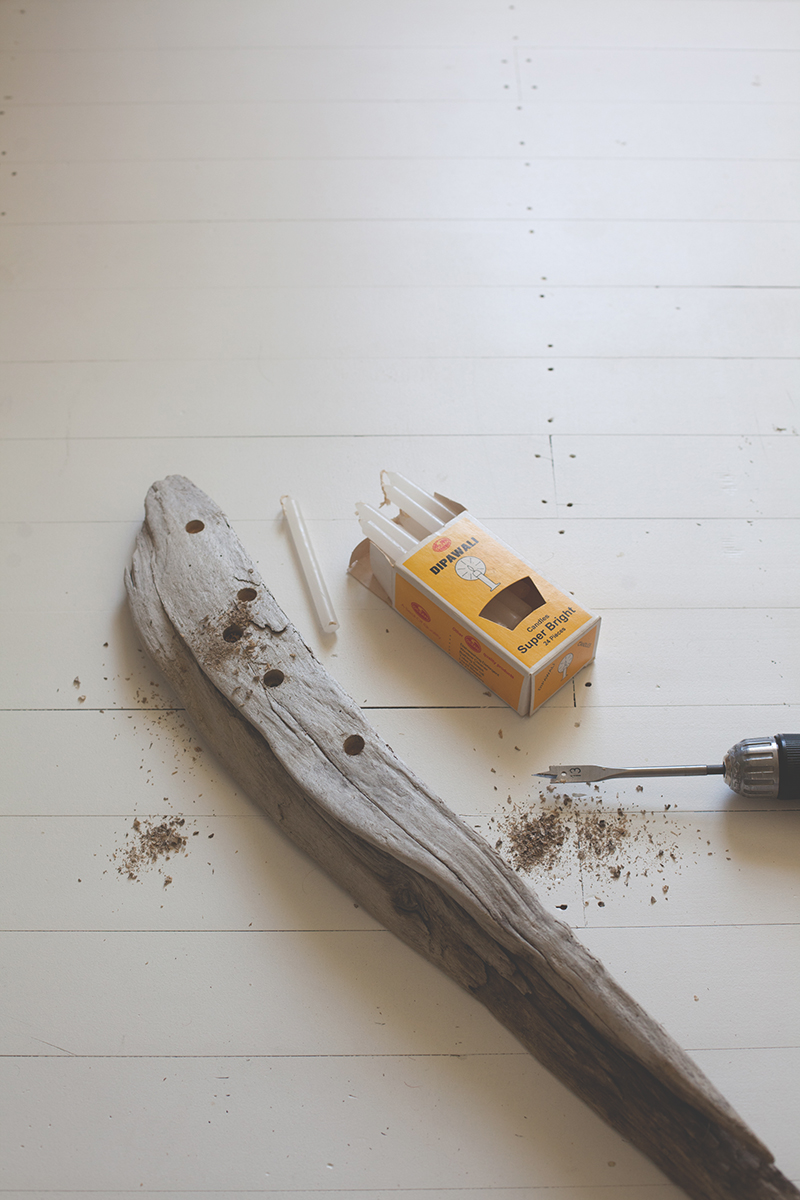
YOU WILL NEED | Dylons Blue Jeans dye, Water, Salt, String, Metal Bucket, Rubber Gloves, 1m squared cotton, linen or other natural fibre material ( polyesters, and even mixes do not take the dye well and the result is a patchy or dull colour )

I decided to rip and leave the edges raw on mine, but this would be the time to hem if you wanted to.

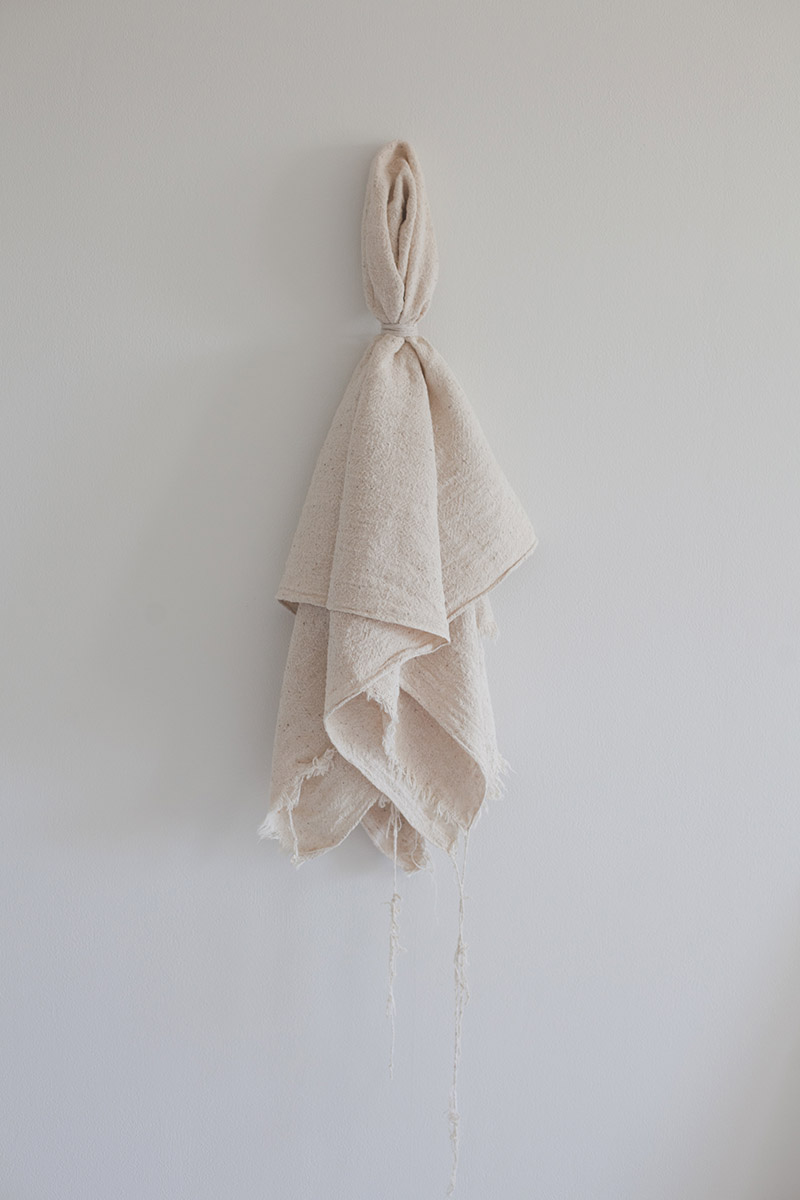
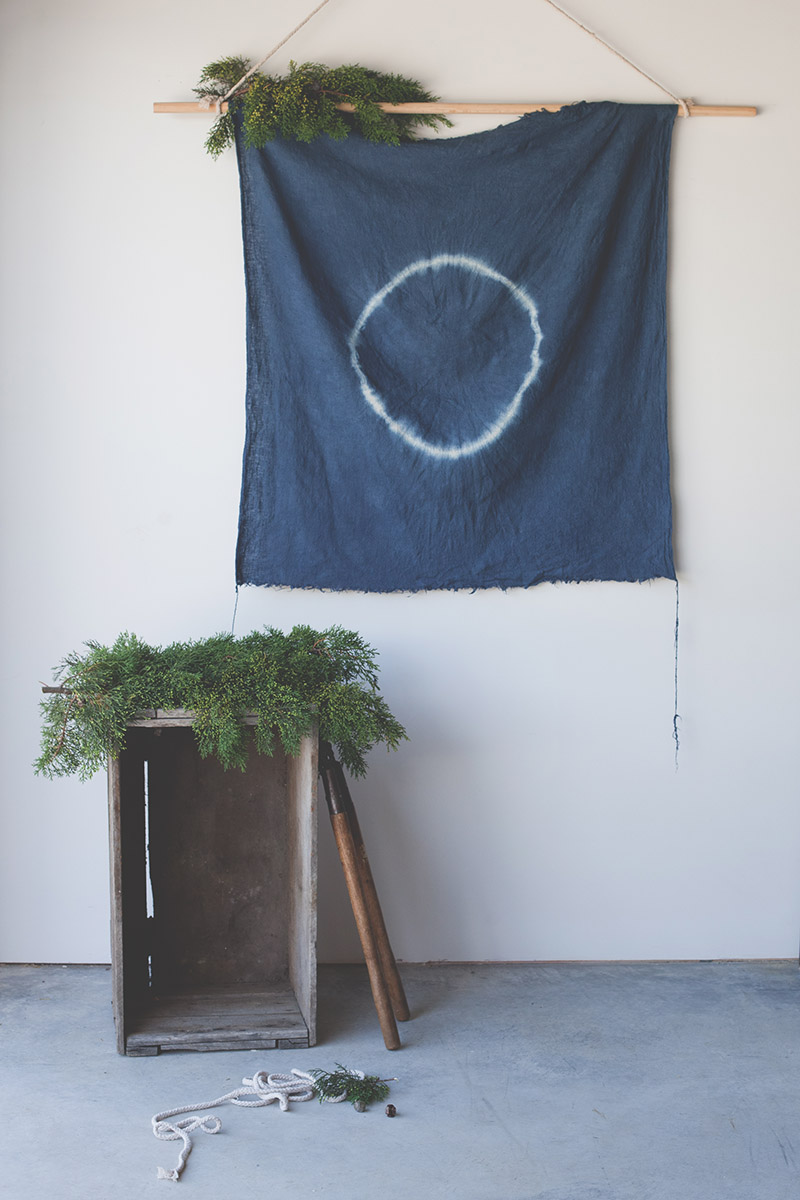
First off, take your piece or material,  and fold in half, then half again. This will give you your middle point,  pinch the corner and shake the fabric to loosen the folds. Decide how big you would like your ‘wreath’. I chose 30cm from the middle. Once you have decided, measure to chosen point. Holding it firmly, begin to wind your string around tightly. The wider you wind the string the wider the ‘wreath’. Now you are ready to dye! Follow the instructions on your specific dye packet as they may vary. I kept mine submerged for 45 minutes, occasionally turning and moving it. Once dyed, ring out the excess water and dry somewhere out of the sun. DO NOT take the string off until the fabric is dry!

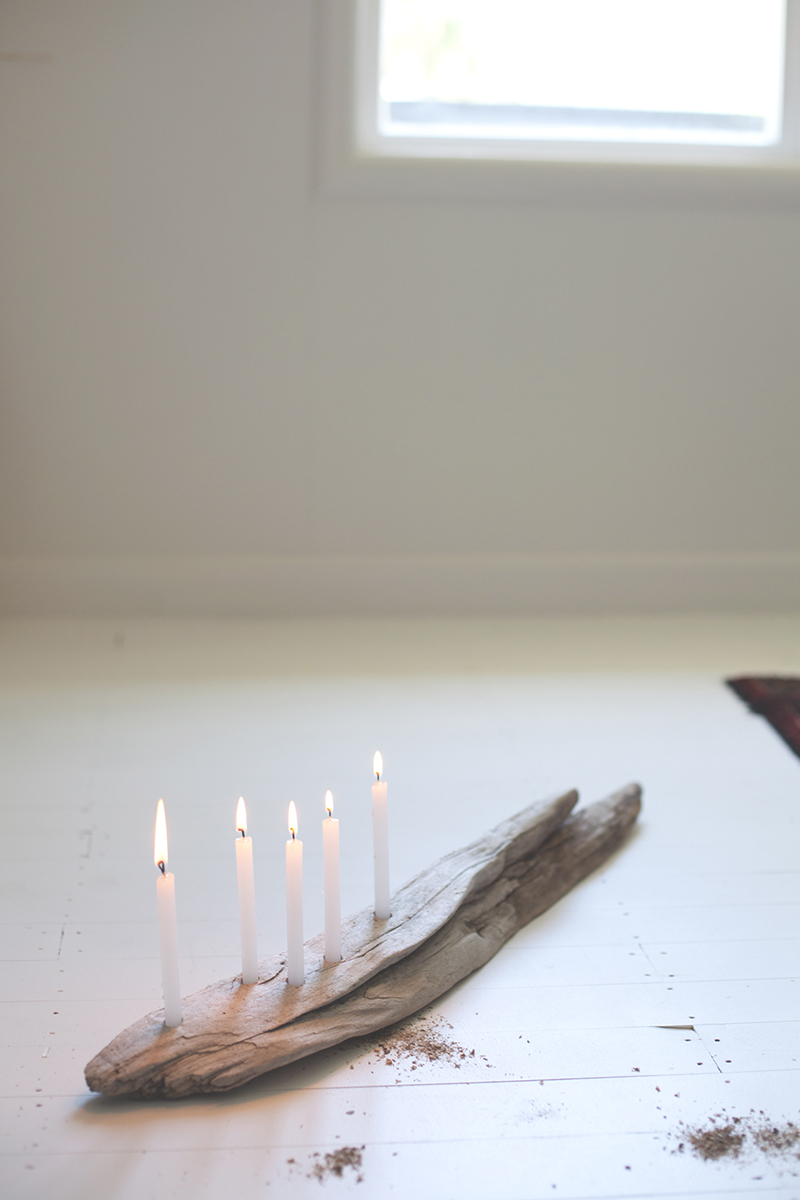
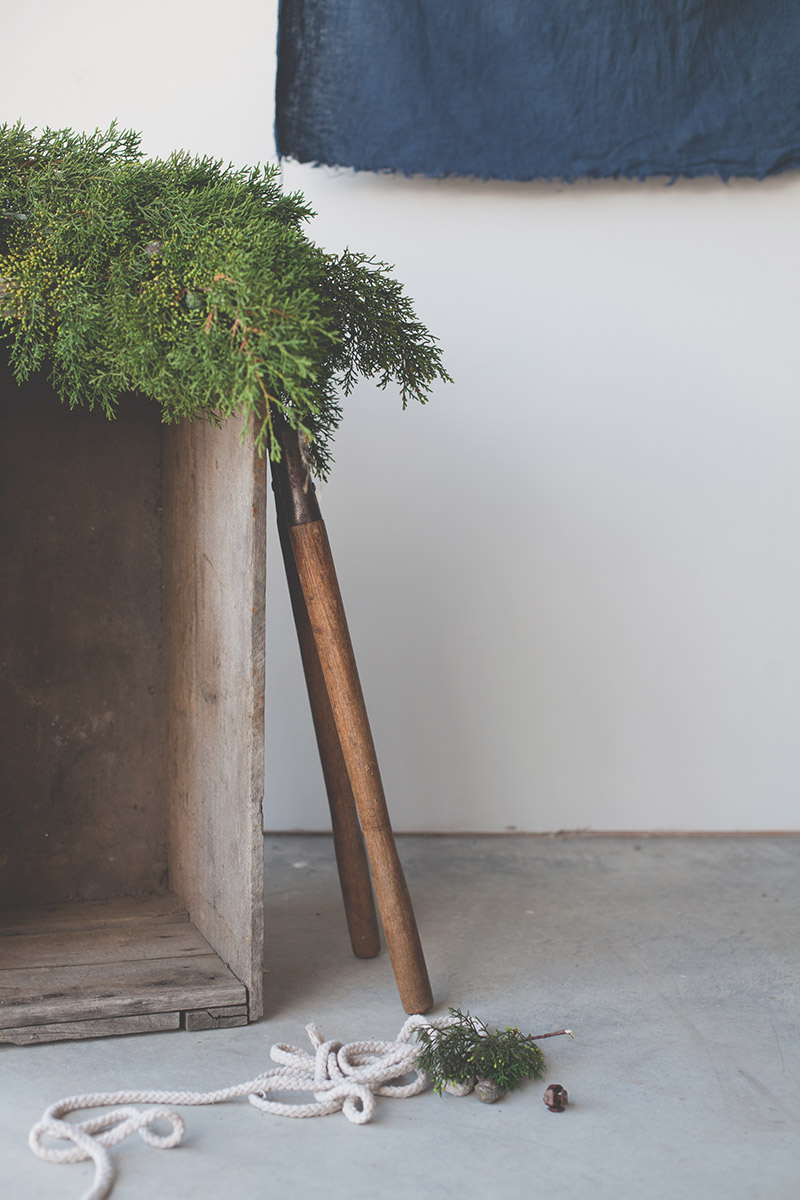
And your done! Time to hang it and enjoy!

Until next time,BlackbirdBLOG signature

MAKE IT | driftwood centrepiece

TITLE

It’s true. I love Christmas. Every year the tree is up on the 1st December and I begin preparing around October. But it’s not all love and mistletoe. I love the festivity, the celebration, the gatherering and the chance to decorate and wrapping presents ( Seriously,  put me in a room with paper, ribbon and empty boxes, I will wrap them. And love it. ). But I am not a fan of the frill, red, white and green, the stress and the need for mass consumption. So this year I am getting back to basics, buying purposefully, and trying to strip it back. Beginning with this centrepiece.

Realistically this is something you could use at any point in the year, it’s simple, understated, doesn’t scream HO HO HO and suuuuuper easy to make. Here’s how.

Driftwood2

YOU WILL NEED :

– Driftwood, or any other wood for that matter, as long as it can sit and not roll over

– Drill

– Appropriate sized drill bit, you want this to be ever so slightly larger than the candle you are using.

– Candles, mine were found in a thrift store, but you can pick  similar candles up at your local emporium.

– Pencil and Blutack

METHOD :

Decide where you want your candles, I chose a random pattern, but you can pick whatever you like. Mark with a pencil indent.

Take your drill with the appopriate sized drill bit ( or get a handy someone to help you )

Drill slowly, straight down. The hole should be around an inch, or around 3cm down. Clean out the saw dust.

Put a small ball of blutack on the bottom of your candle and place in the hole, press firmly.

Done! ( told you it was easy )

Driftwood4

Here is to a simple, low cost, low impact Christmas.

Until next time,BlackbirdBLOG signature

MAKE IT | pet travel cushion

blackbird pet travel cushion

There is some pretty exciting news at our house, We are finally getting a puppy!

If you would like to see photos of our little pooch, head over to my instagram!

She is a delicious little Cavoodle, and we get to bring her home in two weeks, perfect timing for my birthday! So in anticipation of her arrival I made her this seriously easy little travel cushion for her crate! I wanted to to be able to throw the whole thing in the wash if any accidents ( undoubtably ) occurred.

Here is how I made it:

First off you will need : A sewing machine, 60cm by 60cm of durable material ( you could use old towels, t shirts, anything that is natural so it breathes ) 58cm by 58cm of thick batting, a ruler, a long needle and embroidery thread.

FIrst off, sew your squares of material together, leaving one side open. Turn your cushion cover inside out. Next take you batting and insert into the cover you have just sewn, make sure it is sitting flat and even. At this point I like to pin the open edge together, with the raw edge tucked in on it’s self. Then hand stitch the opening close.

Now is the fun part! Taking your ruler, measure out where you would like your tacs to be. Use a pin to mark the spot. Mine were 15cm apart. Thread your needle and tie off the end.  Coming through the back of the cushion, stitch one small diagonal line and bring the thread back through, then stitch another across it to form an X. Tie off, and repeat until done! And there you have it! A cozy little cushion for your pet!

blackbird travel bed

Until next time,BlackbirdBLOG signature

Before & After | Chair Makeover

Before After IMG_9220 IMG_9226 IMG_9233

One of the major motivators for moving from Auckland to the Hawkes Bay was the want for more time, a slower life and to do all the things that we never had the room, time or head space to do in ‘ The Big Smoke ‘.

Restoring a beautiful old chair was on that list.

She was a bit rough around the edges when we found her, but for $20, how could I say no. Like a puppy at the pound I scooped her up and took her home. Weekends of sanding, and she began to look good again. Next, I called up my trusty girls at The Fabric Store. They supplied me with a heavy weight dark charcoal wool coating, perfect for recovering the old girl. Then there was the task of actually re-upholstering. Enter my ever apt Mama. ( Can I just say, Hooray for Mums and their bountiful knowledge. ) Sewing, Oiling and some self covered buttons later and she was as good as new. Or maybe even better, charcoal is far more her colour.

Until next time,BlackbirdBLOG signature