Tag Archives: DIY

MAKE IT // cotton knitted dishcloth

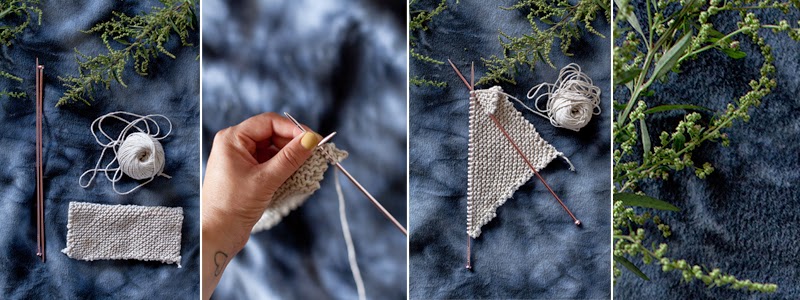
Let’s face it, for the most part, dishcloths are pretty darn ugly and seem to die after a few washes.  I mean I know it is ‘just’ a dishcloth, but it is something we use multiple times a day, that gets used and abused and that generally hangs over your tap in the kitchen for all to see. So why can’t it be a bit pretty, cheap, even more effective and sustainable? These guys cost about $1.25 a pop, plus a little time and last through countless washes. Boxes ticked? Yes? And they are fairly easy too.

If you can knit a line, you can make them.

YOU WILL NEED //
One ball of cotton twine – I found mine at the local emporium, $2.50 for two

One pair of needles – Mine were 3.5mm, the smaller the needles the closer the weave

Scissors

STEPS //
Cast on four stitches
Knit one row
Increase by a stitch each row until you have 40
Knit one row
Decrease your stitches each row until you have one.
Cast off

There you have it. I will no longer waste time staring at the ugliness that was my dishcloth.

Go forth and knit your way to a prettier cleaning experience.

Until next time.BlackbirdBLOG signature

MAKE IT // Diy wrapping paper

IMG_3307

IMG_3308 IMG_3312 IMG_3315One of my FAVOURITE things in life is wrapping presents.
I am dead serious. I love it. And every year I like to do a new little DIY, almost always involving Kraft paper…This year was no different.

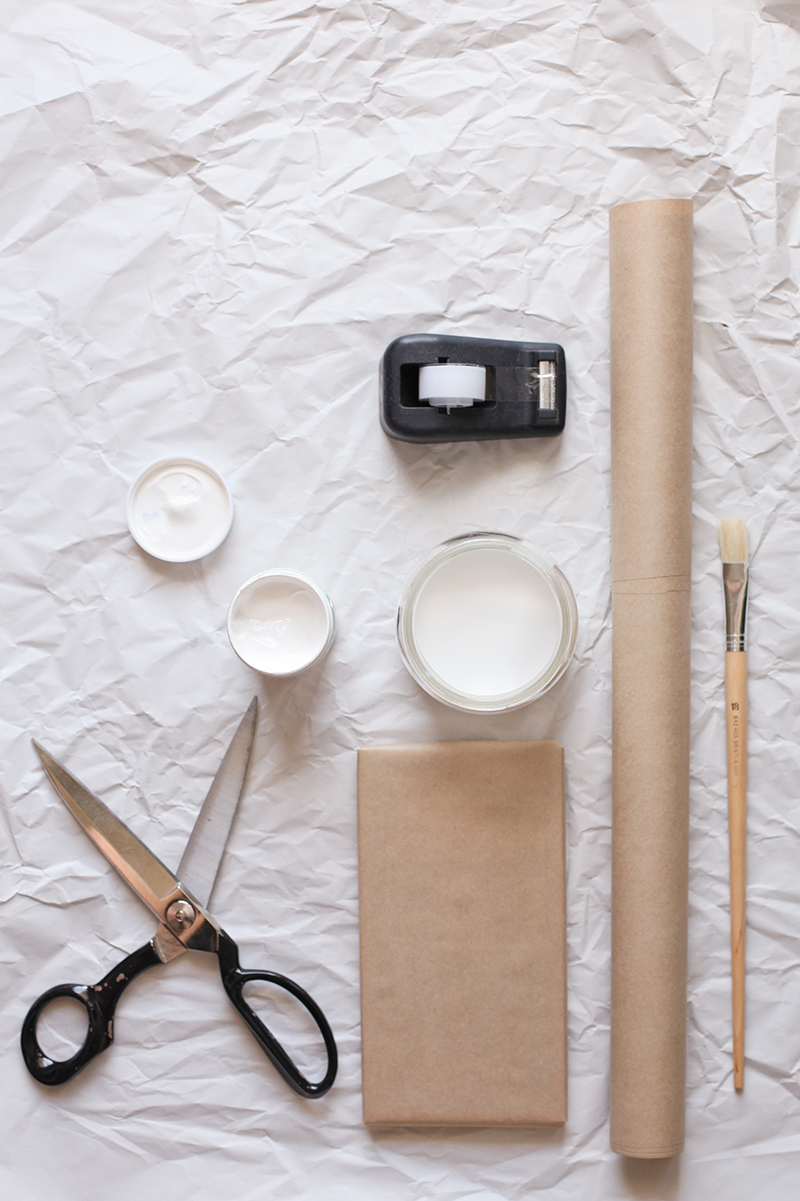
You will need //

White acrylic paint
A jar with a little water
A corse hair paint brush
Brown kraft paper
Scissors and Tape
Your choice of ribbon

Start by laying down a drop-cloth of some sort, your are about to flick paint everywhere, It gets messy.

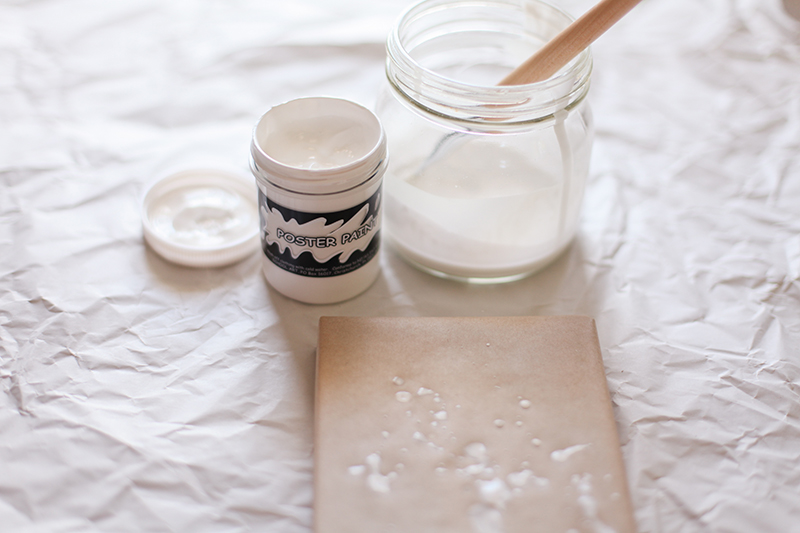
Once you are ready to go, drop a large dollop of paint in with a couple of teaspoons of water, Mix it up.

Then take your kraft paper, wrap your present.

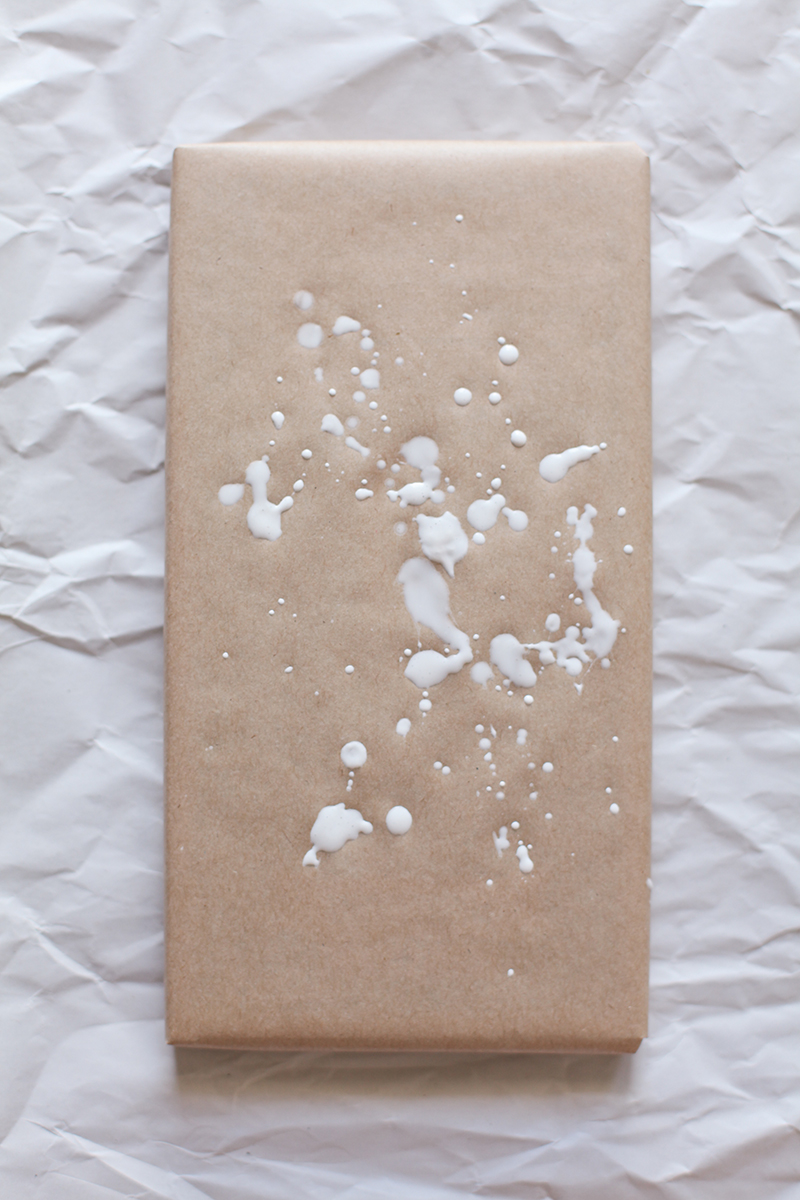
Then taking your slightly watered down paint, dip your brush in, and start flicking away! You can either flick the whole brush, or just the bristles, they make different patterns!

Then, lay it to dry, it does take a while, so best to do this in advance!

Then wrap with your ribbon! I went for a large tartan this year!

Get to it!

Happy wrapping!

Until next time

BlackbirdBLOG signature

RENTAL RENO // Bedroom

When we moved into this place, The bedroom quickly became my favourite place.
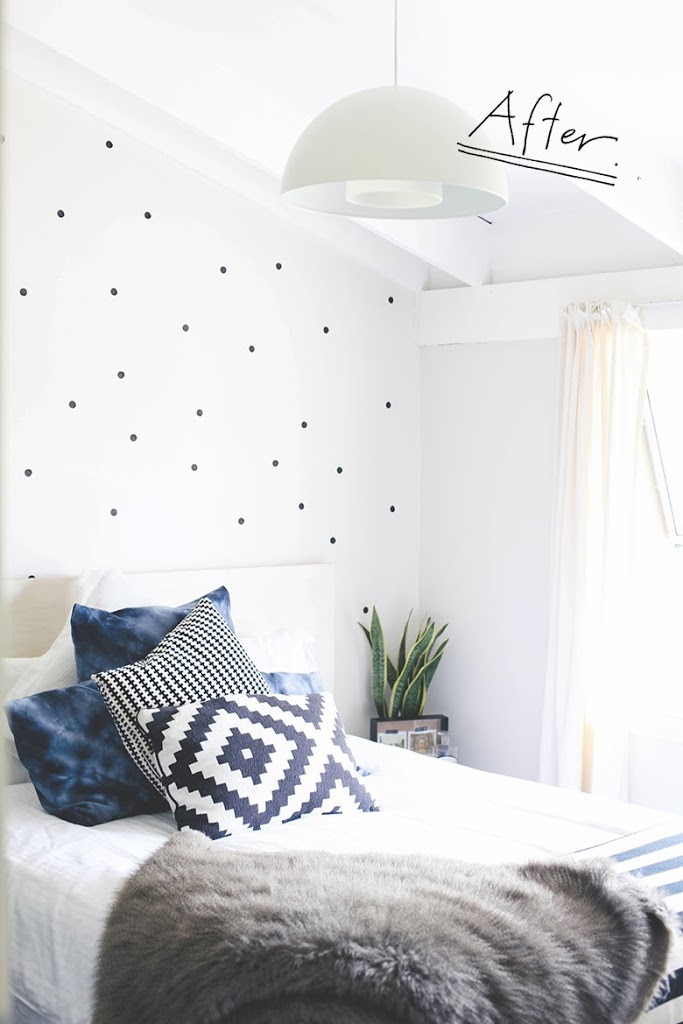
It has the best light, and some of my favourite objects. That ladder, My fav philodendron, Good Luck mirror from the husband and my DIY cashmere cushions ( yes, cashmere. yum. )

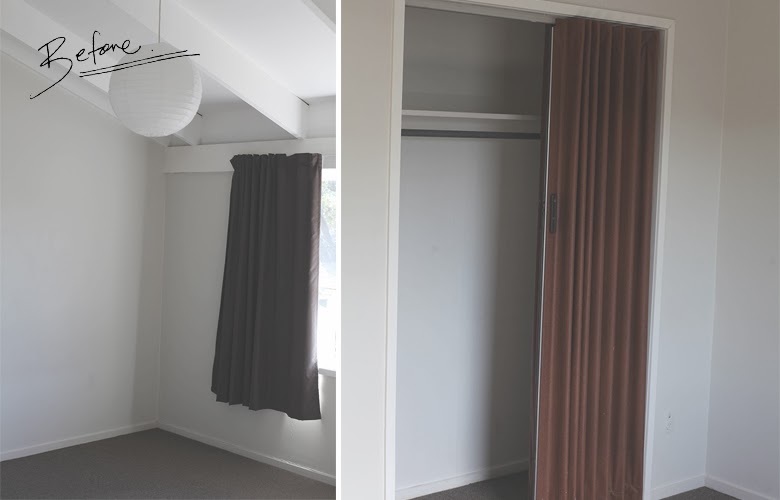
Once again it didnt take much to make over this room. A swap out to simple calico curtains, change of a light shade and the exiting of the horrendous wardrobe door.

Then a case of the spots ( See my DIY here )  throw up a few vintage mirrors here and there ( I do have them in abundance ) They bounce the light in and just look so darn good! And last but not least, colour code the exposed wardrobe! I am aware that we only dress in Black, Grey, Denim and white, so this task was relatively easy for us.

So there you have it. The bedroom!

Until next time.

BlackbirdBLOG signature

RENTAL RENO // Before & After :: KITCHEN

BEFORE copy

IMG_9948 copy IMG_9955 ONE IMG_9971 TWO

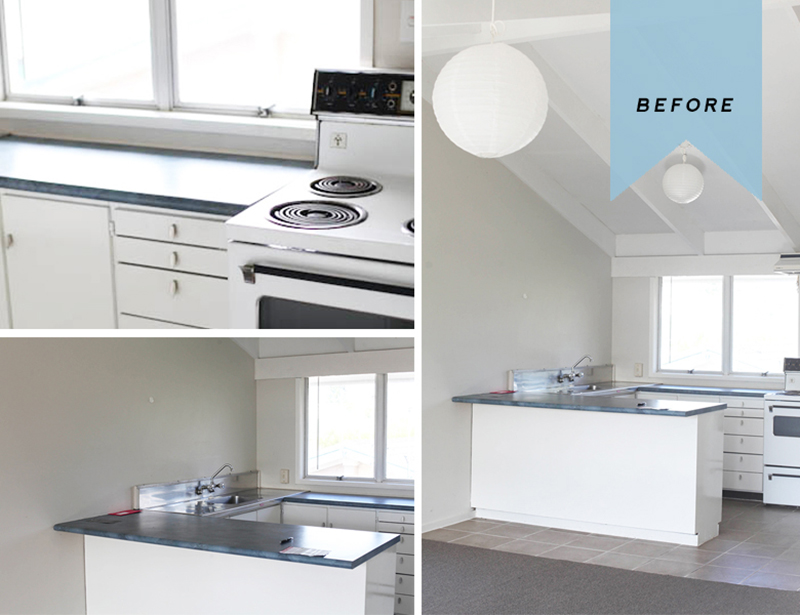
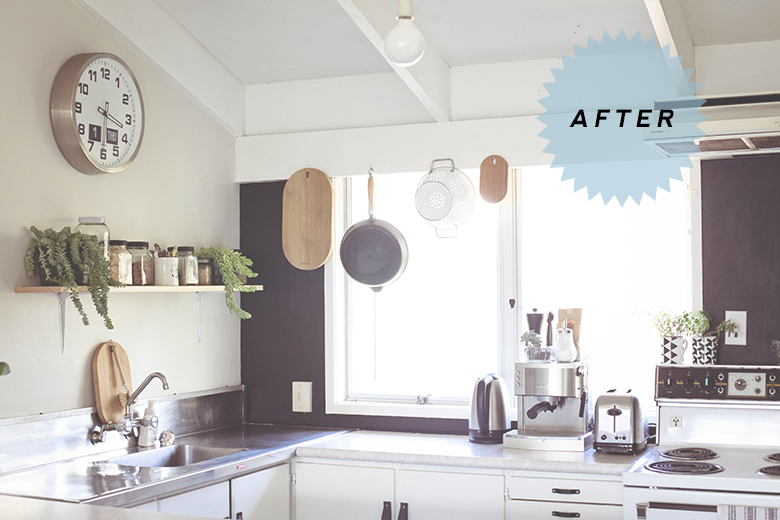
Our new house is finally beginning to feel like our home.  And although I still have lofty dreams of actual renovation, actually owning our own home and of making a nest for ourselves we all know Auckland is a bit of a dick when it comes to house prices.  So I accept defeat, for now.  But not absolute defeat. I still refuse to live with ugliness.  Anywhere can go from butt ugly to half decent with a little elbow grease, some smart thinking and a bit of cash.  So here is what we did with our kitchen.

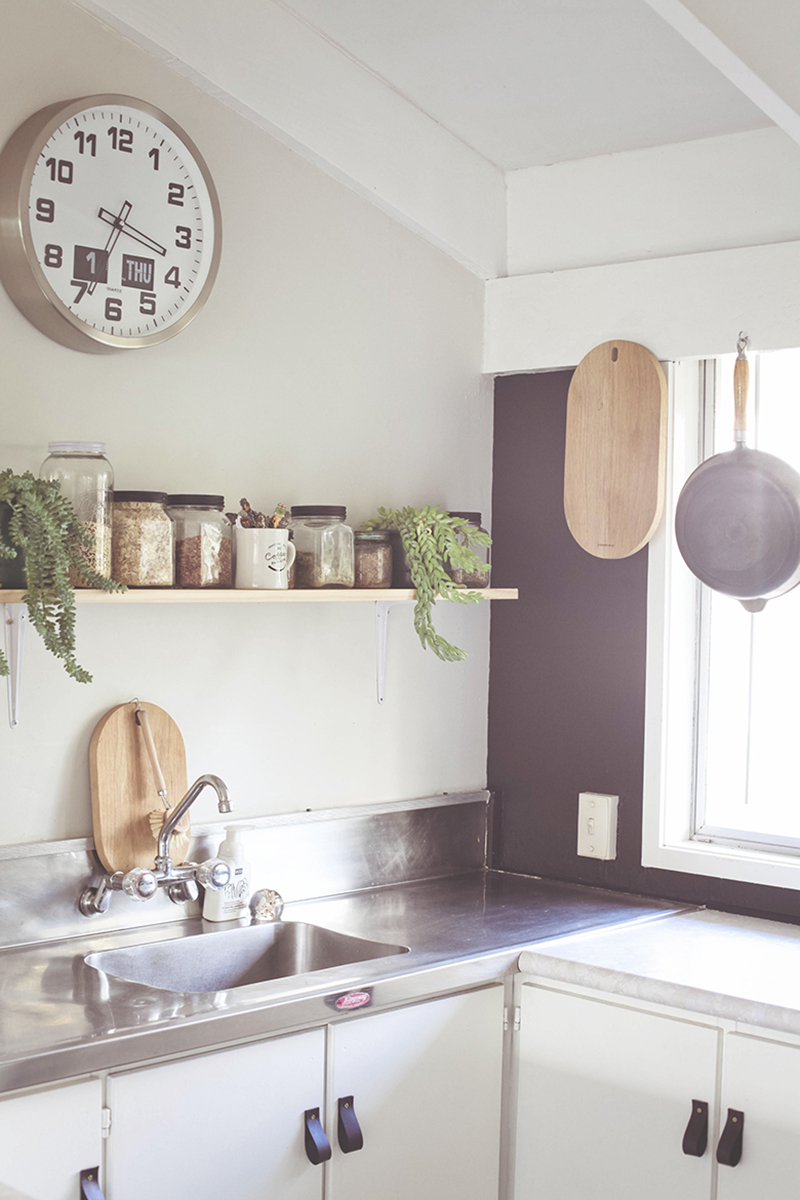
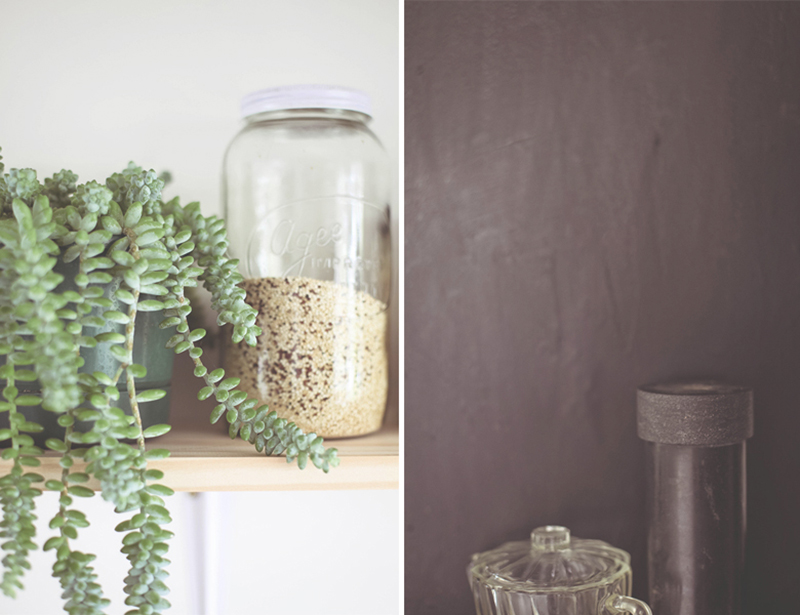
Firstly, Painted the wall, Now, we had to ask the landlord, and he was fine, so away I went.  I found that this grounded the kitchen a little more. I used paint we already had, so ‘freebie’. But often you can get test pots cheap, or cheap paint at renovation dealerships and Habitat for Humanity stores.

Secondly, We changed the handles. The drawer handles from a second hand shop for 50c a pop. And we made our own handles for the others, You can see the DIY HERE.

Next, we covered the bench top with a vinyl. You can get it at your local bunnings, for $20 a roll, or I found it HERE for $3 a roll. So a little cheaper. It took 5 rolls to cover everything completely. It is basically like covering your books with duraseal, but its your benches….with this stuff.

Finally, The husband made me a shelf. with a couple of braces ( $3 each ) and we were lazy and bought a pre cut piece of wood ( $15 )

So under $50 for the change, that is not breaking the bank. And now I don’t want to throw up when I see the kitchen….Although I am still on the hunt for a fantastic lamp shade, I will let you know when I find it.

Until next time.
BlackbirdBLOG signature