MADE & MAKING

MAKE IT // hand drawn font for fools.


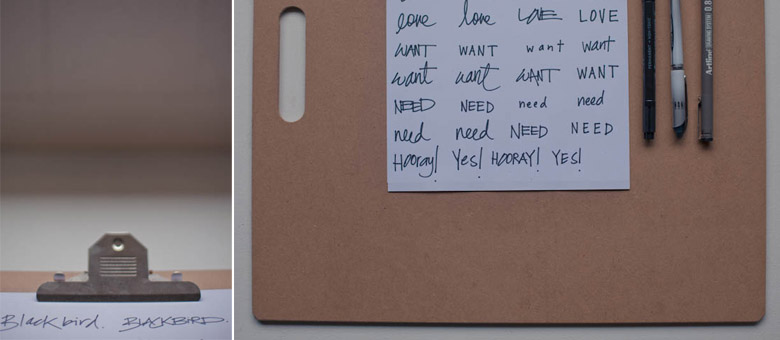
When I was younger, and still a little now, one of my favourite past times was practicing my hand writing. Seriously. I used to drive my mother mad by ripping all the pages out of my books if my writing wasn’t nice enough. Crazy. Kid.

And over the years I have learnt a few things.

First off.  Do not rip out all the pages, It makes the ones at the back of the book fall out.

Secondly, I am, to a certain degree technologically challenged.

Thirdly. I either don’t read instructions properly or more likely, I am too impatient to read them, start it anyway, and give up because it doesn’t work.

And lastly, I write and shoot on a slightly skew-if angle. Like I am permanently on a slope.

So is my ‘ Hand drawn font for fools. ‘

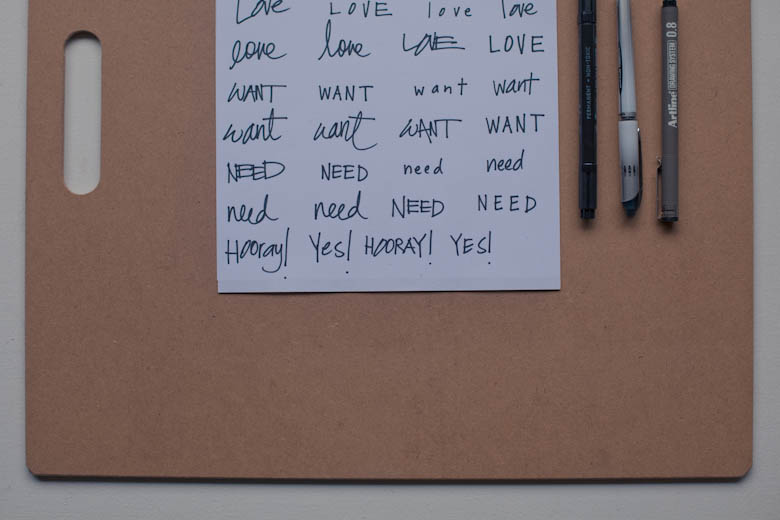
 1. Take a sheet of paper and a medium felt nib pen. Preferably black, Is there any other colour of pen. C’mon.

  2. Write in your mostly lovely hand, or draw pictures or cool colloquial sayings like YOLO and stuff.

  3. Scan that sucker.

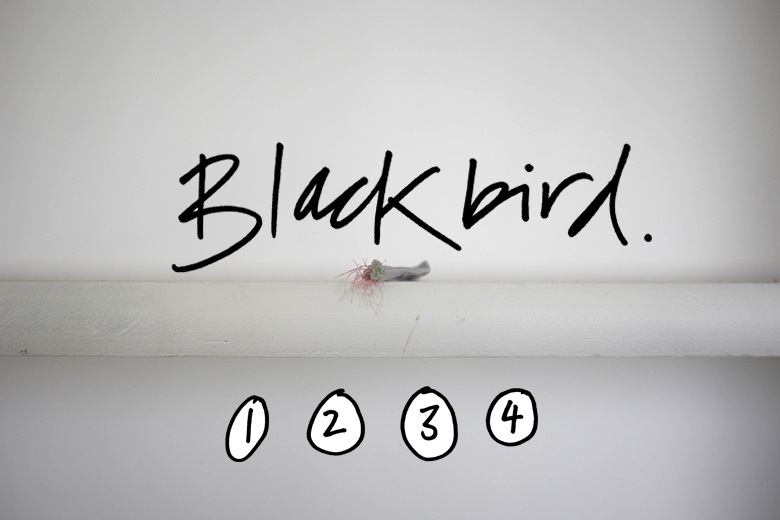
  4. Open that sucker in photoshop. Using you wonderful magic eraser tool, get rid of all that white, unless you want some.

  5. Copy and paste that sucker onto your nifty photos.

 6. Post it on the world wide web so people can see how clever you are.

If I can do it, So can you.  Happy hand writing!
Until next time,BlackbirdBLOG signature

( See what I did there, flaaaaaaash )

M A K E I T // dot wall DIY

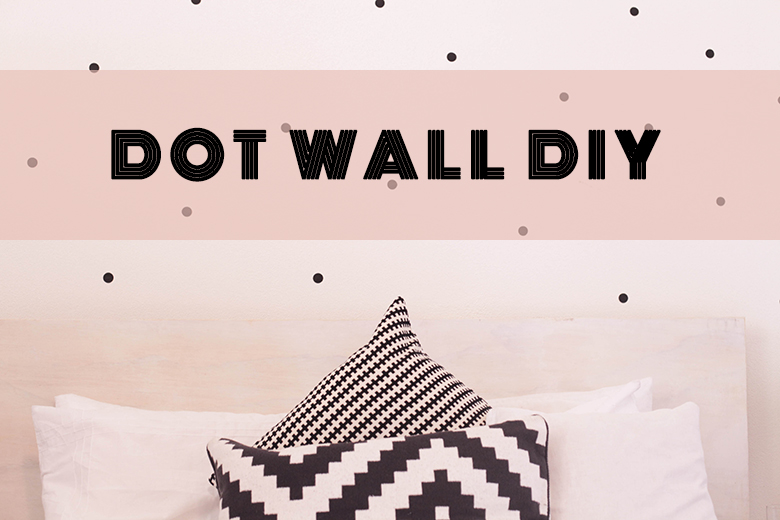
We, like most, live in a rental. So I am always looking for temporary and affordable options to make the place our own. I have been obsessed over the spotted wall for a while now, and finally got around to doing it. It is one of the easiest, and pretty cheap DIYS.

YOU WILL NEED //

 A pack of quik stik dots, colour of your choice : I got mine from Warehouse Stationary
Blue-tack

Personally I like the more random patterned effect  and spaced out. So I just got on a ladder and started blue-tacking my dots to the wall! You can do it however works for you. Simple, easy, affordable and easily removed!

Perfect.

Until next time.

BlackbirdBLOG signature

MAKE IT // Flower Wall

This was incredibly fun to make.

I was commissioned to make a backdrop for a photo shoot and this is the result…
A flower wall!

You will need //

150 +  Artificial flowers
Wire snips
Hot Glue
Artificial ‘vines’

 ( I sourced from a wholesaler, but you can find these at your local emporium )

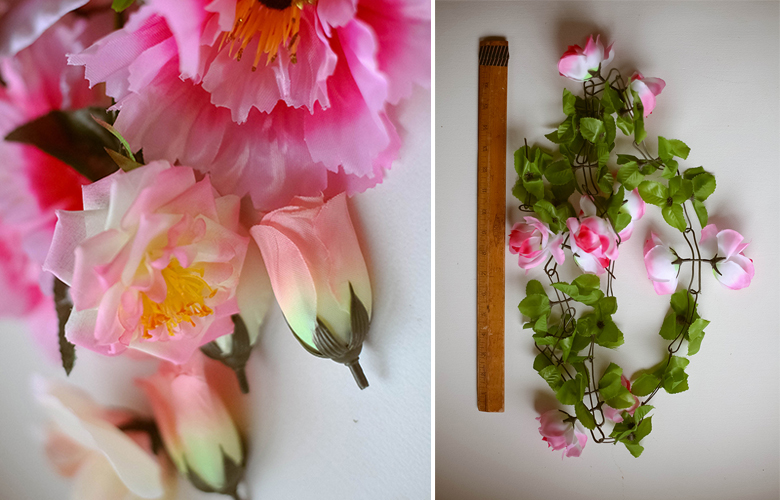
Pull off all the leaves from ‘vine’ , A lot of them they pop on and off, so you can attach other flowers of leaves there. I did mine in a Ombre effect, using yellows, to orange to pink to white.

Begin to attach flowers, weaving into the ‘vine’ and hot gluing when necessary.

Keep going! It takes a while, but is worth it!

Happy making!

Until next time.

BlackbirdBLOG signature