MAKE IT

MAKE IT | driftwood centrepiece

TITLE

It’s true. I love Christmas. Every year the tree is up on the 1st December and I begin preparing around October. But it’s not all love and mistletoe. I love the festivity, the celebration, the gatherering and the chance to decorate and wrapping presents ( Seriously,  put me in a room with paper, ribbon and empty boxes, I will wrap them. And love it. ). But I am not a fan of the frill, red, white and green, the stress and the need for mass consumption. So this year I am getting back to basics, buying purposefully, and trying to strip it back. Beginning with this centrepiece.

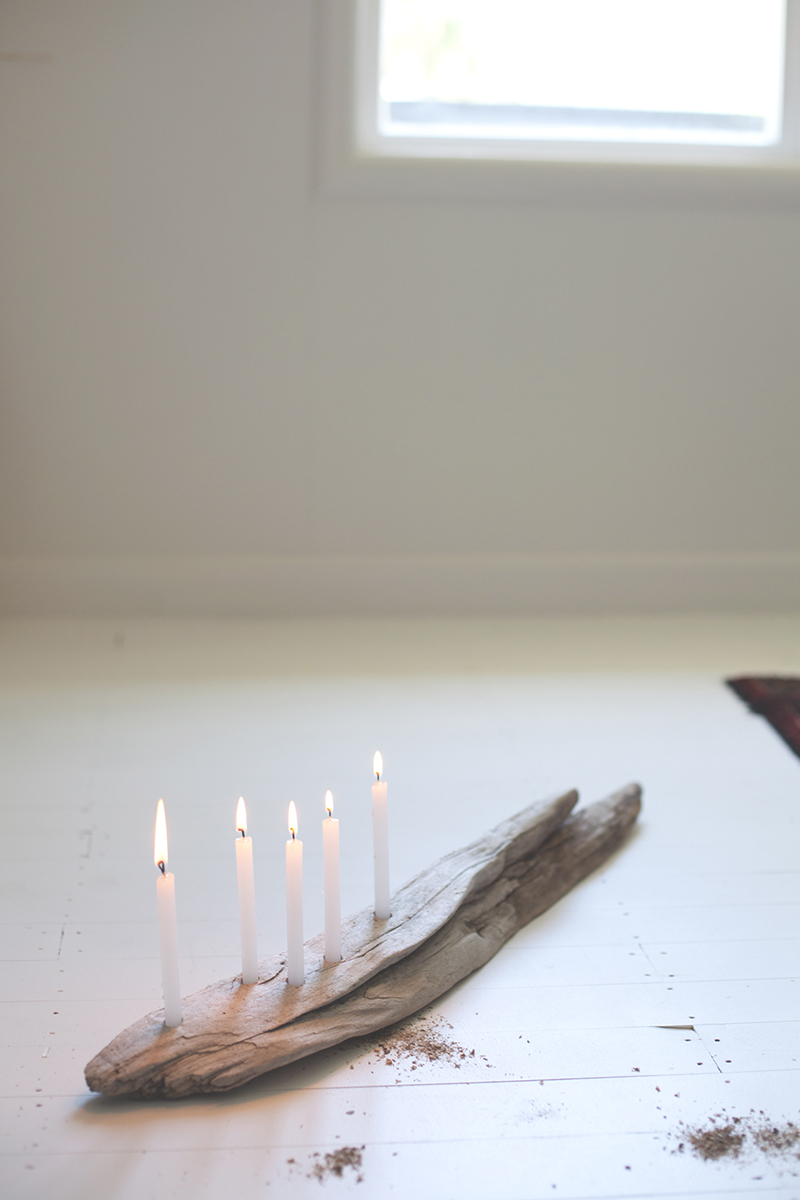
Realistically this is something you could use at any point in the year, it’s simple, understated, doesn’t scream HO HO HO and suuuuuper easy to make. Here’s how.
Driftwood2

YOU WILL NEED :

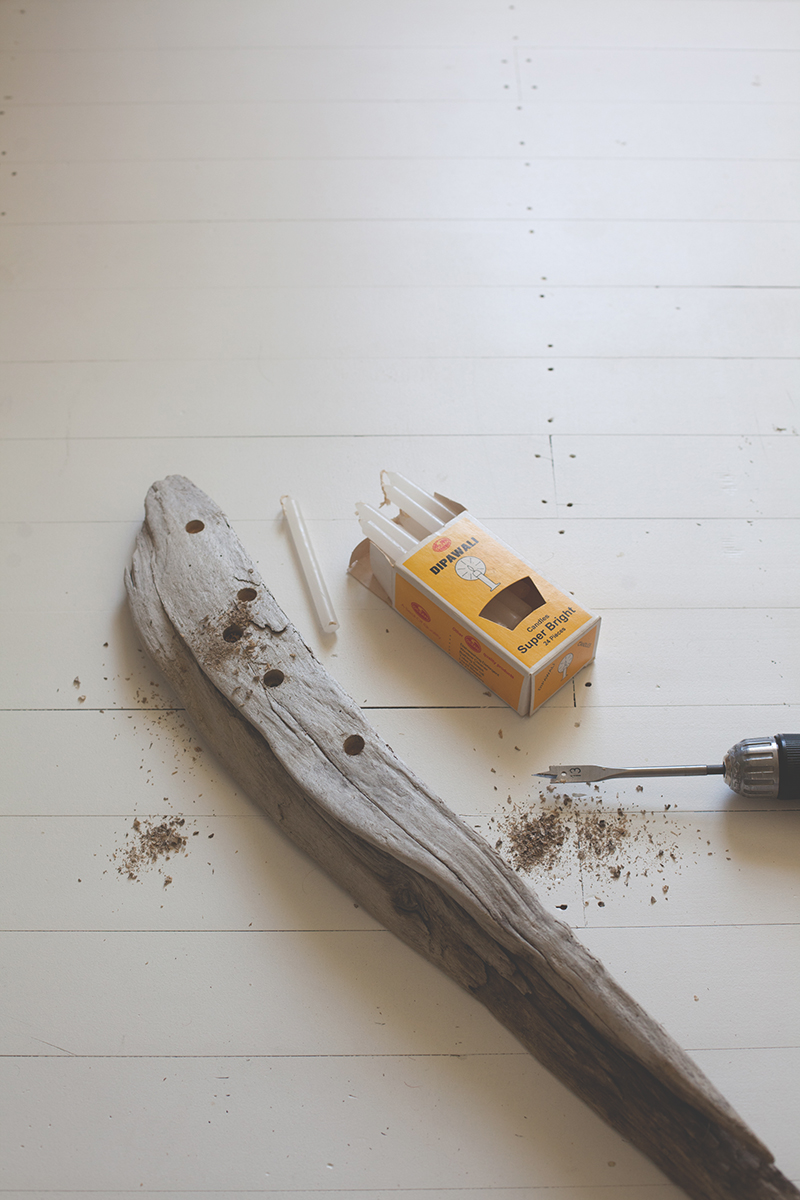
– Driftwood, or any other wood for that matter, as long as it can sit and not roll over

– Drill

– Appropriate sized drill bit, you want this to be ever so slightly larger than the candle you are using.

– Candles, mine were found in a thrift store, but you can pick  similar candles up at your local emporium.

– Pencil and Blutack

METHOD :

Decide where you want your candles, I chose a random pattern, but you can pick whatever you like. Mark with a pencil indent.

Take your drill with the appopriate sized drill bit ( or get a handy someone to help you )

Drill slowly, straight down. The hole should be around an inch, or around 3cm down. Clean out the saw dust.

Put a small ball of blutack on the bottom of your candle and place in the hole, press firmly.

Done! ( told you it was easy )
Driftwood4

Here is to a simple, low cost, low impact Christmas.

Until next time,BlackbirdBLOG signature

MAKE IT | pet travel cushion

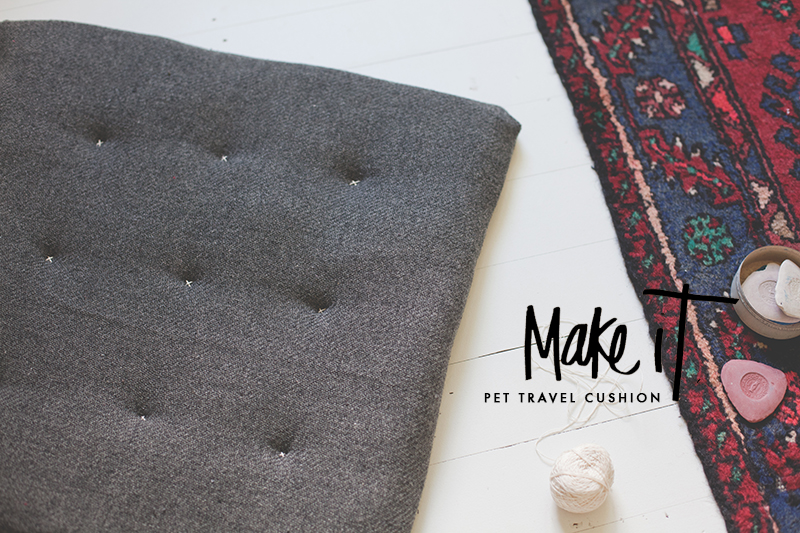
blackbird pet travel cushion

There is some pretty exciting news at our house, We are finally getting a puppy!

If you would like to see photos of our little pooch, head over to my instagram!

She is a delicious little Cavoodle, and we get to bring her home in two weeks, perfect timing for my birthday! So in anticipation of her arrival I made her this seriously easy little travel cushion for her crate! I wanted to to be able to throw the whole thing in the wash if any accidents ( undoubtably ) occurred.

Here is how I made it:

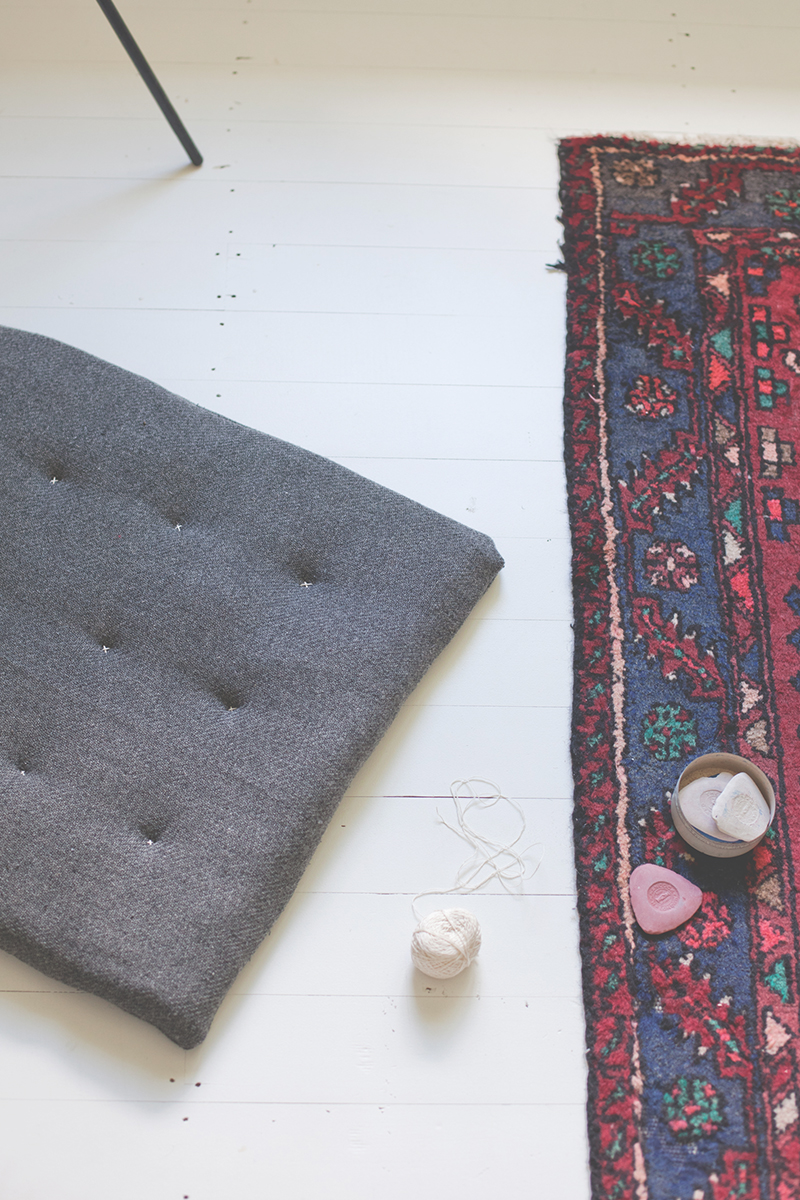
First off you will need : A sewing machine, 60cm by 60cm of durable material ( you could use old towels, t shirts, anything that is natural so it breathes ) 58cm by 58cm of thick batting, a ruler, a long needle and embroidery thread.

FIrst off, sew your squares of material together, leaving one side open. Turn your cushion cover inside out. Next take you batting and insert into the cover you have just sewn, make sure it is sitting flat and even. At this point I like to pin the open edge together, with the raw edge tucked in on it’s self. Then hand stitch the opening close.

Now is the fun part! Taking your ruler, measure out where you would like your tacs to be. Use a pin to mark the spot. Mine were 15cm apart. Thread your needle and tie off the end.  Coming through the back of the cushion, stitch one small diagonal line and bring the thread back through, then stitch another across it to form an X. Tie off, and repeat until done! And there you have it! A cozy little cushion for your pet!

blackbird travel bed

Until next time,BlackbirdBLOG signature

MAKE IT | Rope basket diy

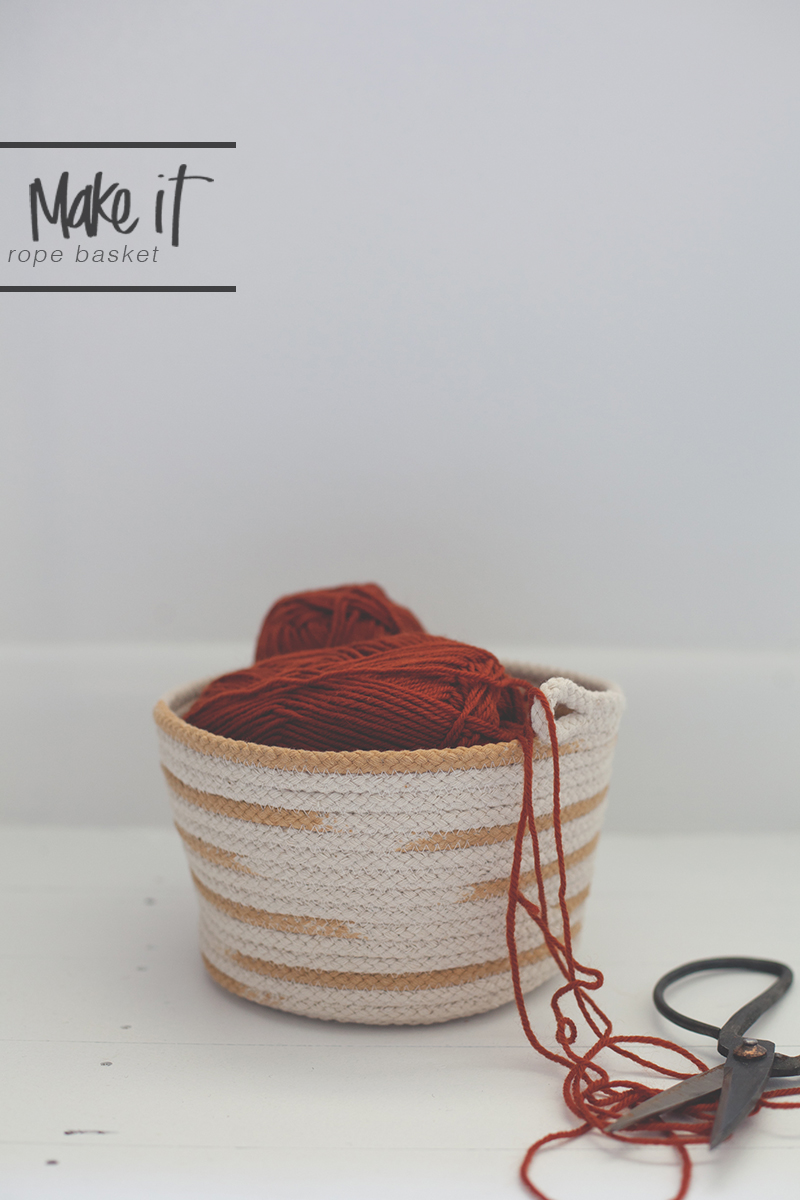
DIY rope basket BLACKBIRD BLOG

I am a storage enthusiast. A true advocate for ” A place for everything and everything in its place”. Maybe it comes from years on tour in cramped spaces, or living in open plan homes, or maybe I am just a little bit of a neat freak. Either way, storage and I are pals, and I am always on the look out for another kid to join the club.

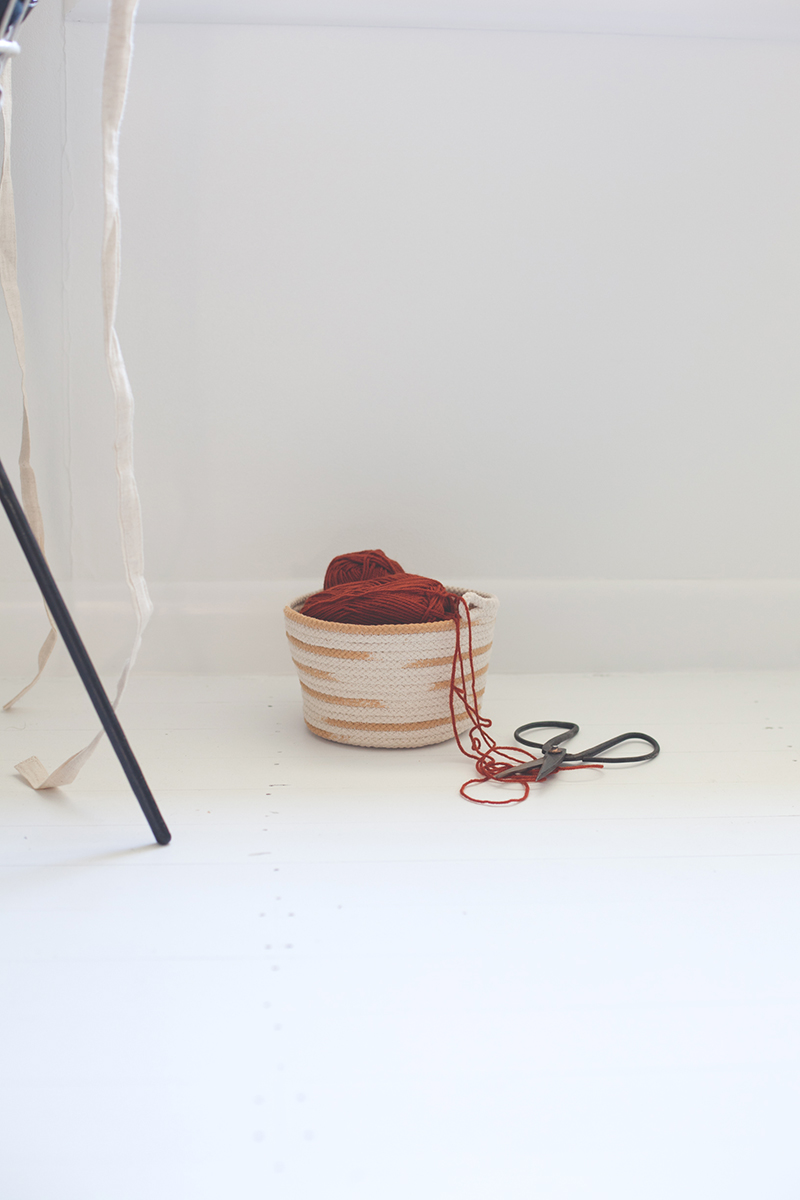
Inspired by the talented and matching first name babe that is Gemma Patford I set out to make the perfect knitting basket!

IMG_8981

You will need :

10m of rope ( my basket had a 190mm diameter )

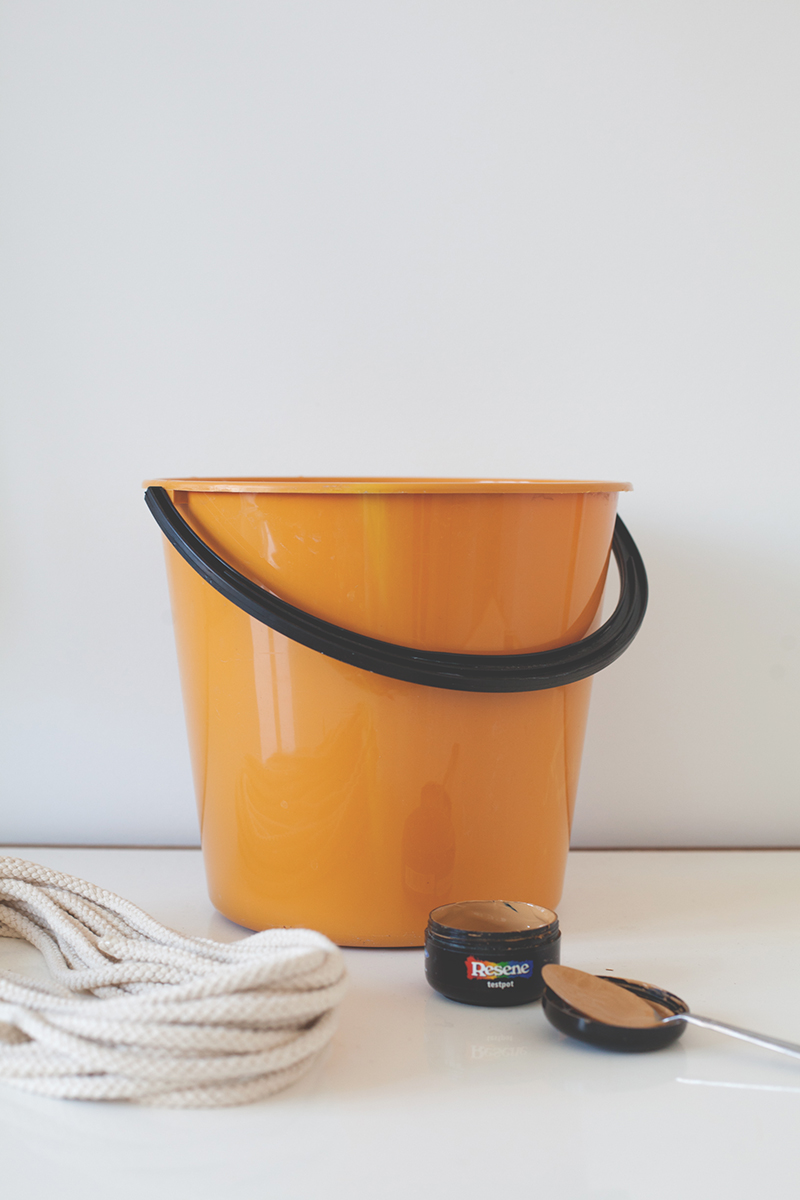
2 tablespoons of acrylic paint ( I chose Mackenzie from Resene )

2 cups of water

A bucket

A masher, or some sort utensil to push the rope down with

Sewing machine and thread ( I chose to keep mine the same colour as the rope, but you can choose whatever you like! )

step one

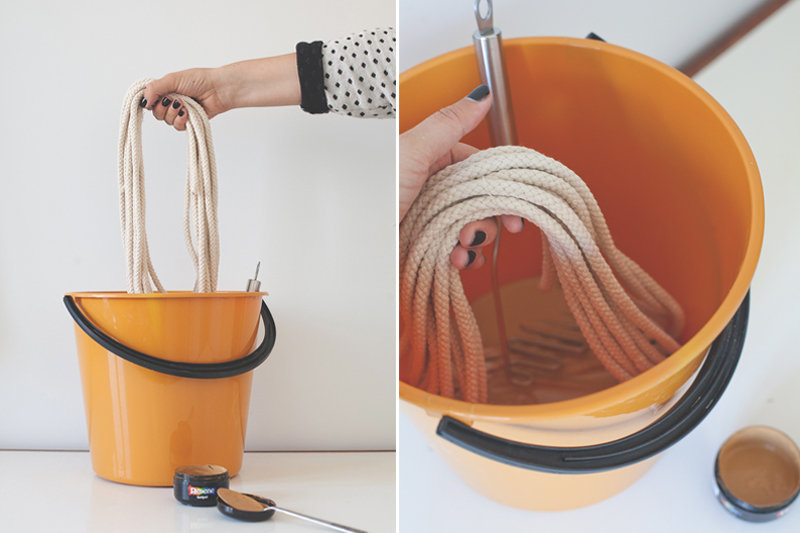
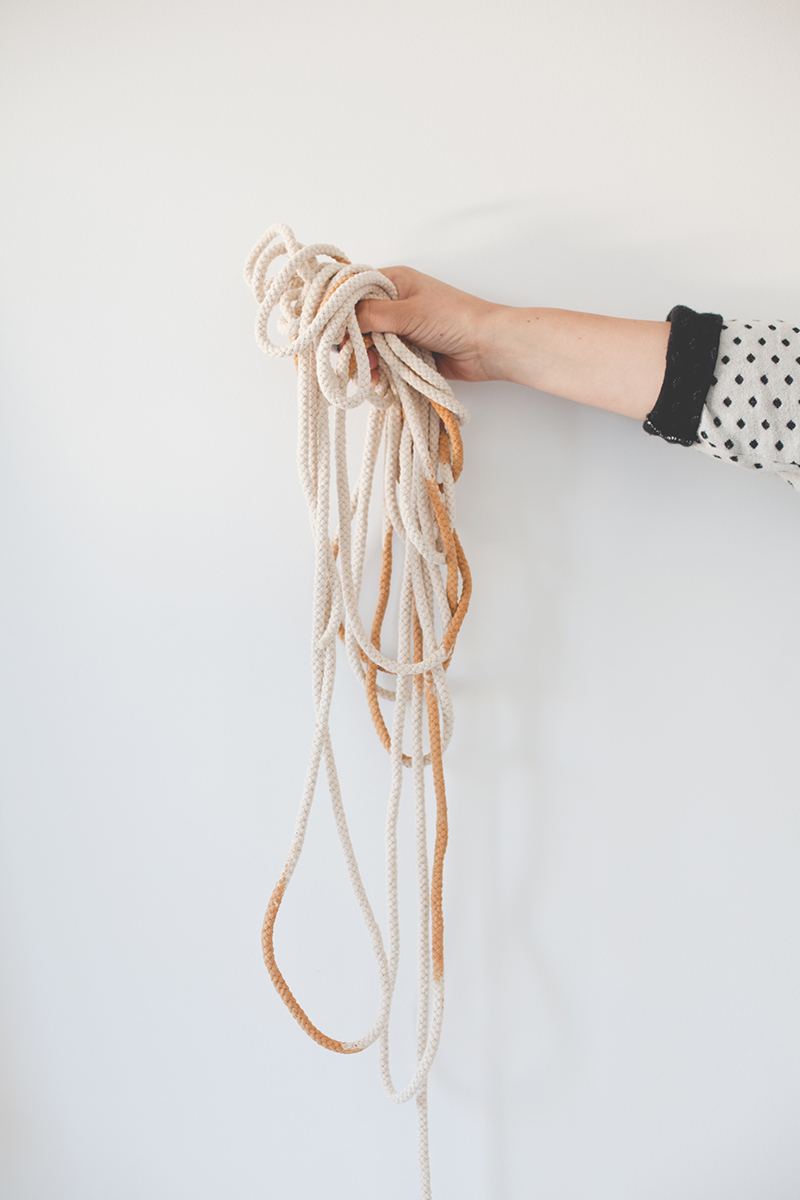
First, in your bucket mix the paint, two tablespoons of paint to 2 cups of water was the ratio I used, this way it absorbed but still had a dense colour. Next, loop your rope and dip into the bucket. Using your masher or other utensil,push down the rope so it is coated well. If you want crisp lines between the rope and paint you can always tape it.

IMG_8996

Squeeze out the excess water and paint mixture and hang it up on the line to dry, Make sure they are spaced out and don’t sit against each other. Once dry, your rope is ready to sew!

step three

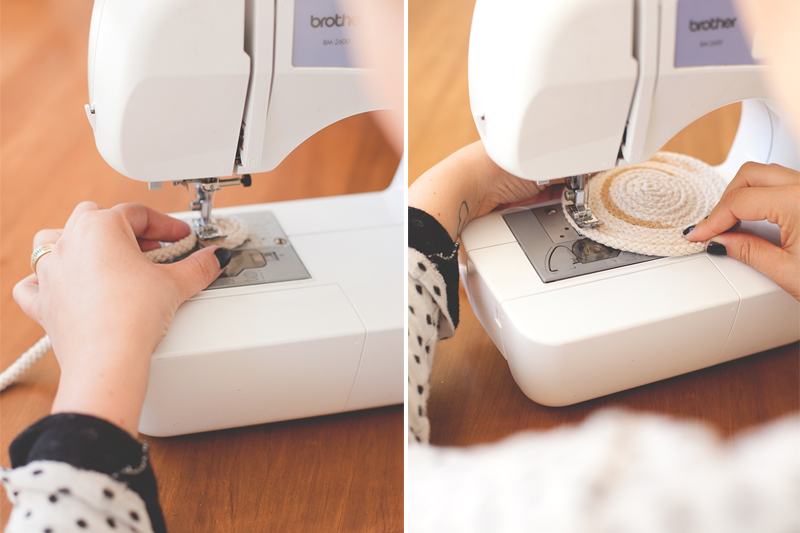
Set your machine to zig zag stitch. Starting with a small coil  begin to sew, I found at this stage it is easiest to use the hand control on the sewing machine as it difficult to push it through a turn. continue sewing until you have the desired  diameter of your vessles base, I made mine 150mm.

steps four

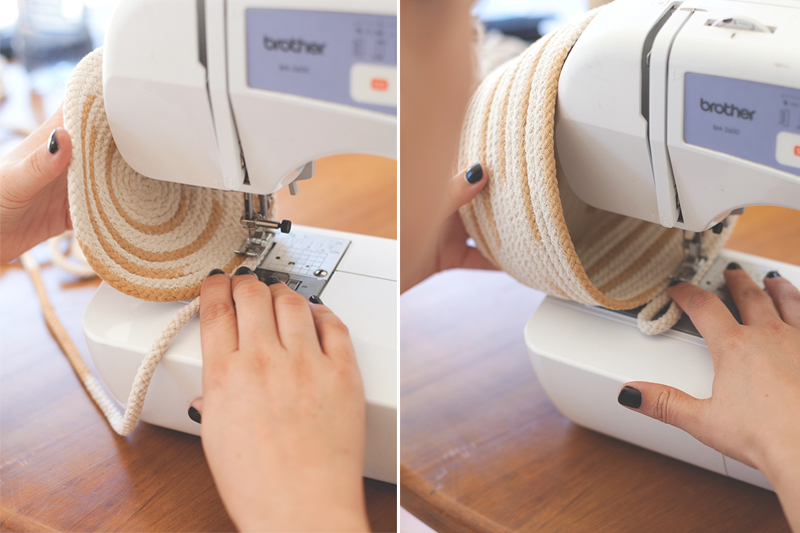
Next, Turn the base on a right angle ( the more angle you use, the more abrupt the sides will be ) continue to sew. Once you are a few centimeters from the end, loop the rope back under itself and sew to finish. Voile! You’re finished! Now fill with any of those bits and bobs then sit back and admire.

IMG_9034

Until next time,BlackbirdBLOG signature

MAKE IT/ fridge makeover

title
IMG_8904blackbirdblackboard2blackbirdblackboard

If you follow my instagram you would know that we are up to our eyeballs in renovations, and if you have renovated before you would know that before you know it the kitty is empty and you still have a lot to do ( even when you have watched every bloody penny ) so there is always room for fast, effective and cheap makeovers.

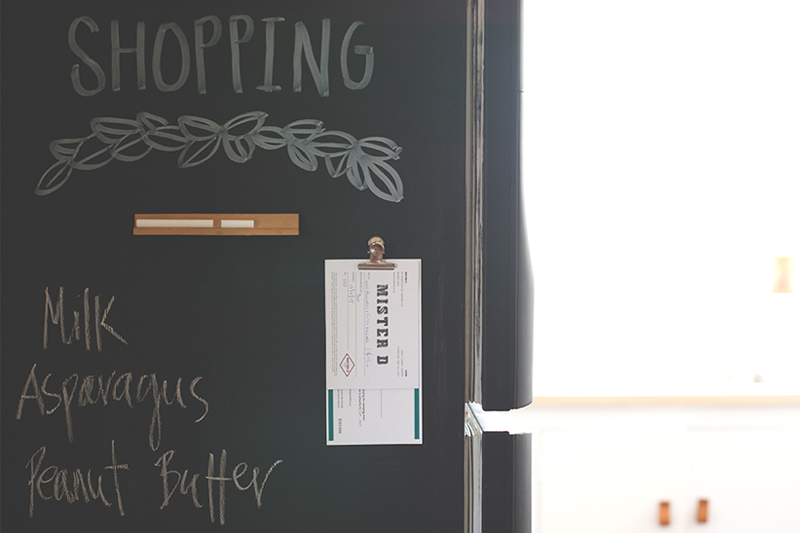
Here is mine on our old beast of a fridge.

First of all I need to diguse the not-so-cool retro exterior ( which, in my haste I failed to photograph ) think grey, cream and pink. ugh. Before I painted I gave it a thorough clean and then a light sand with wet and dry sandpaper. Then using Resene Blackboard paint I lathered on one coat, letting it dry, then applying another. ( Note: Don’t try to be a speed demon like me and not tape the edges, or it will result in messy little brush marks where you don’t want them )

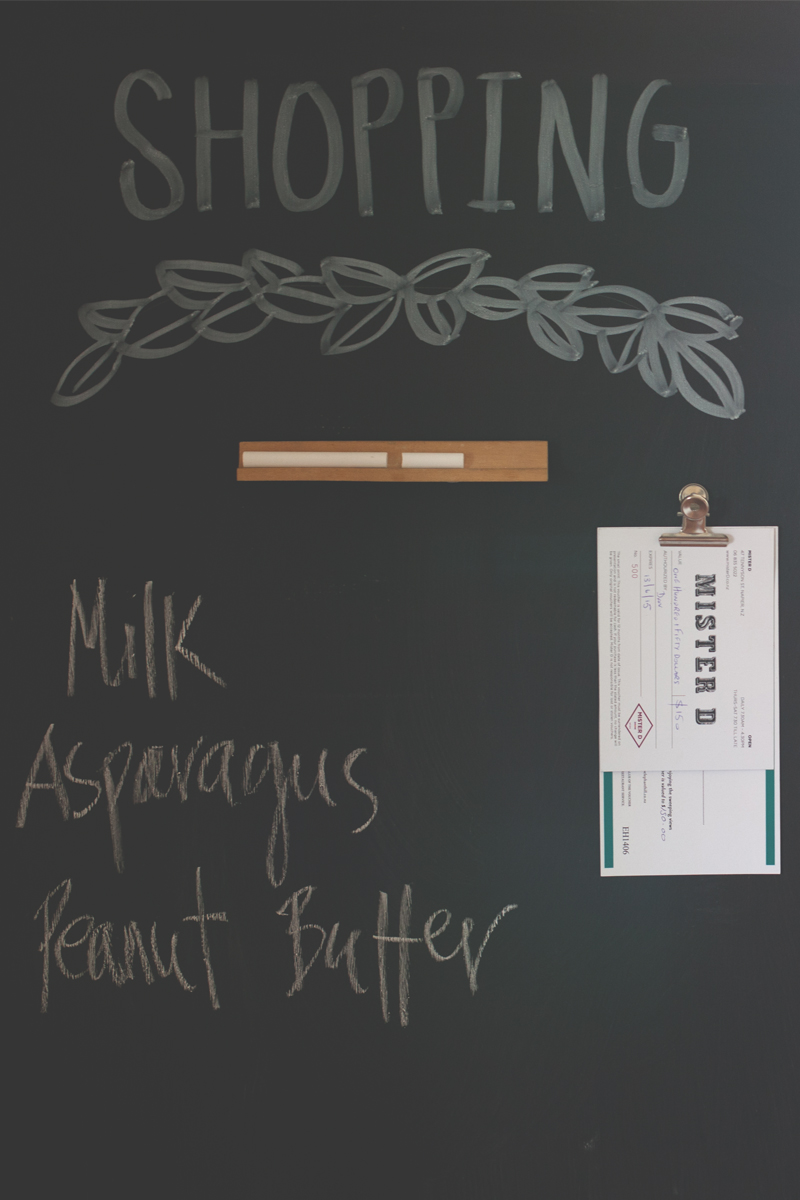
With it finally dry, I had to decide on a little decorating of sort. After countless ideas and drawings I decided for our kitchen, it need simple and classic, enter the laurel. This time I slowed down a little and actually measured out where I wanted the laurel to sit and the writing to go. Still wanting to keep it hand finished I drew and wrote with CKS Window marker from Warehouse stationary.

For the finishing touches I needed somewhere to put my chalk, so I repurposed an old wood scrabble rack and blue tacked it to the side. Then super glued a small magnet to a bulldog clip to use as a handy docket, postcard or voucher holder!

All up this makeover was super fast, and pretty cost-effective too.

Until next time,BlackbirdBLOG signature