MADE & MAKING

The Anima Pant & my rekindled love.


IMG_7142

fabric

I have been a bit quiet here as so late, for obvious reasons I have been taking some time out….ish. Trying to get my head around not having our Coco Darling with us, and slowly trying to recover from birth and so on, it is a bloody long road I will tell you that.

In the process I have gone back to the sewing machine. Sewing and I have always had a rocky relationship. I love the outcomes of sewing, but putting time into the relationship, I had no patience for that. We went on a few dates, things could have got serious, but I didn’t want to put in the effort and we lost touch.

But it seems sewing was that  ex boyfriend that hunts you down on Facebook to catch up, only this time I said yes.

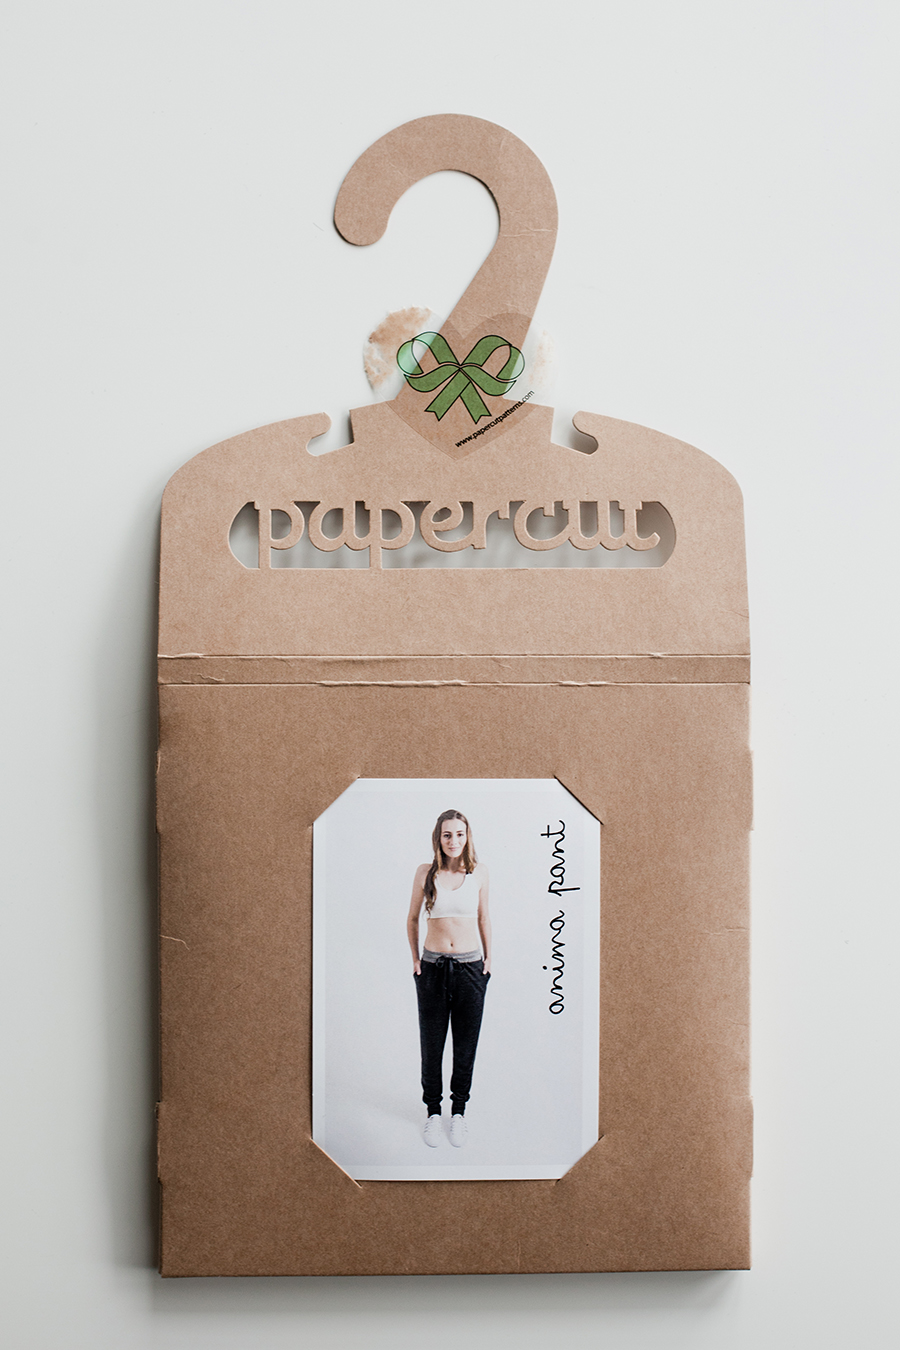
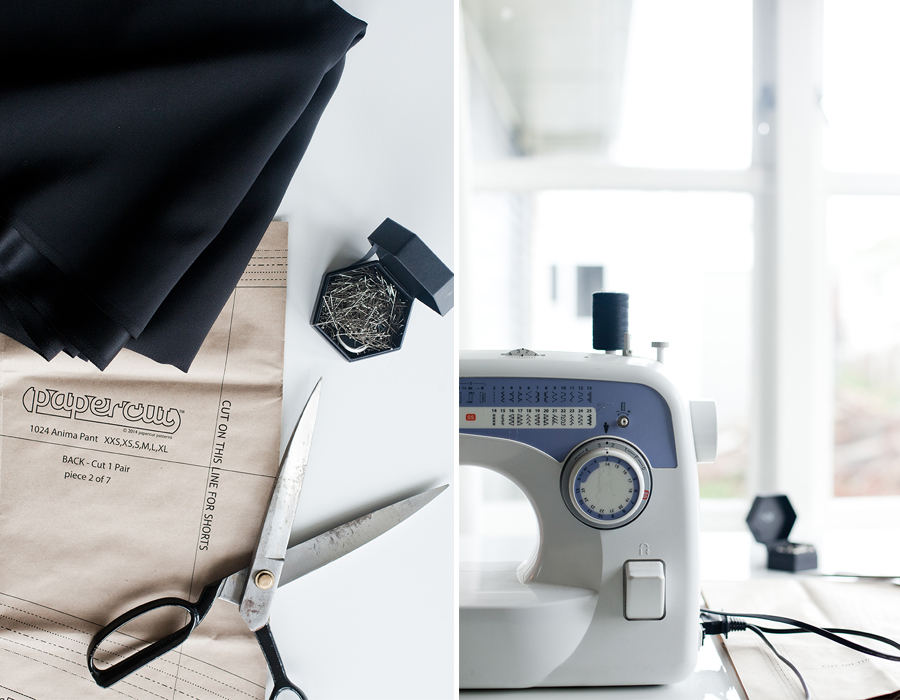
So here we are again, we had a awkward start, but we seem to be falling in love again, and I like it.  I was always the one who just went at it like a bull at a gate, no thought, no patience, just make it happen, and it wasn’t pretty, remnants of half finished garments sat  in a ‘ try again one day’ box. But now, it’s a little different. Maybe it is because I am older and wiser, or maybe it’s because I met Papercut Patterns. Either way, there is rekindled love. Starting with the Anima Pant. I am making mine out of some stretch satin from The Fabric Store, I have decided to use the backside as the front side so it’s nice and dull, topped off with merino cuffs. Comfy and stylish. Dream.Come.True.

I will live in these. When I get back from the outrageously hot Thailand and Vietnam that is. Yep, three weeks of vacation coming our way. More on that next time.

So get out the sewing machine and rekindle that love. And while you are at it you can enter to WIN the full catalogue of Papercut Patterns and a bunch of beautiful fabric from The Fabric store by entering the Amina Pant competition.

 MORE INFORMATION HERE & HERE

Until next time,BlackbirdBLOG signature

MAKE IT // brass curtain tie back

TITLE

The master bedroom is getting there, and one of the last things I wanted to do was to make some sheer curtains, to add privacy and to give it all an extra lux feel. Who doesn’t love a little glamour in the bedroom ah girls?

First job was finding the perfect fabric. Something that fell beautifully, was sheer, but opaque enough and colour perfection. Of course my dear friends at  The Fabric Store were beyond helpful and amazing and found perfection amongst their rolls of fabric.

Next, I needed to make the tie back.

Here is how I created mine.

ONE


YOU WILL NEED //

A brass swivel eye snap hook, Available at your local hardware store.

Cream cotton cord, I got mine from my local Emporium.

Scissors.

Needle and thread.

IMG_5901

TWO.1

METHOD //

Measure loosely around your bunched curtain, double that measurement and this is the length of your cord.

Next, pull the cord in half, with your two loose ends in the middle, loop the cord through the eye of the snap hook, using a cow hitch knot.

Finally, Take your two loose ends, overlap and stitch the needle through both. Loop around, stitch again, repeating until the ends are secure and won’t pull apart. At this point, if you don’t want thready ends, use a long length of clear tape and wrap it around the join.


IMG_5911

And you’re done! Simple, cost effective and looks bloody grand, Tick, tick, tick.

Until next time,BlackbirdBLOG signature

MAKE IT // cotton knitted dishcloth

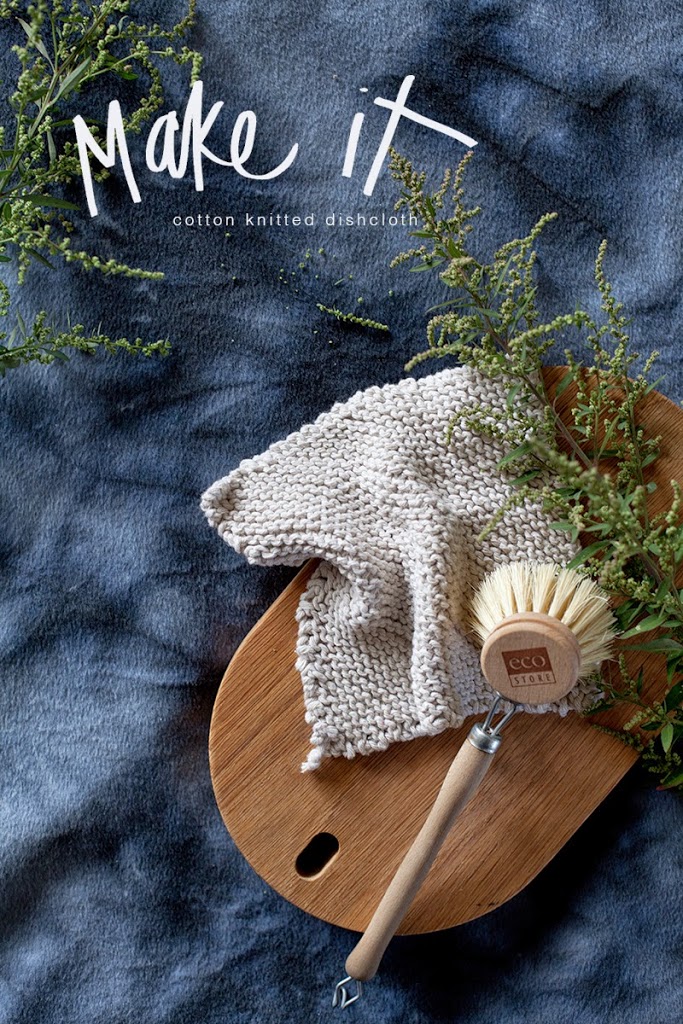
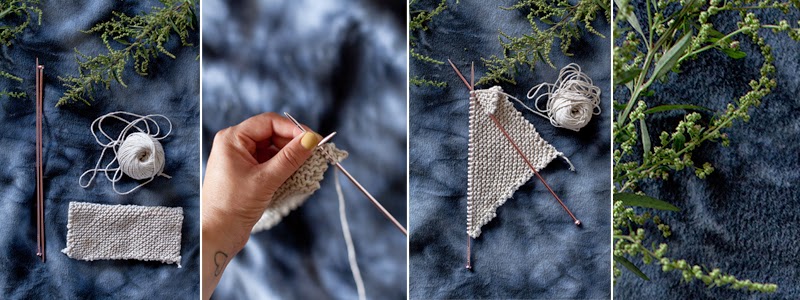
Let’s face it, for the most part, dishcloths are pretty darn ugly and seem to die after a few washes.  I mean I know it is ‘just’ a dishcloth, but it is something we use multiple times a day, that gets used and abused and that generally hangs over your tap in the kitchen for all to see. So why can’t it be a bit pretty, cheap, even more effective and sustainable? These guys cost about $1.25 a pop, plus a little time and last through countless washes. Boxes ticked? Yes? And they are fairly easy too.

If you can knit a line, you can make them.

YOU WILL NEED //
One ball of cotton twine – I found mine at the local emporium, $2.50 for two

One pair of needles – Mine were 3.5mm, the smaller the needles the closer the weave

Scissors

STEPS //
Cast on four stitches
Knit one row
Increase by a stitch each row until you have 40
Knit one row
Decrease your stitches each row until you have one.
Cast off

There you have it. I will no longer waste time staring at the ugliness that was my dishcloth.

Go forth and knit your way to a prettier cleaning experience.

Until next time.BlackbirdBLOG signature

MAKE IT / concrete candles

I have to admit. I love my job, Seriously I do. I work with the best people, some of my nearest and dearest friends. And this issue of Homestyle is no different. It is packed with great people, amazing homes, and another little something from yours truly! It is also an issue dedicated to the women who brought us into the world. So in keeping, I raided my mothers collection of goodies, the beautiful wood tea trolley, brass jug and feathers, all from her curation. And she was even there hands on helping me, foraging for the Eucalyptus, mixing up the concrete…I tell you what, being pregnant is the only time I will ever get away with letting my mama carry everything! So thanks Coco Darling!…In that respect, three generations made these concrete candles. 

So here are some out takes. My mood board influenced by the ever talented Stephanie Somebody, and Ariele Alasko. The way I prepare, good old story boards, A snap of the goodies I used to style and the final product. My little behind the scenes if you will.

And finally, the how-to!

STEPS

ONE Start by rinsing out your containers. I used Pringles canisters, but you could use cardboard milk cartons, or anything else you can cut the top off to pour the concrete in, and tear away once it’s dry.

TWO Make up your concrete, following the instructions on the pack. Make sure it is thoroughly combined and the right consistency. NOTE: The more water you use the smoother the finish. 

THREE Using a funnel, pour in your concrete up to the height you want. Then tap the base on the ground to settle the mixture and get rid of any air bubbles. Top up if you need to. Push and jiggle the candle into place, making sure it’s straight and stable. Let the candles dry overnight.

FOUR Remove from the mould by tearing away the cardboard container – there may be a bit of concrete dust when doing this, so it’s best to do it outside. Finally, I washed mine in cold water and used a hard bristle brush to clean away any residual dust. And you’re done – go grab a lighter!

And to see the whole feature go buy yourself a copy, and maybe one for your mum.


Until next time

BlackbirdBLOG signature