
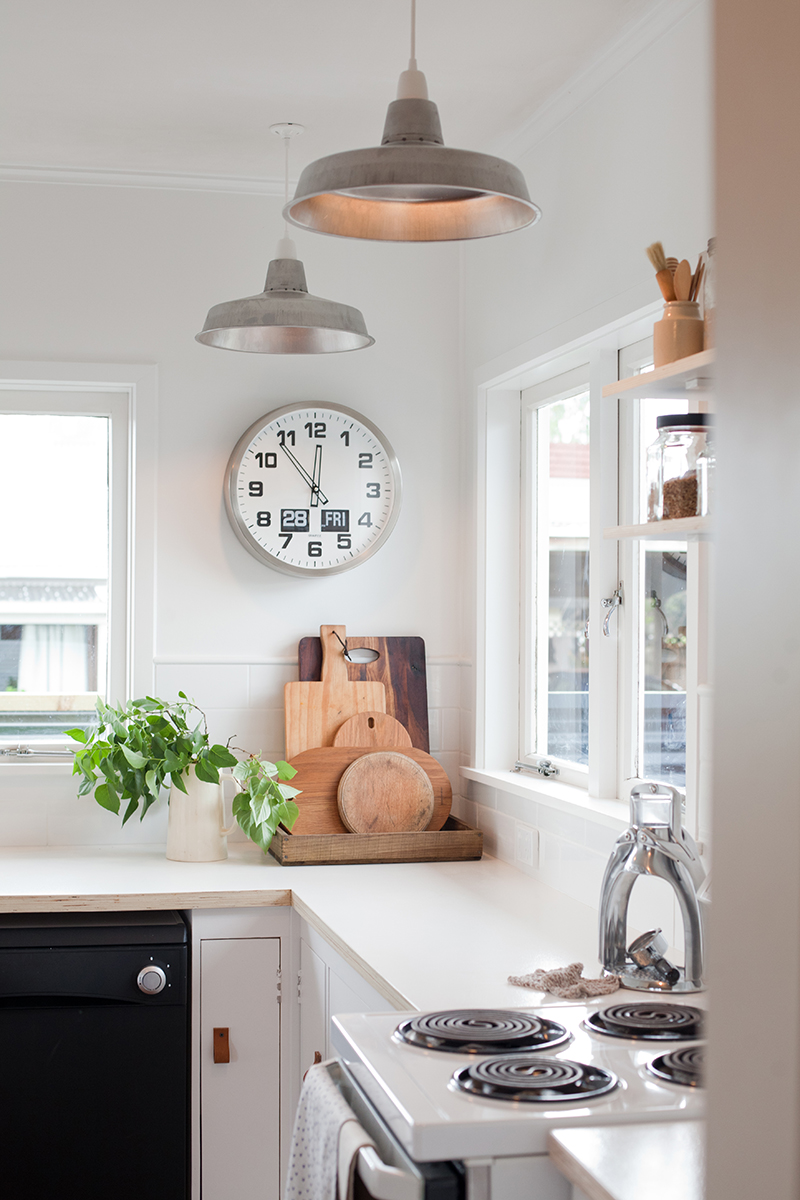
For those of you who saw the sneak peak, but didn’t see the February March edition of Homestyle Magazine, here is the final reveal of the Blackbird reno kitchen!
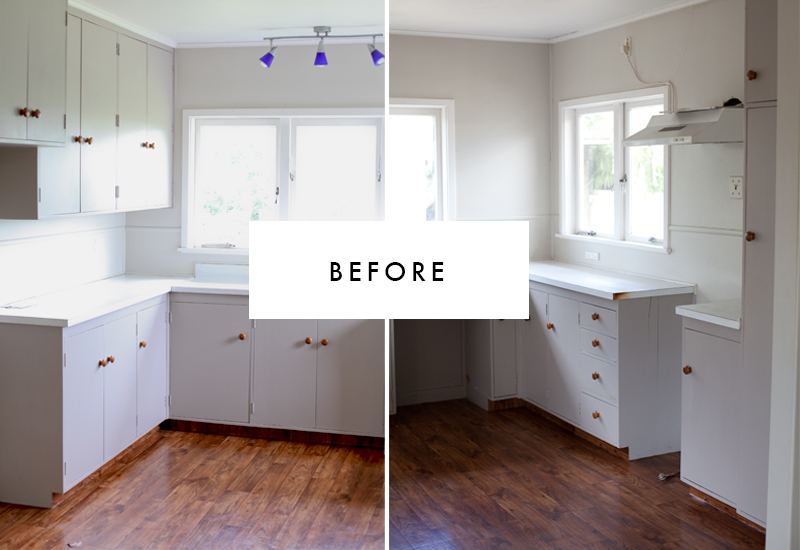
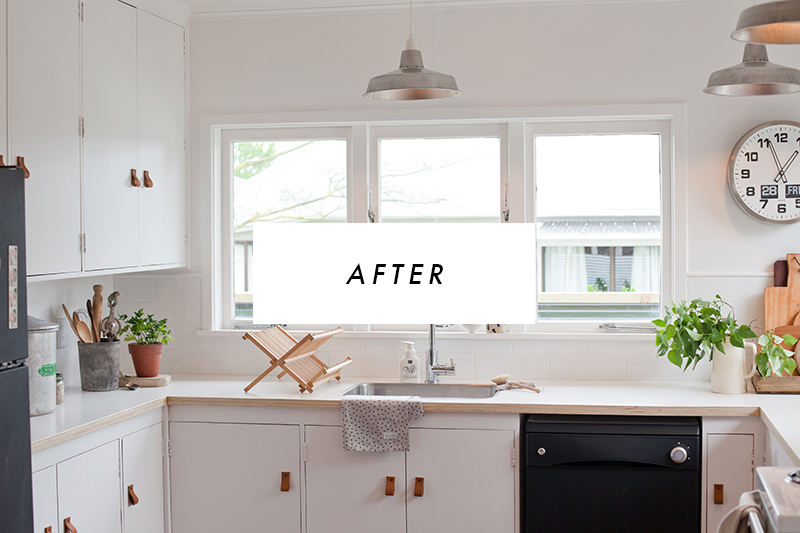
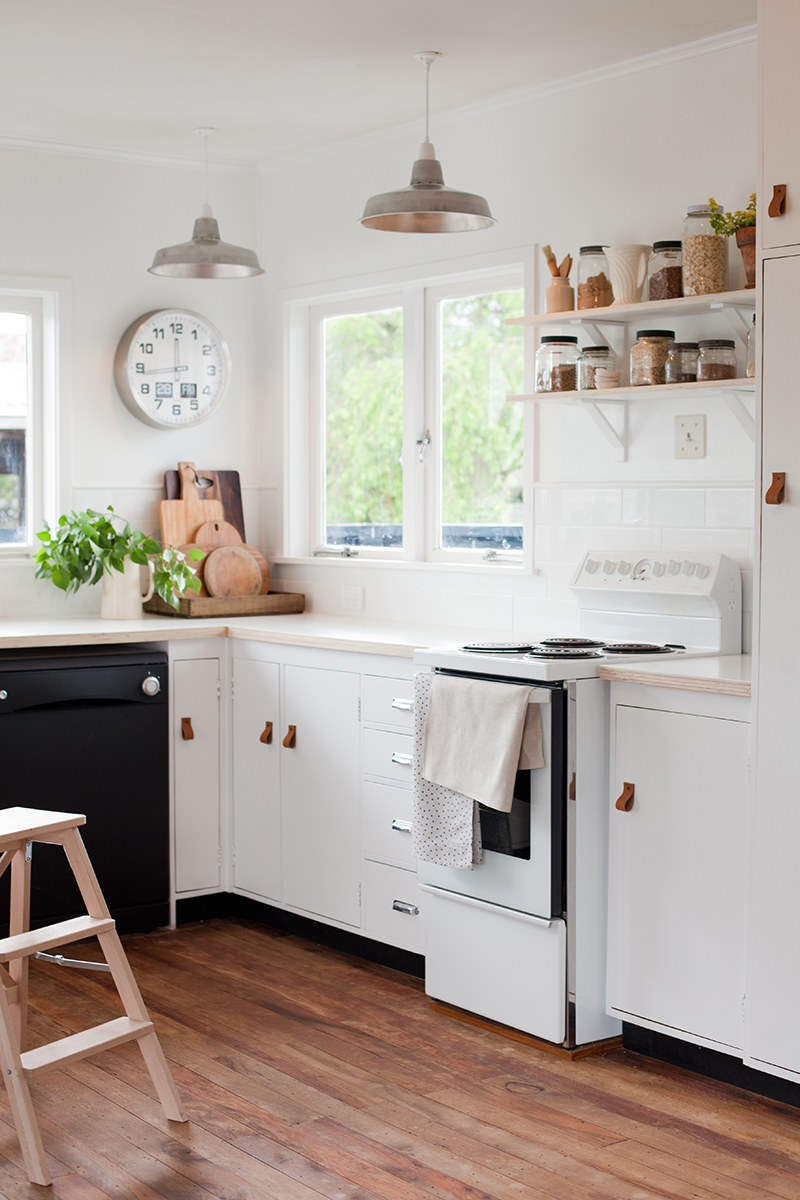
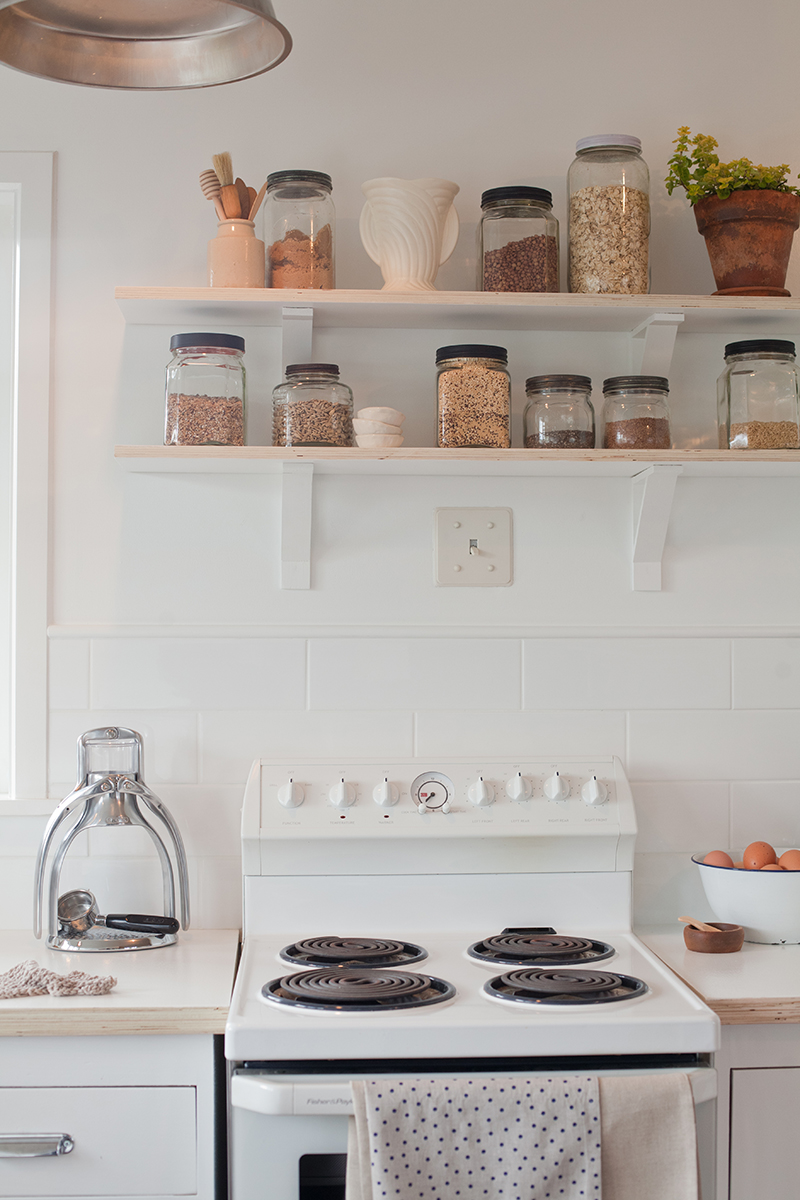
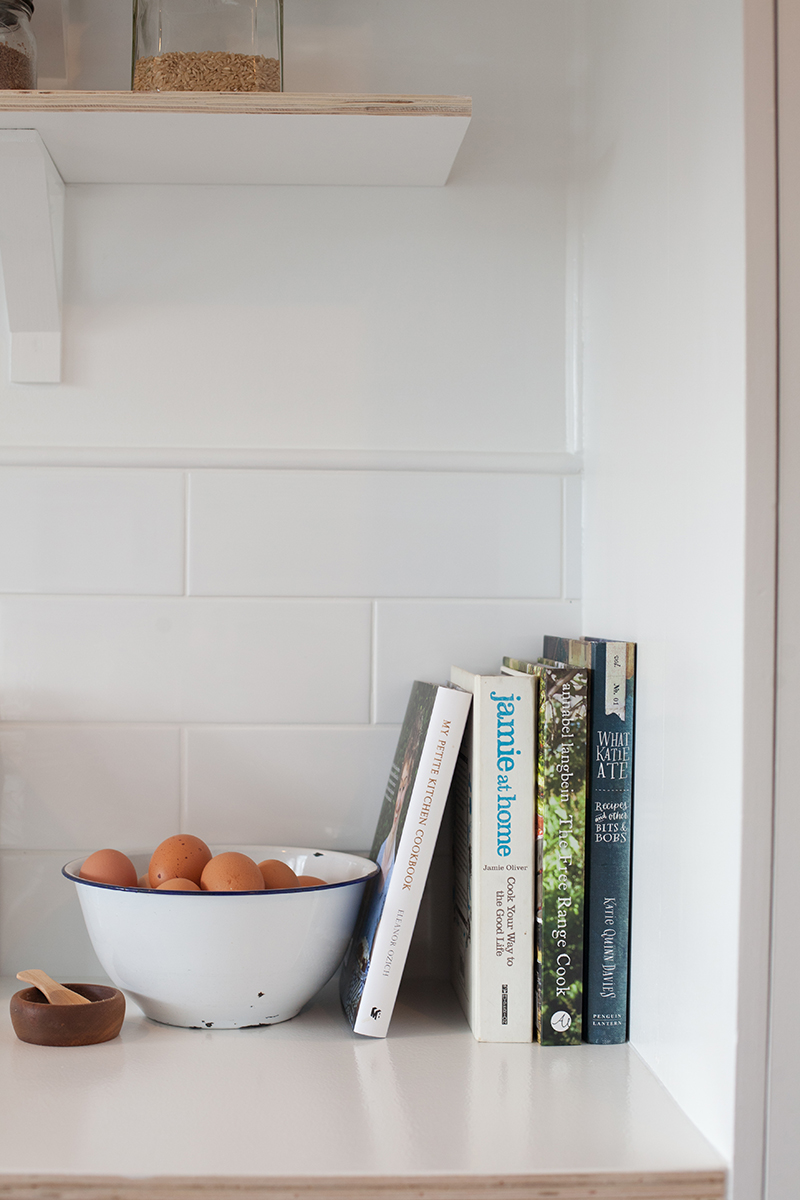
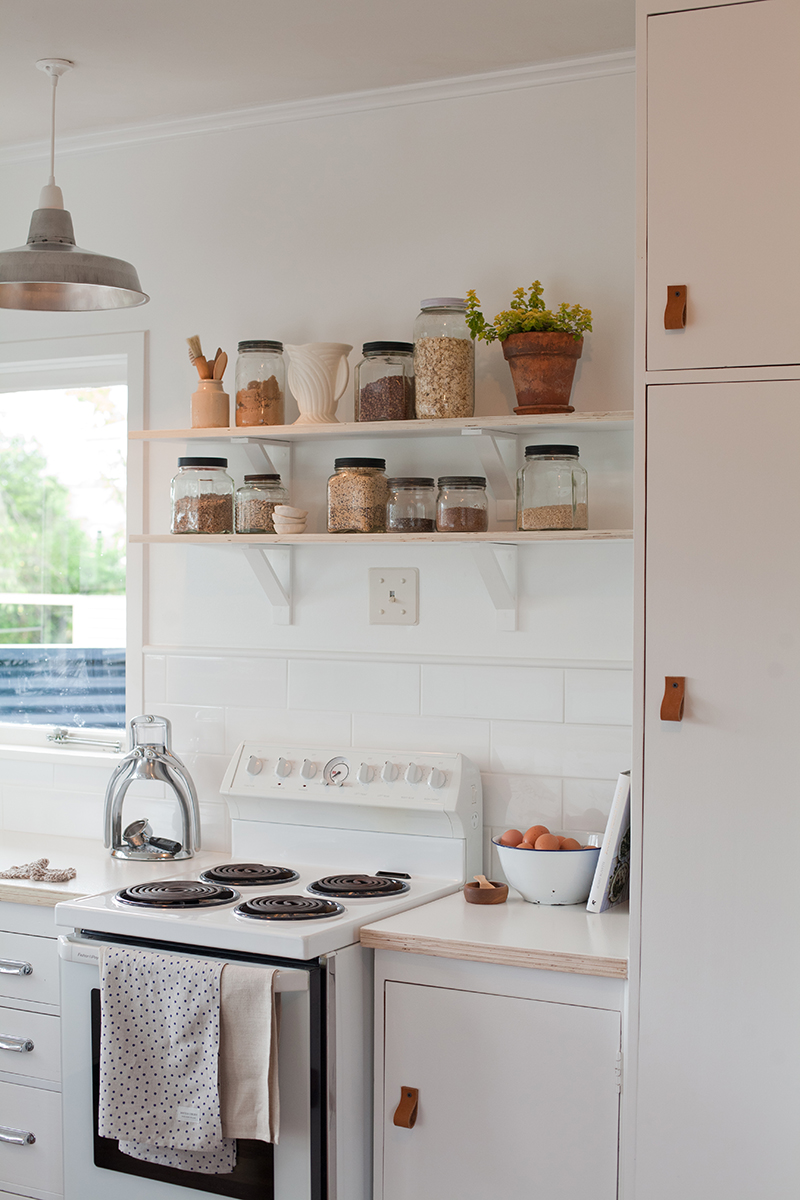
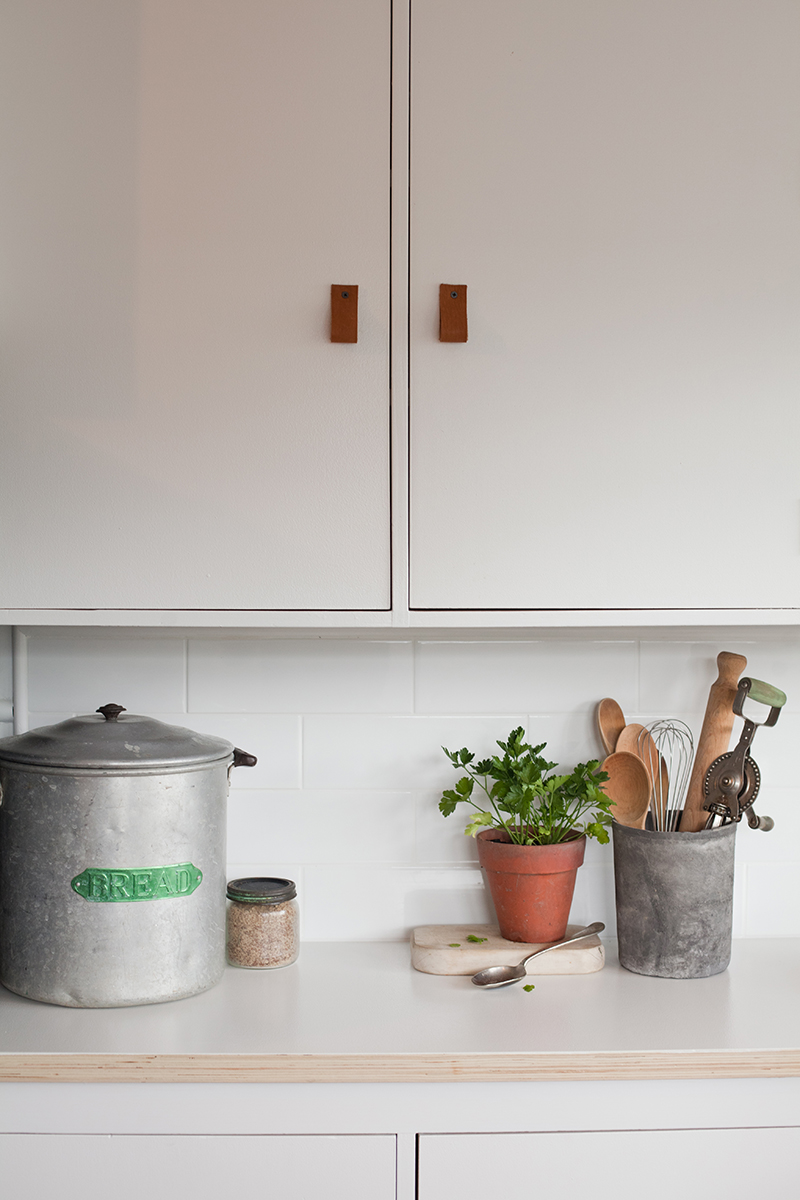
Although we were lucky to start with such great bones, like with the rest of the Blackbird Reno, the pennies have been tight. First things first we removed those hideous electric blue light shades ( in fact they came out the second I walked into the house ) and ripped up the faux timber board lino. Then off came the cabinet doors to be re painted in Alabaster by Resene and finished with our signature leather pulls. The new bench top was fashioned by my father out of Plywood. We bought a pre loved goose neck tap off Trade Me, Sink from the local wreckers yard, and tiled our own subway tile splash back. The fridge and dishwasher got a fresh coat of blackboard paint and the walls a bright white of Resene Alabaster. Up went the new lights and a few shelves ( thank you handy husband, I will keep you on. ) So after a lot of elbow grease and out of the box thinking we are done with the kitchen! Hooray!
Next stop Bathroom & Laundry!
Until next time

It looks fabulous. Thanks too for generously sharing the colours you have used in your painting – we ended up painting our studio walls in double alabaster (WHY are there so many different shades of white?! very confused I was until you helped me out).
No worries Leonie! So many whites!!! Glad to help!
Love it! Looks really beautiful. Those blue lights were ummm. .. pretty special
Right!? Golly! Glad they are gone!
Love love love it!!! Looks amazing
Love love love it!!! Looks amazing
Thanks Tamara!
Wow!! The kitchen looks fab, love the industrial touches. Is the splashback tile a matt tile? Did you do a white grout? Want to do something similar in our kitchen.
Hi Miriam! We used a gloss tile ( so much easier to keep clean ) and yes, white grout! The tiles where from Mitre 10!
Looks great – just wondered what you put on top of the ply bench top? Or did you paint?
I will be doing a post about that soon! We did paint, but you could also do ply with a white laminate on top!
Love it!! I’d love to hear more about how you went about making/fitting/finishing the bench top?
Hopefully a post about that soon Natalie!
I absolutely love it!!!!
Thanks Pip!!
Love your work….. it looks aMAzing!!!!!
Thanks so much Sharda!
Love this so much! Also gotta love that Rok espresso ‘machine’! So good for camping too :)
Also, the brackets for the shelves, where did you find those beauties?!
Thanks!! And yes, super for anywhere without power for sure! The brackets were made by the husband, but you can find them at Father Rabbit!
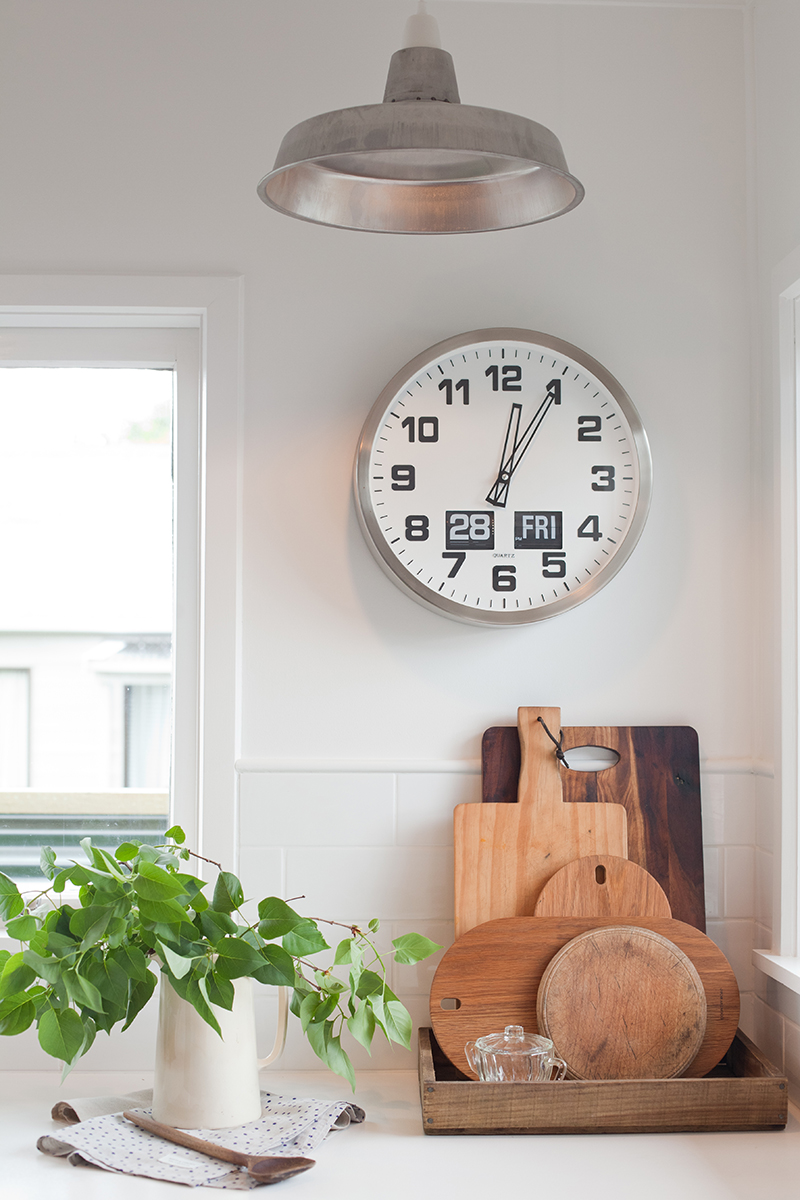
LoviNg the light shades and your clock. Where can I find?
Hi Kay! Light shades are from kiwi Living, and the clock was a great op shop find!
Tremendous effort! Or as I used to say growing up…choice!
Hi Gem, love your kitchen! Thanks for sharing. Just wondering where you got your dish rack from? Thanks Chelsea
Hi Chelsea! Thank you! Its an old ikea one!
That bench! We’ve just discovered that we need to replace our bench top (leaky tap = rotten bench) Would love to do something similar to what you’ve done… I’ve just seen in your comments above that you’re going to post something about it soon (hopefully really soon?! :) ) – yay!
So great Gem! Its been so great watching you emerge into such a talent!
xx
You are far too kind Toni! It is YOU that is the talent!! xxx
Hi – I would love to know more abyour your benchtop – I see your earlier posts that you were going to put up some tips about how you managedto do it, but haven’t been able to find anything about it. Weare hoping to do something similar with our 1905 villa, which currently has a stunning peach and turquoise kitchen….
Hi Kate, I see you made your comment in 2015, so I’m wondering how you got on?
I recently became a home-owner and stumbled upon this beautiful reno as I’ve been trying to make improvements on a budget. I’ve been dying to know how they did these benchtops, too! In a homestyle article (link below), I found out they used paint and Uracryl. After some pretty diligent researched have come up with my basic plan. Have never tried something like this, so here’s hoping it works!
Materials:
2 x sheets 18mm ply (Mitre 10)
Tinted bonding primer (from Resene)
Uracryl (from Resene)
Marine grade varnish
Saw/sander/Sanding paper, etc.
Plan:
– Measure benchtops and cut main pieces to size, from the plywood (I’ve gotten as far as this step!)
– Cut ply ‘stringers’ (These are essentially ‘borders’ around the face pieces. They will be laminated onto the underside of the benchtop to give the illusion of thickness (32mm, not 18mm), without fully doubling up on two solid layers of ply. (You can see above that the shelves are half the thickness of the benchtop, so I assume they did the same.)
– Glue stringers onto base of benchtop, and cut-and-butt join corner benchtop pieces together. (I.e. assemble the benchtops as they will be installed – I have a friend to help me with the tricky bits of this).
– Sand, paint, sand, paint… as many layers as needed to get good coverage and nice and smooth. (Resene told me Uracryl does not bond well to timber, so I am looking at a tinted bonding primer here to promote adhesion, rather than a standard paint. At least, I’m hoping I can tint it and that it will double as my colour).
– Finish with at least two coats of uracryl.
— I’m not quite sure yet how I’ll handle the edges. I want the timber finish like this project has, but if Uracryl doesn’t bond well, that’s where I’ll go back to my marine grade varnish. (Kitchen is a wet area, so marine grade is important, so I’ve been told!)
I hope that helps someone else! :-)
https://www.homestyle.co.nz/so-fresh-and-so-clean/ https://www.homestyle.co.nz/never-been-better/
Also, here’s another cool approach I found: https://www.assortmentblog.com/assortment/2014/03/chalkboard-painted-countertops-open-kitchen-shelves.html?asset_id=6a00e54f926318883301a73d965244970d
Re this, I had to research what ‘furniture grade’ ply meant. It just means the outer layer is a hardwood, not ply. I haven’t sourced that for my project, as it’s having protective outer layers on it, not merely chalkpaint.
Nice feature on Remodelista brought me here… you have done a great job and I totally approve of the budget. Beautiful work top, good lighting choice and I love open shelves! (Living in the shaky isles, do you think you will keep those breakables up there?) Thanks for sharing your ideas!