
One of the major motivators for moving from Auckland to the Hawkes Bay was the want for more time, a slower life and to do all the things that we never had the room, time or head space to do in ‘ The Big Smoke ‘.
Restoring a beautiful old chair was on that list.
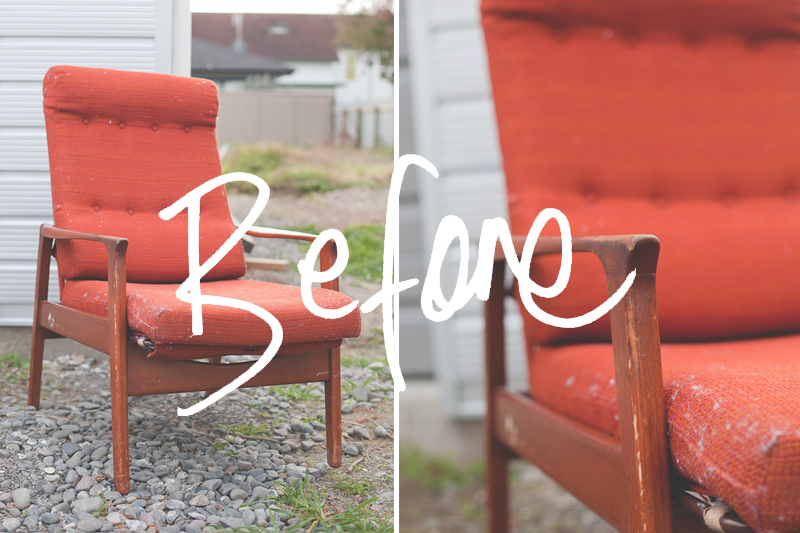
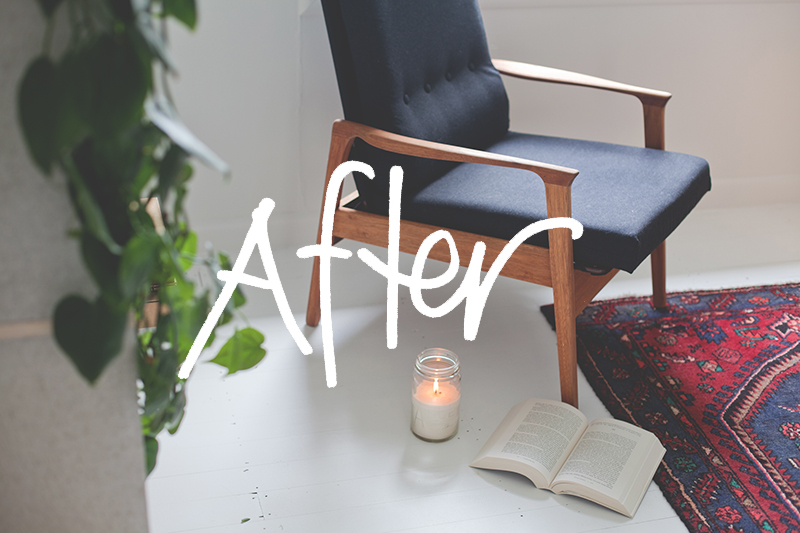
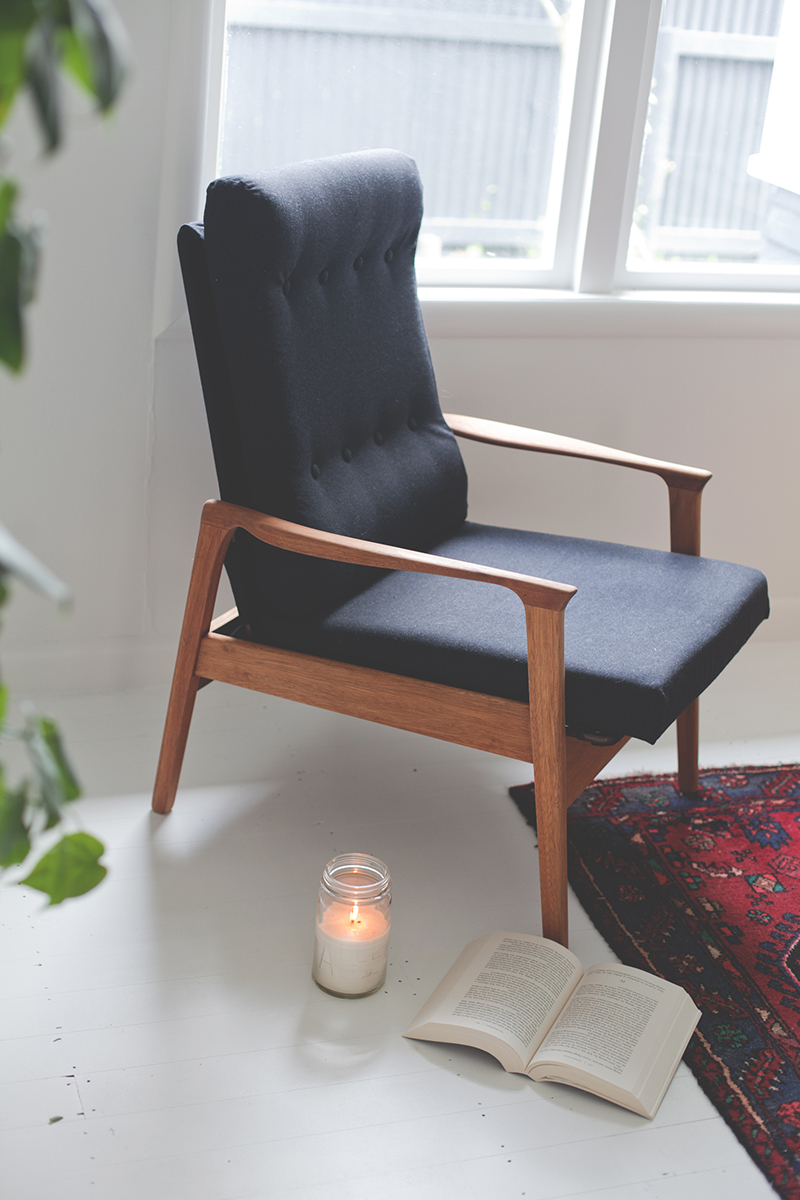
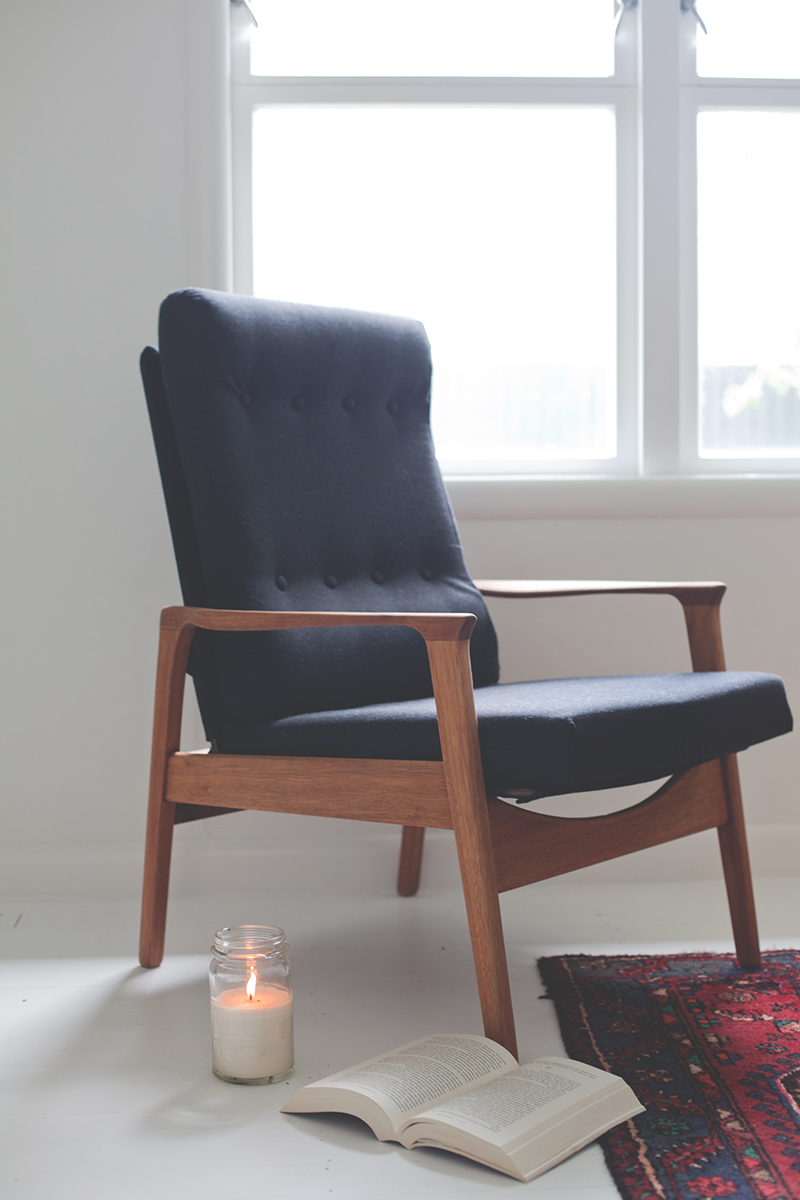
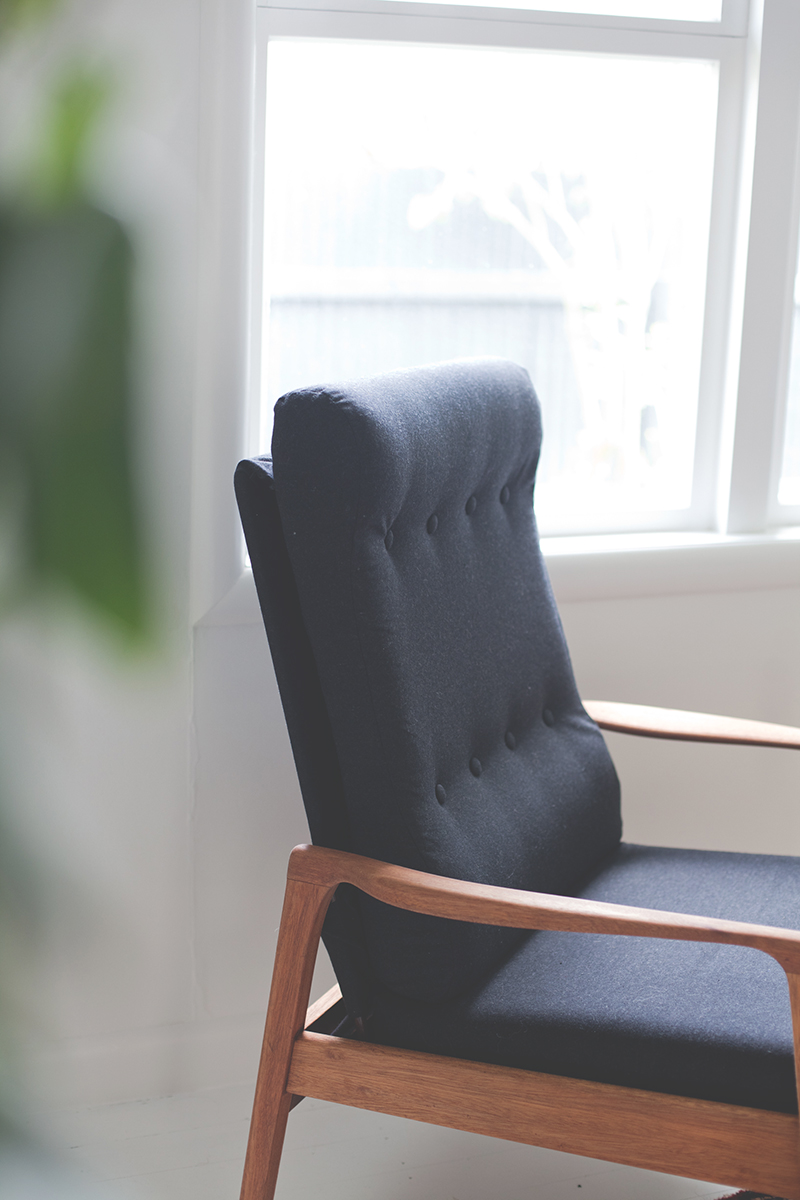
She was a bit rough around the edges when we found her, but for $20, how could I say no. Like a puppy at the pound I scooped her up and took her home. Weekends of sanding, and she began to look good again. Next, I called up my trusty girls at The Fabric Store. They supplied me with a heavy weight dark charcoal wool coating, perfect for recovering the old girl. Then there was the task of actually re-upholstering. Enter my ever apt Mama. ( Can I just say, Hooray for Mums and their bountiful knowledge. ) Sewing, Oiling and some self covered buttons later and she was as good as new. Or maybe even better, charcoal is far more her colour.
Until next time,
Love it! What an elegant and stylie upgrade. Could definitely pass for something from Douglas and Bec ;)
Love it!
LOVE it!!!!
So talented :-)
Lovely! Very sleek looking and great colour. You (and mum) are inspiring! (Yeah! Go the wisdom of mums and the recognition of daughters!) xx
Lovely Gem, that looks just like Gran’s ones – remember the teal blue and odd mustard/ gold, covered in Pop’s wool covers. x jill
This is simiar to a project I did a few years ago, with two chairs for $40 on Trademe. I was ok with sanding and preping the woodwork, but when it came to the upholstery, yip, had to call in mum as well! Mums are such fonts of information sometimes. Good job.
Hello! Can you please tell me how much fabric you needed to re upholster this? It’s just beautiful :)
Hi Alesha! I used around 2meters! It was quite wide fabric. But best to measure your exact chair to see how much you will need!