MADE & MAKING

SUMMER CINEMA // DIY

Summertime is here, the New years creeping up fast, And Homestyle and I have the perfect New years eve party for you!

We bring you the backyard movie night!

You will need ::

1 Great backyard
1 large sheet
1 Clothesline
1 projector
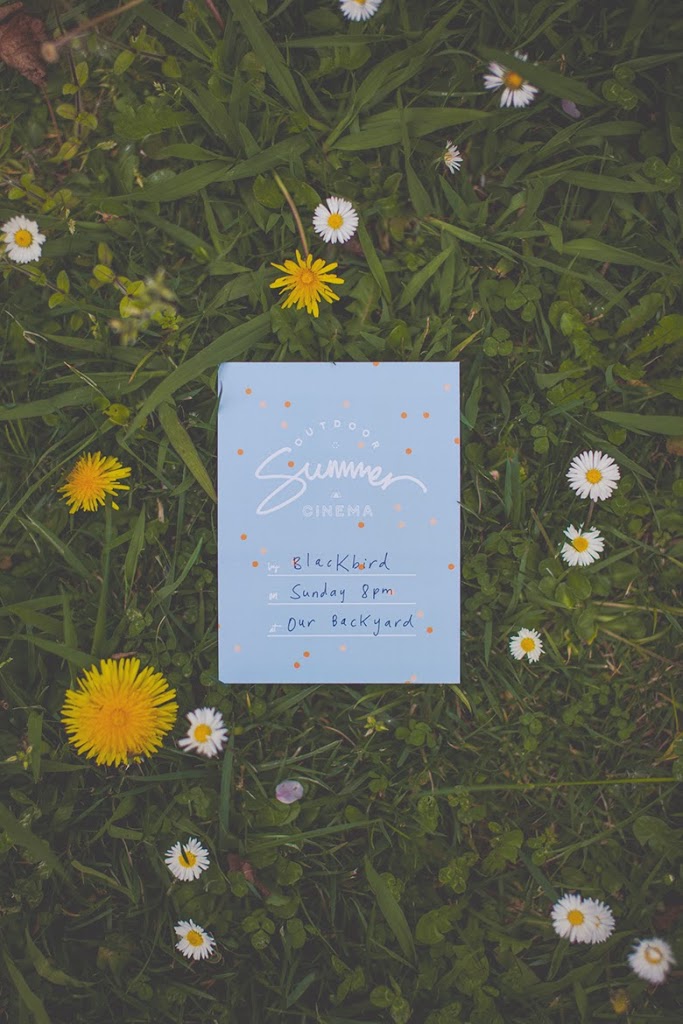
Cute invite, You can download HERE
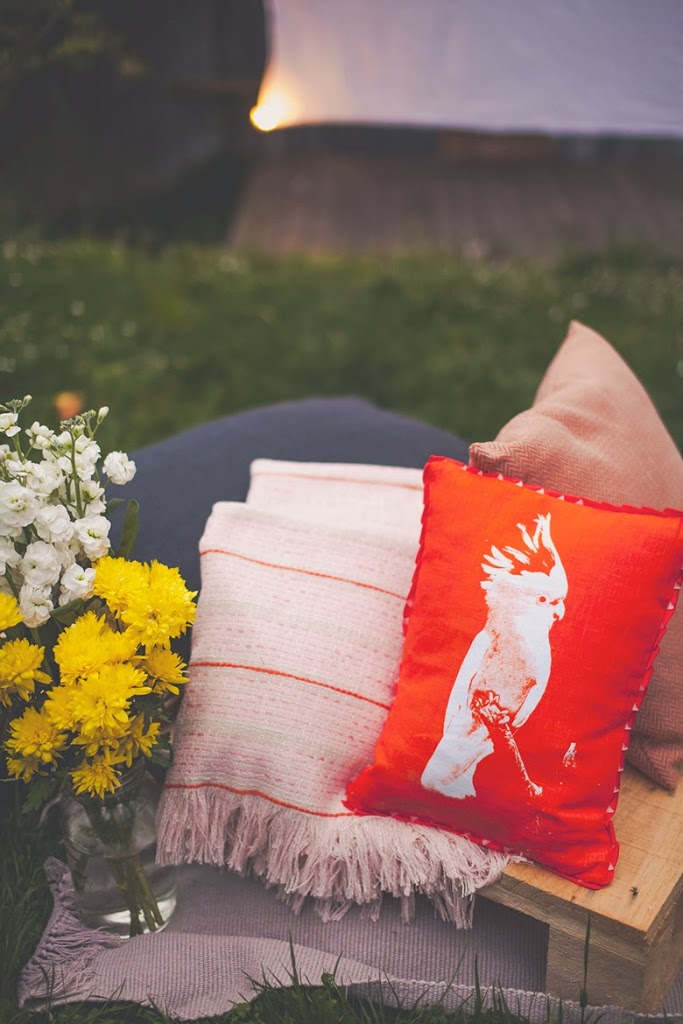
A few palettes
Mountains of blankets and cushions
One brilliant movie
Some great people to share it with!

With you large sheet and clothesline, you have set up your make-shift screen! So just line up the projector, connect it to the computer, and away you go ( I needed my handy computer wizz, but I am sure you are all capable! You can also always depend on Google ) Pop a couple of palettes around the place with cushions and blankets. Snuggle time galore!

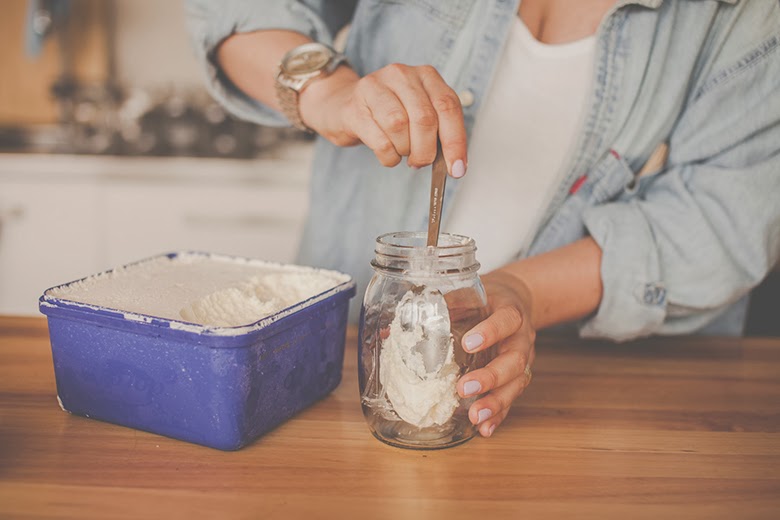
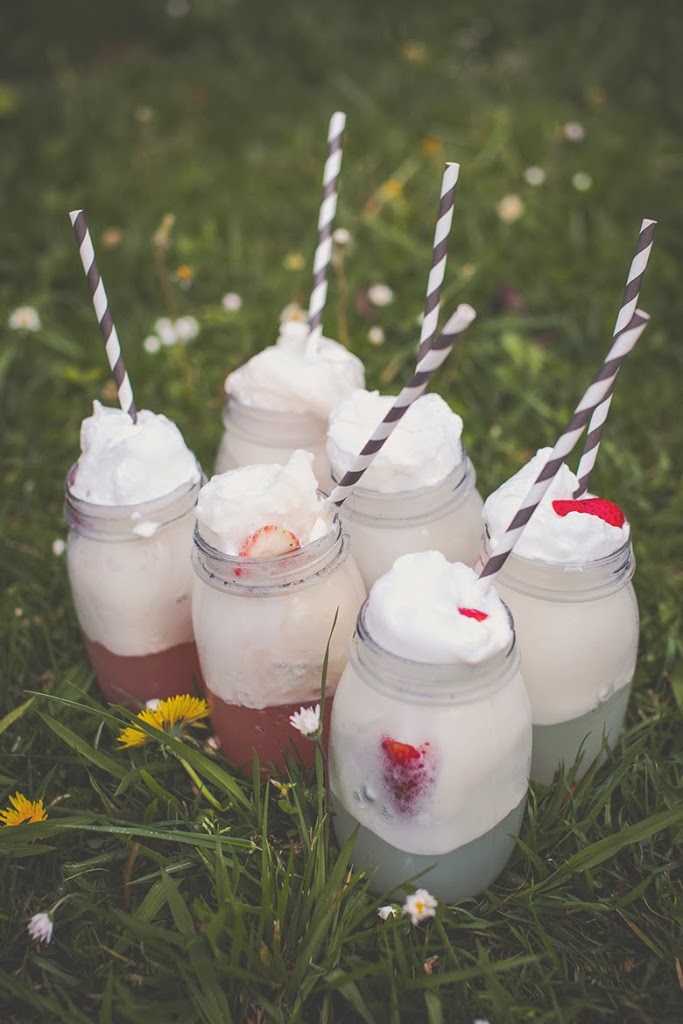
And finally, Treats. Ice cream Floats.  A bit of trip down memory lane, these are super simple and pretty darn yummy!

You will need ::

Vanilla Ice Cream
Strawberries or summer fruits
Lemonade
Pink Grapefruit Juice
Jars – Mine were from Countdown
Cute Straws – From Collected

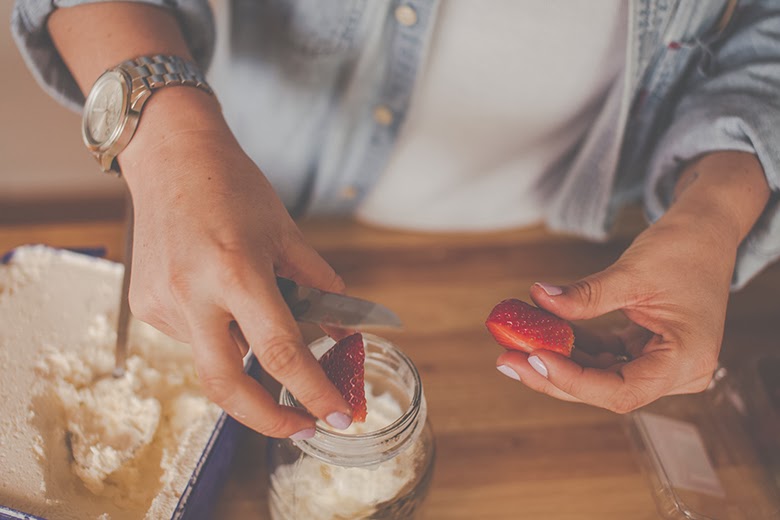
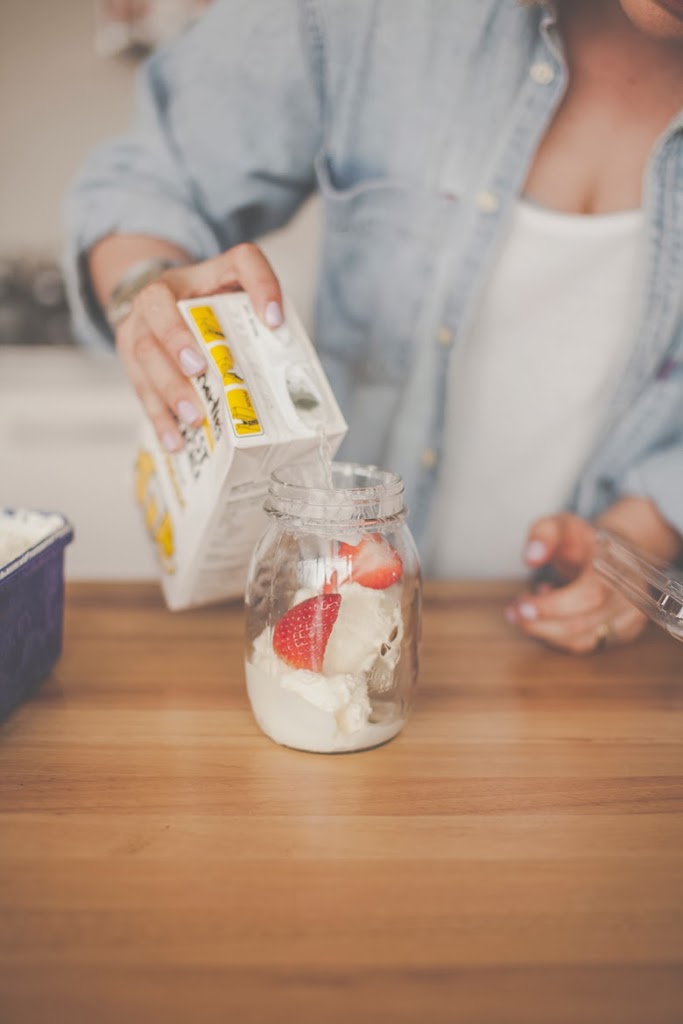
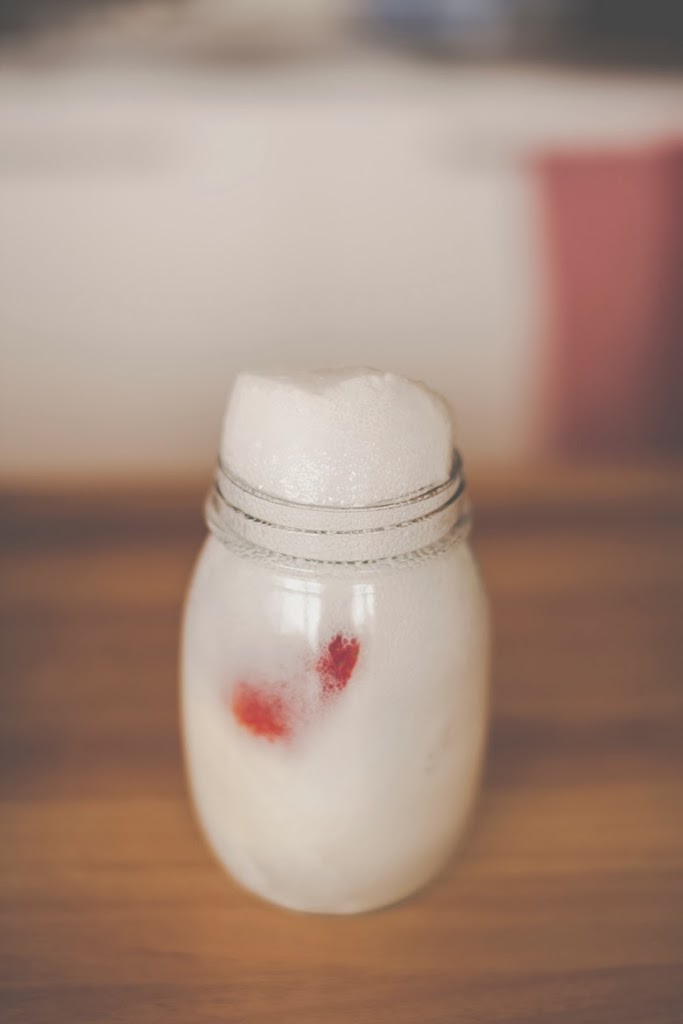
First pop in your Ice Cream, then slice in some fruit, pour 1/2 with Pink Grapefruit and then fill up with Lemonade. Cute straw to finish and Bam! Done, So easy!!!

Enjoy your summer!  ( Or winter for our Northern Hemisphere friends! )
Keep safe and see you in the New Year!

Follow my summer adventures on Instagram!

Until then!

BlackbirdBLOG signature

MAKE IT // Diy wrapping paper

IMG_3307

IMG_3308 IMG_3312 IMG_3315One of my FAVOURITE things in life is wrapping presents.
I am dead serious. I love it. And every year I like to do a new little DIY, almost always involving Kraft paper…This year was no different.

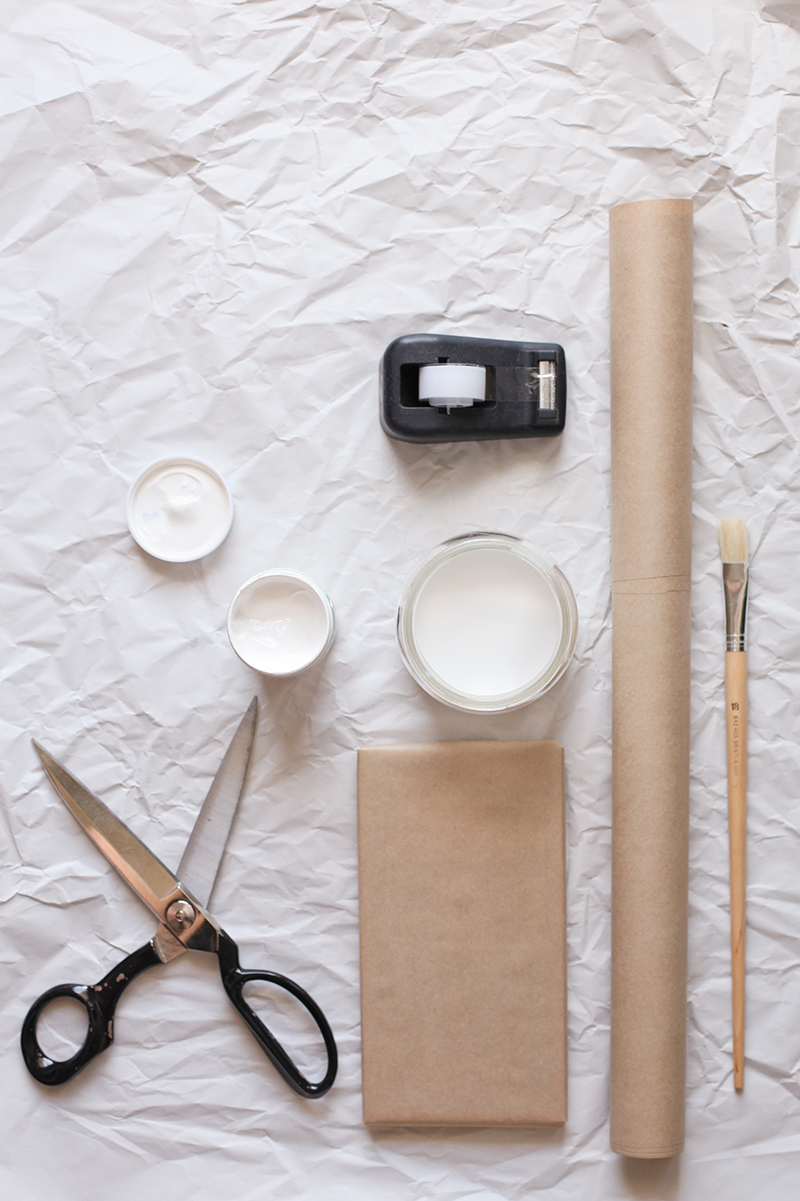
You will need //

White acrylic paint
A jar with a little water
A corse hair paint brush
Brown kraft paper
Scissors and Tape
Your choice of ribbon

Start by laying down a drop-cloth of some sort, your are about to flick paint everywhere, It gets messy.

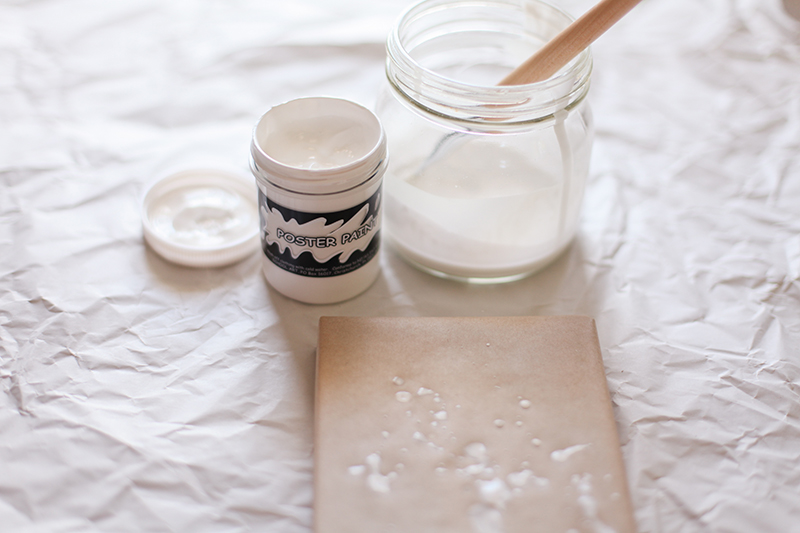
Once you are ready to go, drop a large dollop of paint in with a couple of teaspoons of water, Mix it up.

Then take your kraft paper, wrap your present.

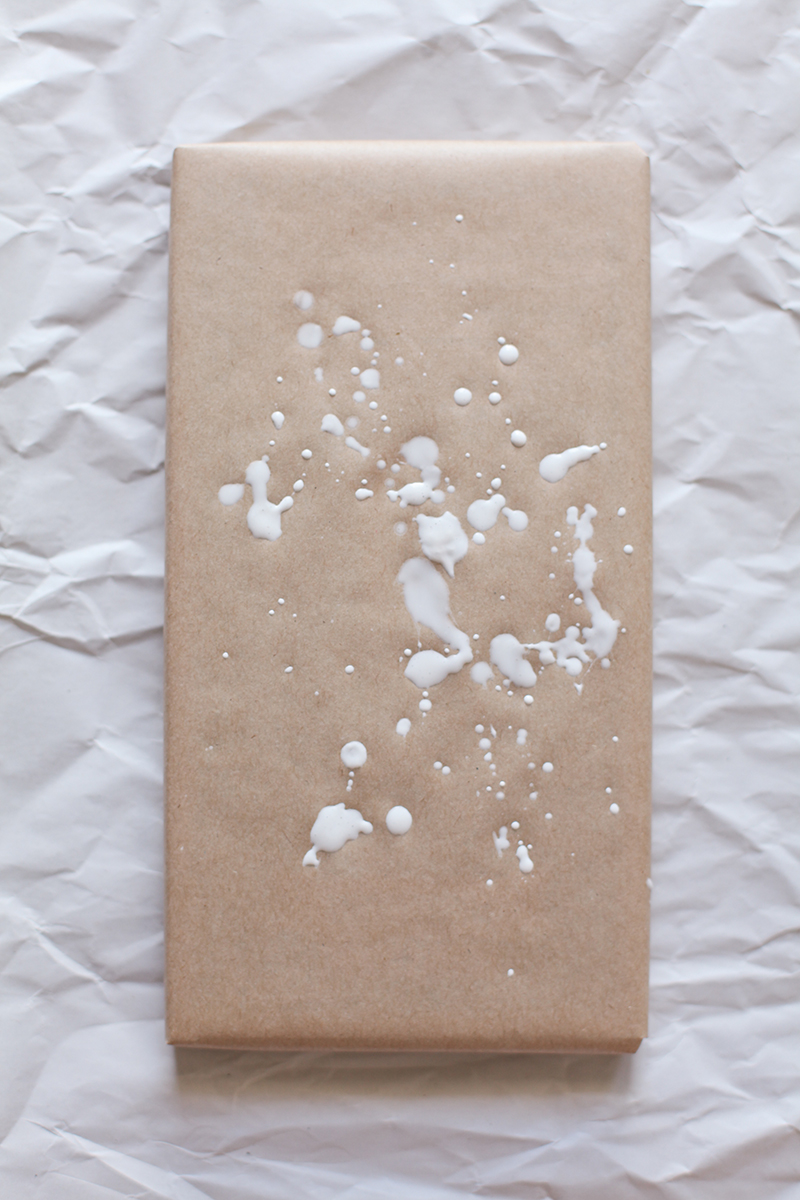
Then taking your slightly watered down paint, dip your brush in, and start flicking away! You can either flick the whole brush, or just the bristles, they make different patterns!

Then, lay it to dry, it does take a while, so best to do this in advance!

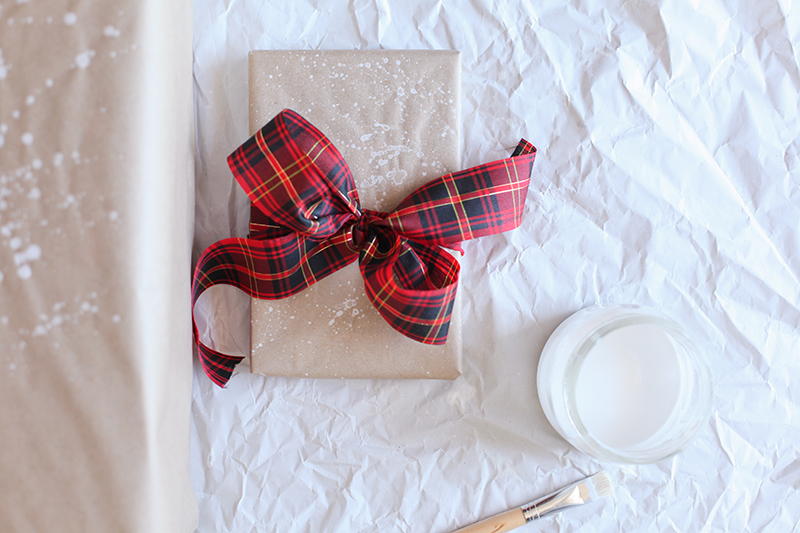
Then wrap with your ribbon! I went for a large tartan this year!

Get to it!

Happy wrapping!

Until next time

BlackbirdBLOG signature

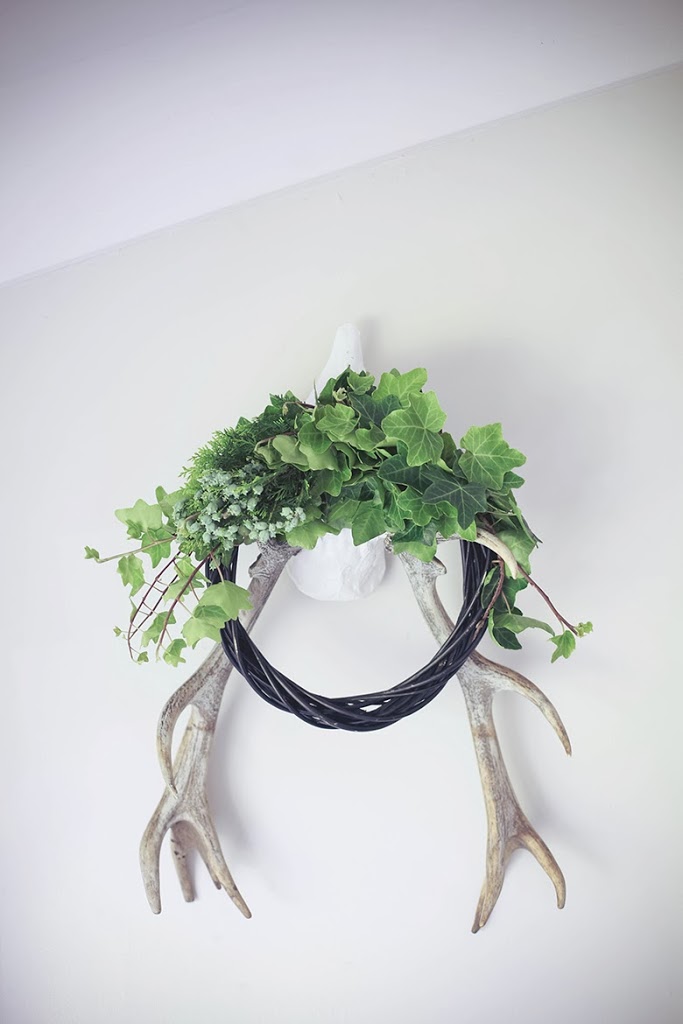
MAKE IT // foraged wreath

I bloody love Christmas. Any excuse to decorate, make delicious food and hang out with great people is A-Okay with me.

I always try to do at least one DIY each Christmas, It’s so much fun, and there is always something that I have had brewing up top. This year it was the foraged wreath. I is no secret that I love a bit of greenery. So off I went, roaming with my giant scissors ( I really need a more discrete pair ) and found myself some goodness.

Here is is the how to:

You will need:

One wreath, mine is from Geoffs on Dominon, and I sprayed it black, comes in natural.

Foraged Foliage and fauna. Try to use foliage that will keep well and not wilt fast. Most evergreens are good!

Pins

Instructions :

Start by winding the Ivy around the wreath, and tucking it into the gaps. Layering more and more, and then cutting the long pieces in half and sticking them into the sparse spots. Finally topping off with the seeded foliage. Mostly it held in by itself  but any loose bits I tucked in and used a pin to keep it sung.

And you’re done, Seriously, so easy!!!

Until next time.

BlackbirdBLOG signature

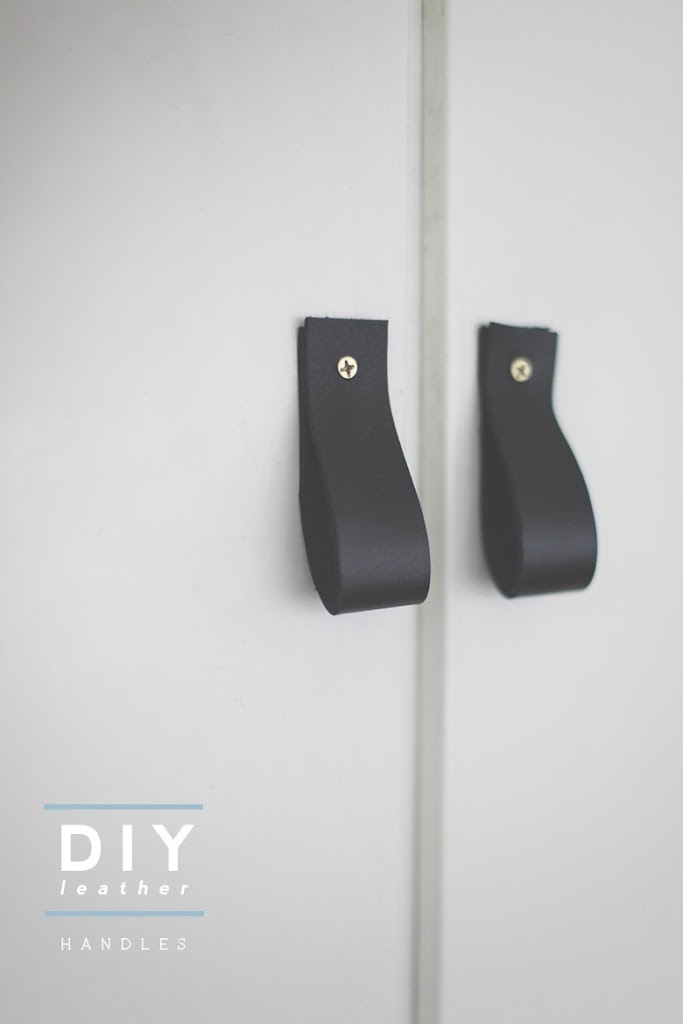
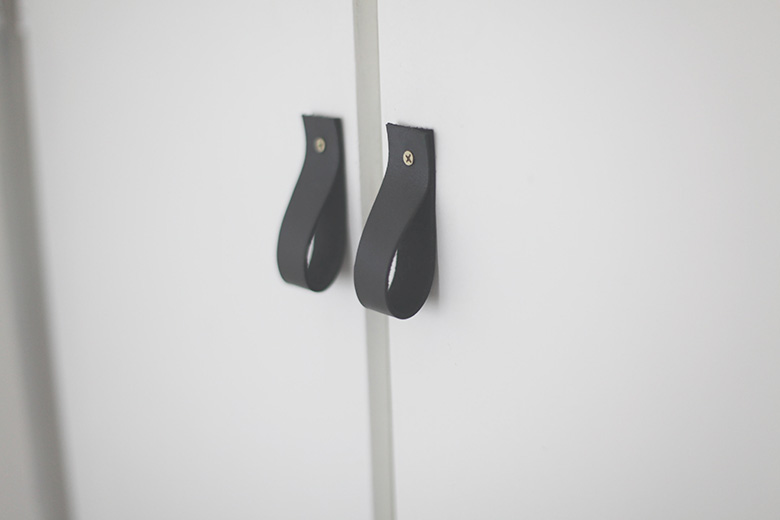
MAKE IT // Leather handles

Hands up if you rent? Hands up if your rental is pretty darn ugly? Hands up if you don’t really want to fork out loads of cash, but you don’t know if you will survive all the ugliness?

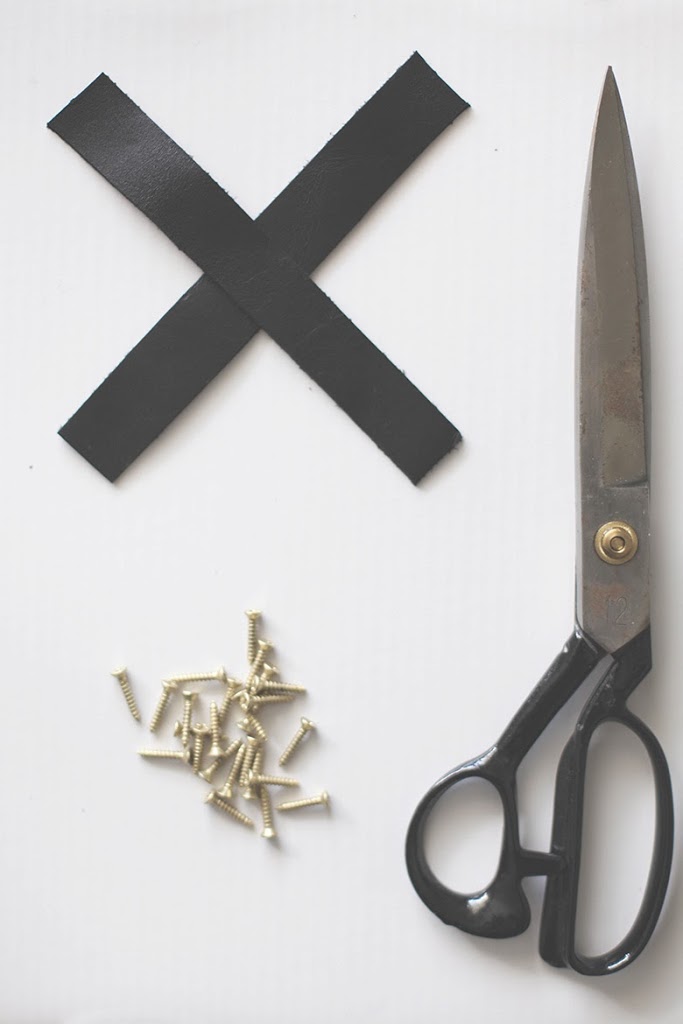
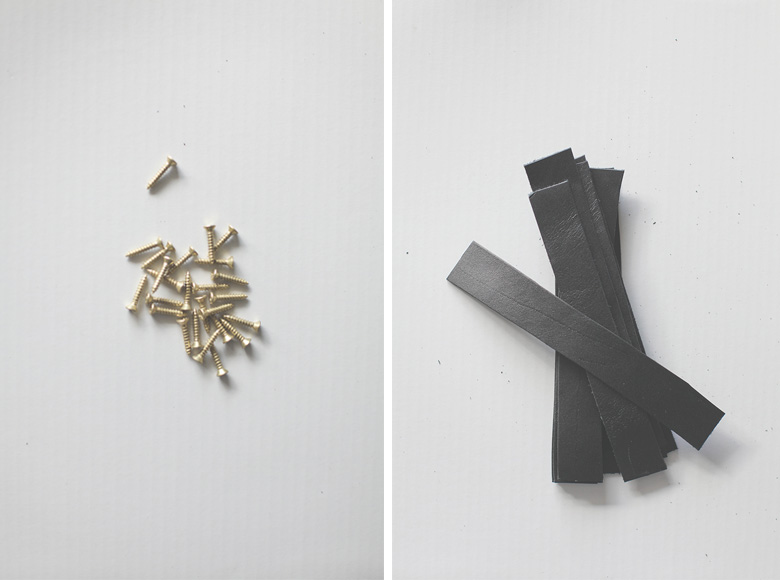
I hear you. And so does Almost Makes Perfect. ( If you haven’t been reading her blog, you reaaaally should. She is pretty cool if you ask me. And instructions for this DIY are HERE) And here is the answer. Leather pull straps. So.Easy.

Okay, maybe it was really easy because I bought the stuff and then handed it over to the husband. But even if it’s not the easiest, it is a heck of a lot cheaper than buying new handles. So there.

I used leather I got from Lapco and brass screws from Bunnings.

Done! No more ugly handles! Phew.

Until next time
BlackbirdBLOG signature
P.s That husband ah. Bit of a babe.