Tag Archives: MAKE IT

MAKE IT / concrete candles

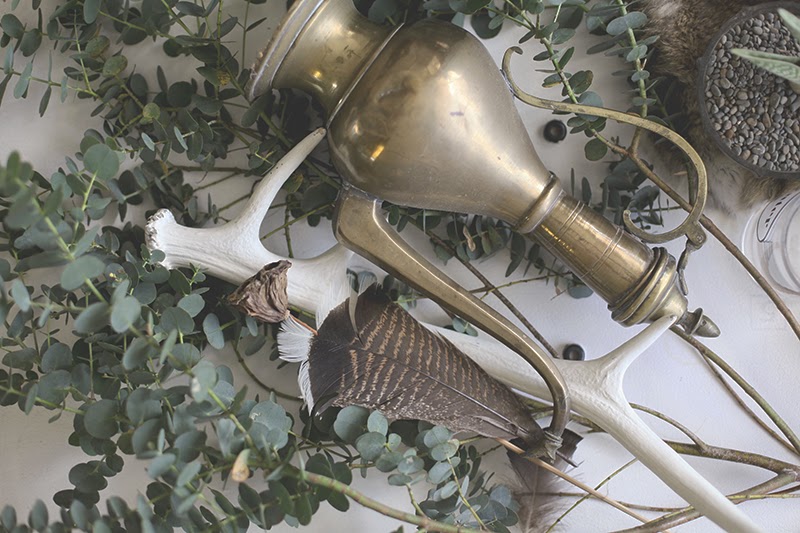
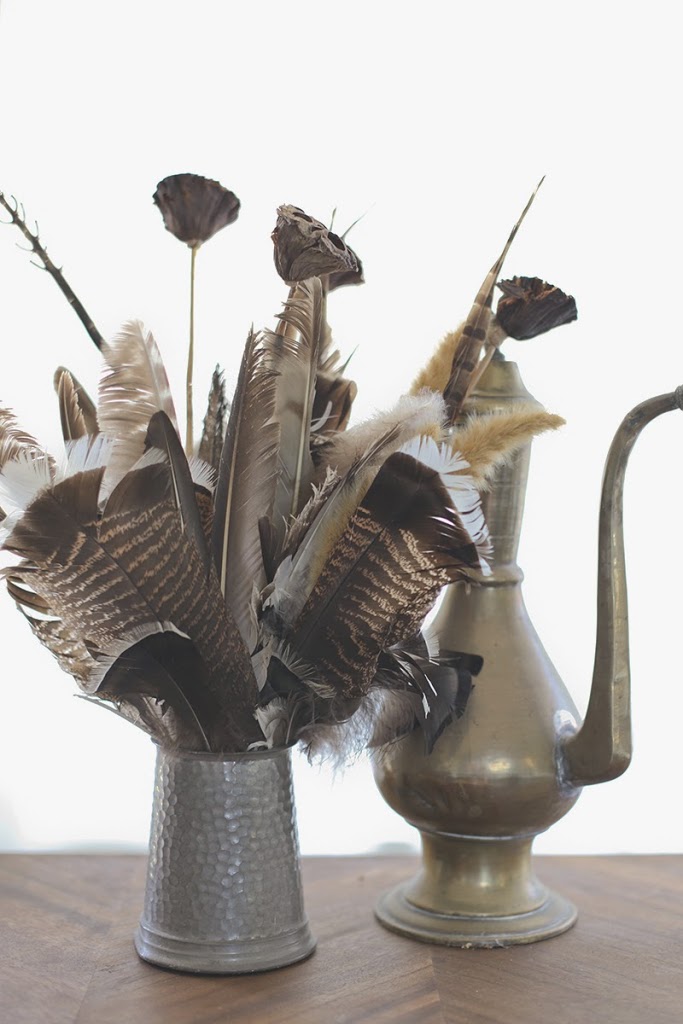
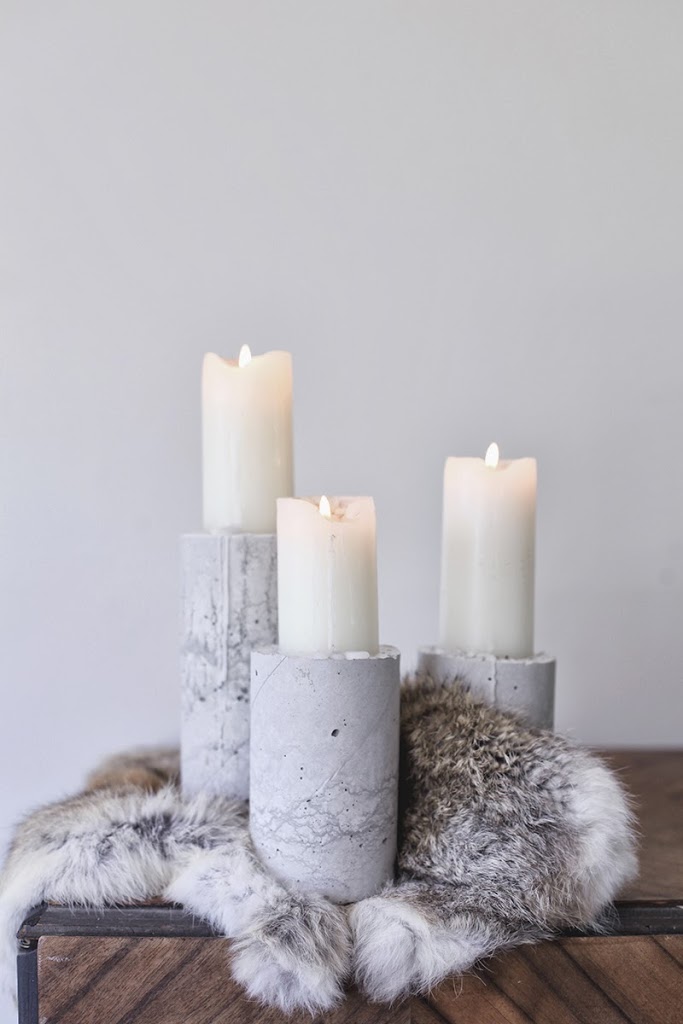
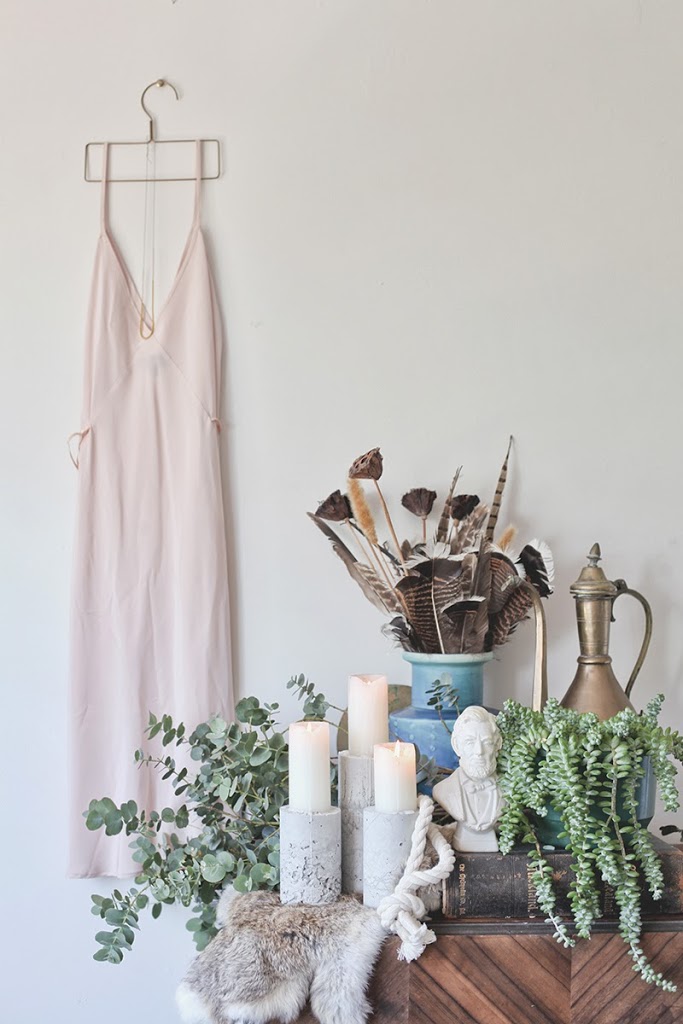
I have to admit. I love my job, Seriously I do. I work with the best people, some of my nearest and dearest friends. And this issue of Homestyle is no different. It is packed with great people, amazing homes, and another little something from yours truly! It is also an issue dedicated to the women who brought us into the world. So in keeping, I raided my mothers collection of goodies, the beautiful wood tea trolley, brass jug and feathers, all from her curation. And she was even there hands on helping me, foraging for the Eucalyptus, mixing up the concrete…I tell you what, being pregnant is the only time I will ever get away with letting my mama carry everything! So thanks Coco Darling!…In that respect, three generations made these concrete candles. 

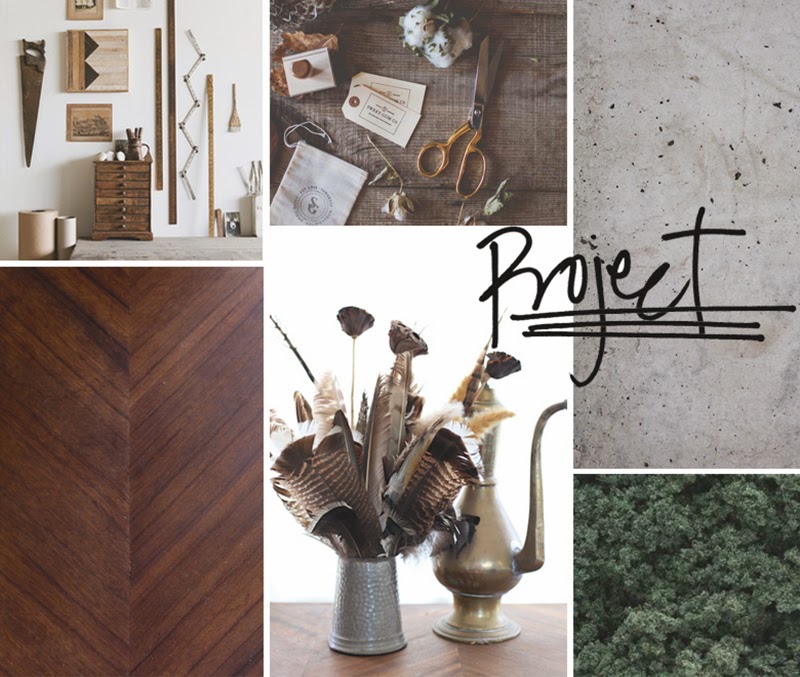
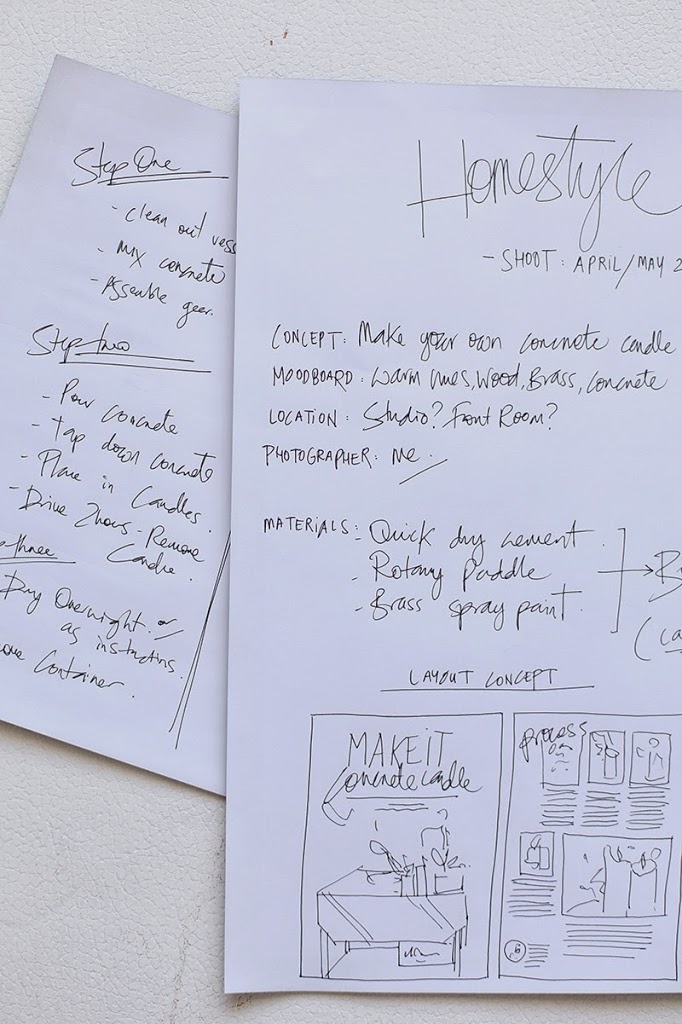
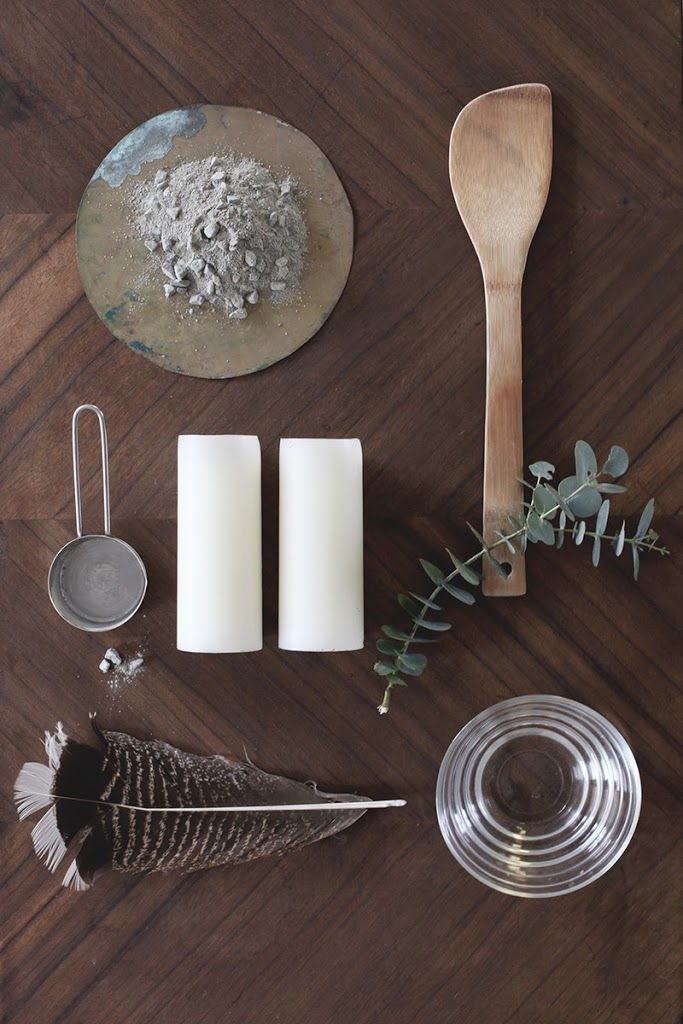
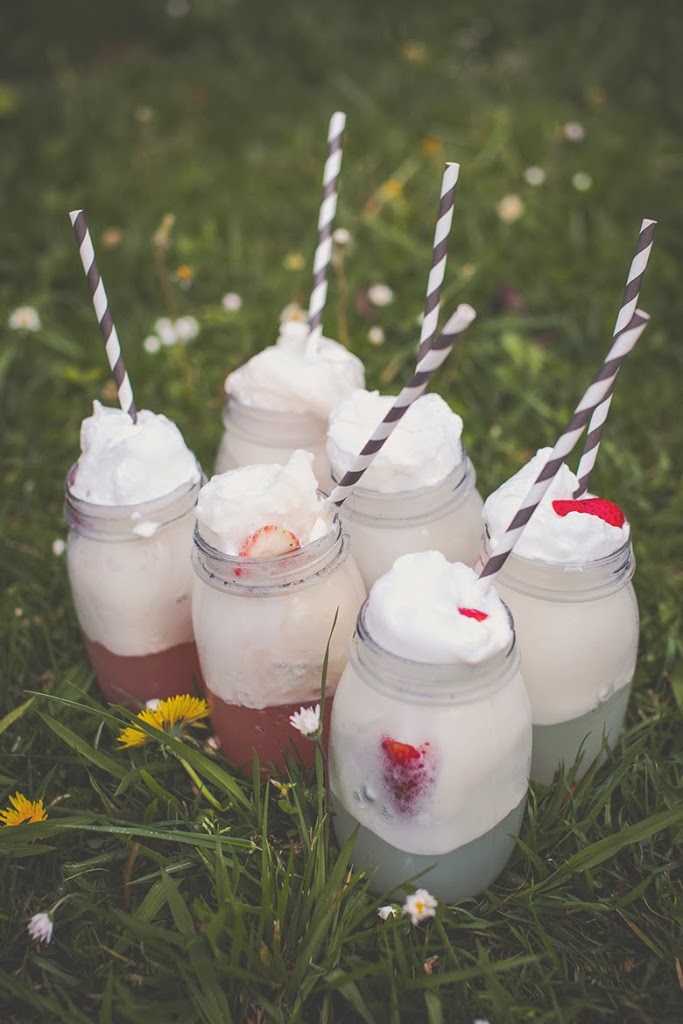
So here are some out takes. My mood board influenced by the ever talented Stephanie Somebody, and Ariele Alasko. The way I prepare, good old story boards, A snap of the goodies I used to style and the final product. My little behind the scenes if you will.

And finally, the how-to!

STEPS

ONE Start by rinsing out your containers. I used Pringles canisters, but you could use cardboard milk cartons, or anything else you can cut the top off to pour the concrete in, and tear away once it’s dry.

TWO Make up your concrete, following the instructions on the pack. Make sure it is thoroughly combined and the right consistency. NOTE: The more water you use the smoother the finish. 

THREE Using a funnel, pour in your concrete up to the height you want. Then tap the base on the ground to settle the mixture and get rid of any air bubbles. Top up if you need to. Push and jiggle the candle into place, making sure it’s straight and stable. Let the candles dry overnight.

FOUR Remove from the mould by tearing away the cardboard container – there may be a bit of concrete dust when doing this, so it’s best to do it outside. Finally, I washed mine in cold water and used a hard bristle brush to clean away any residual dust. And you’re done – go grab a lighter!

And to see the whole feature go buy yourself a copy, and maybe one for your mum.


Until next time

BlackbirdBLOG signature

MAKE IT // Lentil Shepard Pie

This is my go to meal. When I am tired and really cannot be bothered. So, basically we eat this a lot.

And this dismal day in Auckland, ( I am not going to lie, I am puuuumped on this weather, see you later swollen feet. )  It is perfect. It is quick, it is easy, it is delish, and the best comfort food.  You will need:

FILLING
1 can lentils in brine
1 leek, sliced
1 carrot, diced
1 1/2 cup peas
6 button mushrooms, sliced
Cornflour
Thyme
Butter
Salt and pepper to taste

TOPPING
4 potatoes
Milk
Butter
Salt and pepper
Cheese, grated

First off get your potatoes on to boil. Peel them, dice them, chuck them in the pot of water with a little salt. Boil until soft. Meanwhile, cut all your veg for the filling. In a large pot, melt a knob or so of butter, toss in the leek and saute. Next the carrots. Keep stirring, on a medium heat. Add mushrooms then finally peas and lentils, including the brine. Turn to low, chuck on the lid and let simmer, stirring occasionally. When your potatoes are soft, drain them. Chuck a knob of butter, a tablespoon of milk and mash. Add salt and pepper to taste.

Now sift in a teaspoon of cornflour at a time till you get a thick sause. Add the thyme, salt and pepper to taste.

Empty the filling into a deep dish, dollop the topping on top, even it out and criss-cross with a fork, sprinkle a little cheese on top if you want. Grill/Broil until golden! Delish!

Enjoy!

Until next time

BlackbirdBLOG signature


SUMMER CINEMA // DIY

Summertime is here, the New years creeping up fast, And Homestyle and I have the perfect New years eve party for you!

We bring you the backyard movie night!

You will need ::

1 Great backyard
1 large sheet
1 Clothesline
1 projector
Cute invite, You can download HERE
A few palettes
Mountains of blankets and cushions
One brilliant movie
Some great people to share it with!

With you large sheet and clothesline, you have set up your make-shift screen! So just line up the projector, connect it to the computer, and away you go ( I needed my handy computer wizz, but I am sure you are all capable! You can also always depend on Google ) Pop a couple of palettes around the place with cushions and blankets. Snuggle time galore!

And finally, Treats. Ice cream Floats.  A bit of trip down memory lane, these are super simple and pretty darn yummy!

You will need ::

Vanilla Ice Cream
Strawberries or summer fruits
Lemonade
Pink Grapefruit Juice
Jars – Mine were from Countdown
Cute Straws – From Collected

First pop in your Ice Cream, then slice in some fruit, pour 1/2 with Pink Grapefruit and then fill up with Lemonade. Cute straw to finish and Bam! Done, So easy!!!

Enjoy your summer!  ( Or winter for our Northern Hemisphere friends! )
Keep safe and see you in the New Year!

Follow my summer adventures on Instagram!

Until then!

BlackbirdBLOG signature

MAKE IT // Diy wrapping paper

IMG_3307

IMG_3308 IMG_3312 IMG_3315
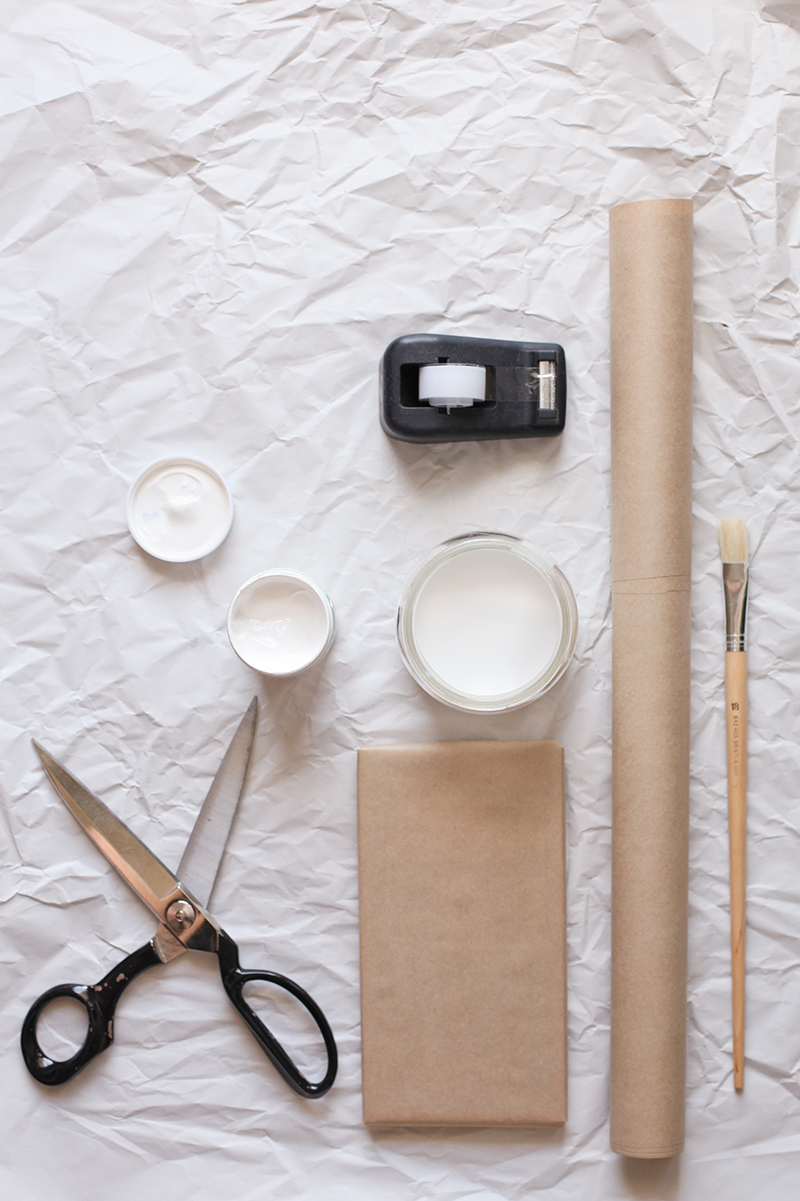
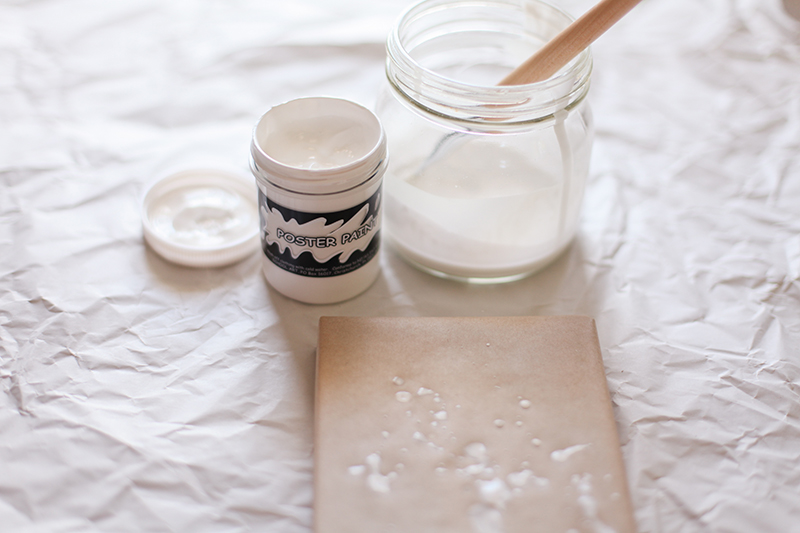
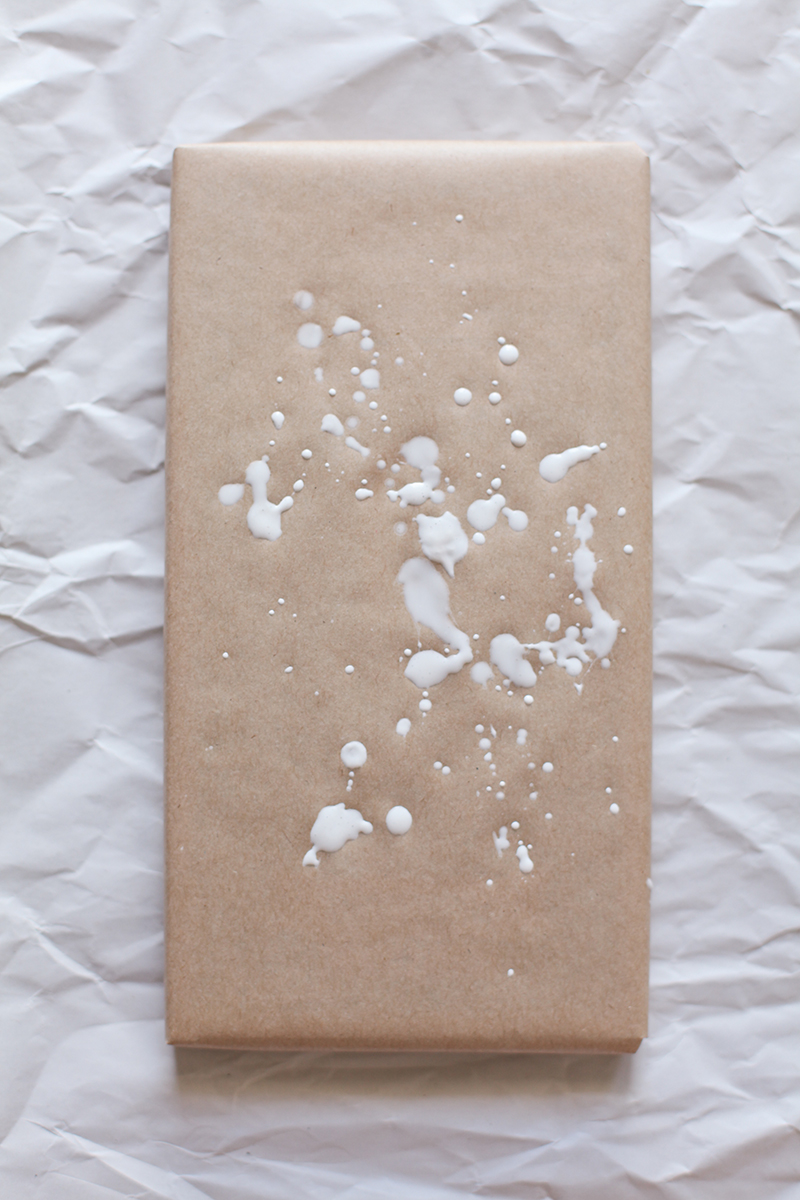
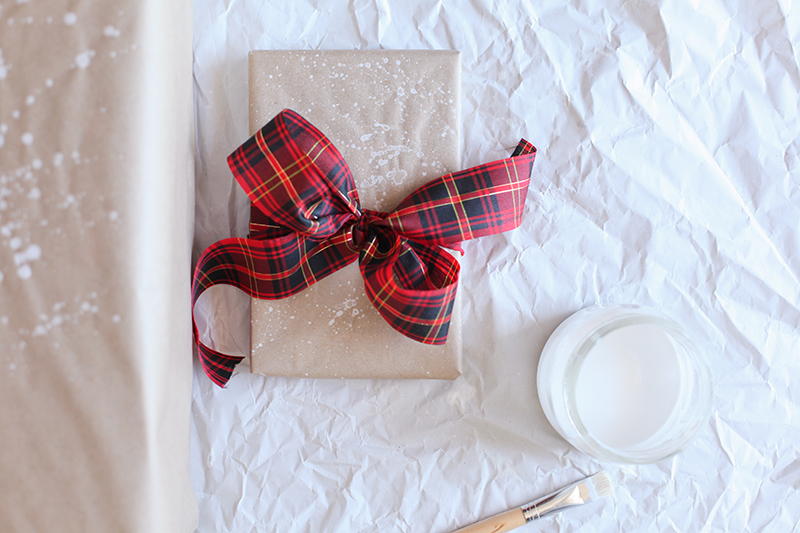
One of my FAVOURITE things in life is wrapping presents.
I am dead serious. I love it. And every year I like to do a new little DIY, almost always involving Kraft paper…This year was no different.

You will need //

White acrylic paint
A jar with a little water
A corse hair paint brush
Brown kraft paper
Scissors and Tape
Your choice of ribbon

Start by laying down a drop-cloth of some sort, your are about to flick paint everywhere, It gets messy.

Once you are ready to go, drop a large dollop of paint in with a couple of teaspoons of water, Mix it up.

Then take your kraft paper, wrap your present.

Then taking your slightly watered down paint, dip your brush in, and start flicking away! You can either flick the whole brush, or just the bristles, they make different patterns!

Then, lay it to dry, it does take a while, so best to do this in advance!

Then wrap with your ribbon! I went for a large tartan this year!

Get to it!

Happy wrapping!

Until next time

BlackbirdBLOG signature