Tag Archives: BEFORE AND AFTER

Before & After | KITCHEN

before afterBLACKBIRDreno IMG_9141 IMG_9095 IMG_9109 IMG_9121 IMG_9114 IMG_9150 IMG_9124


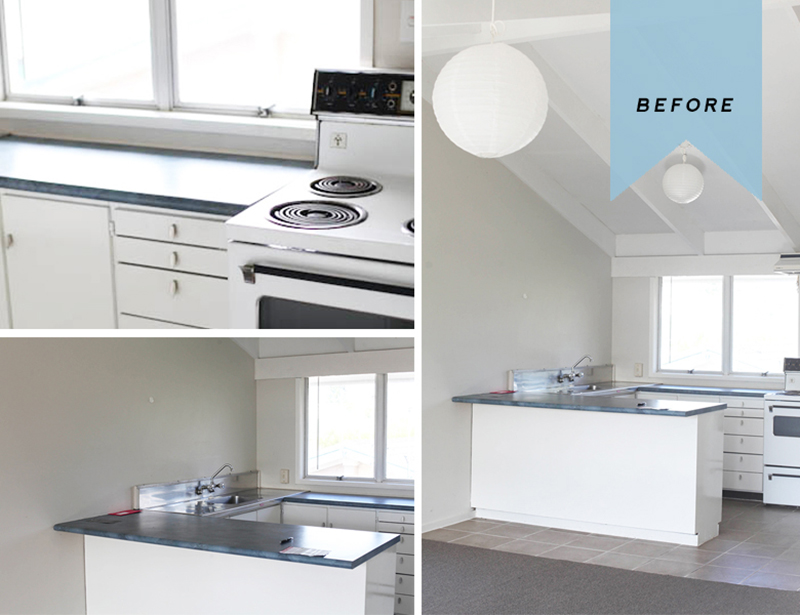
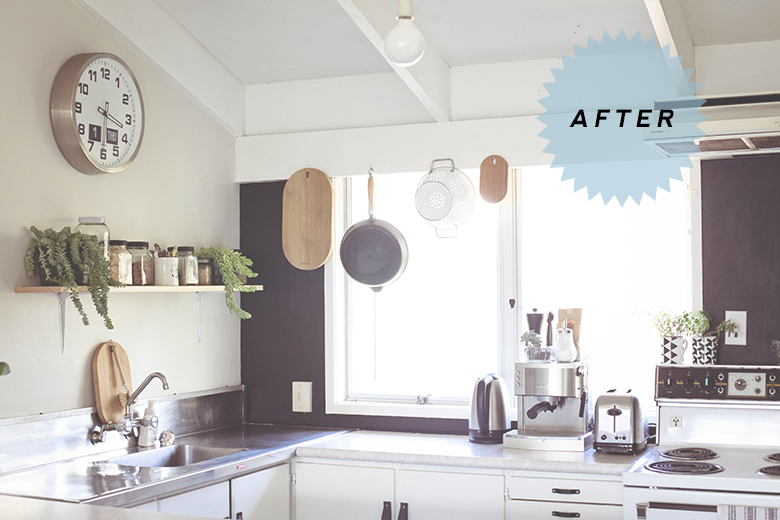
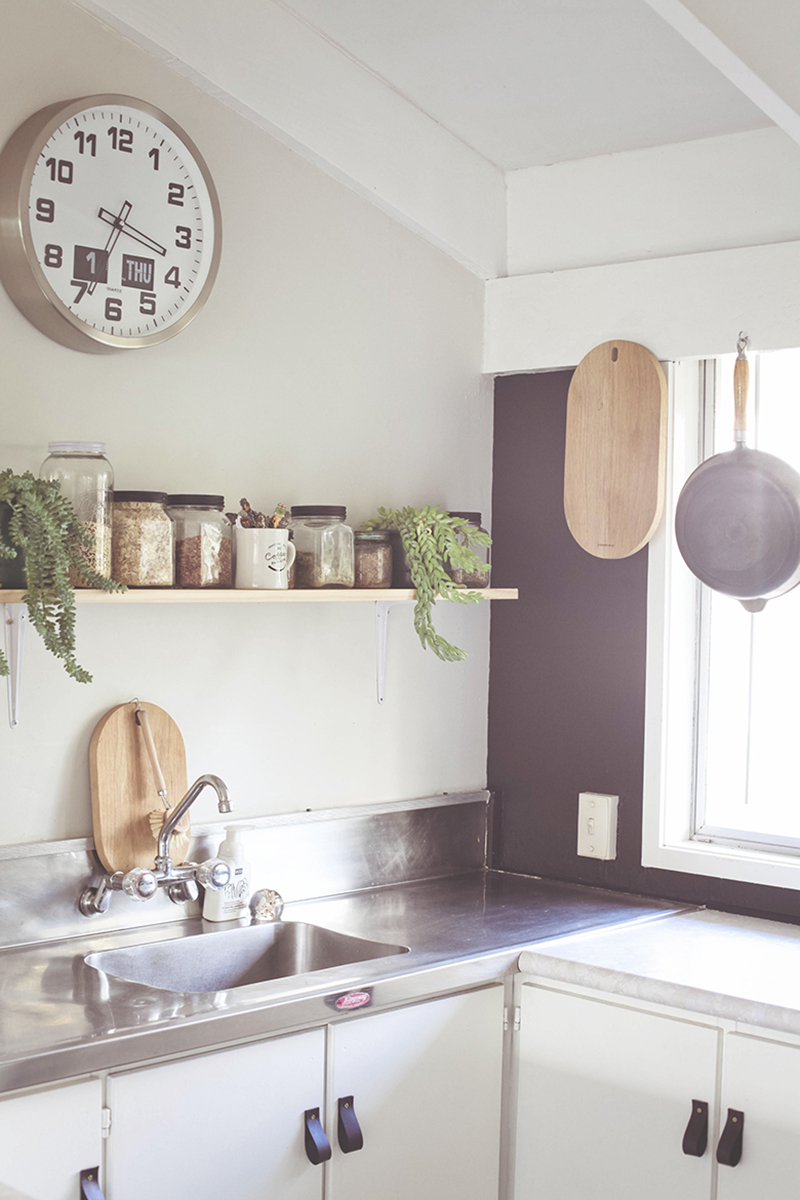
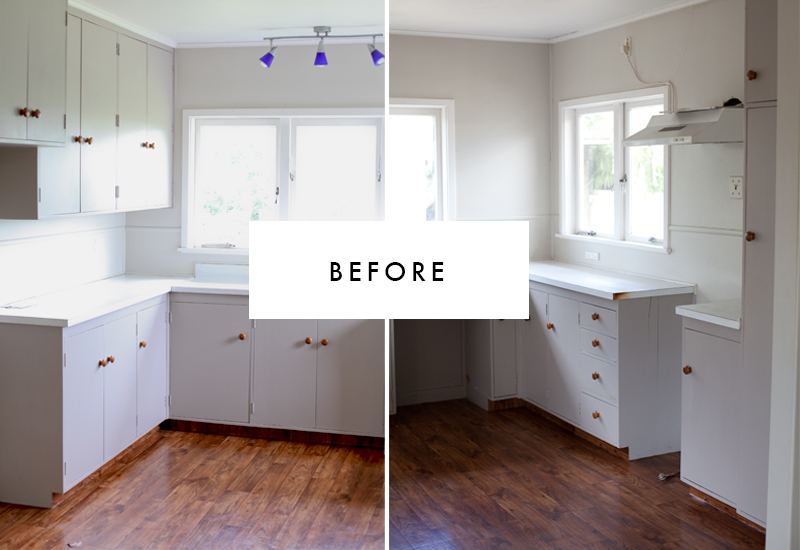
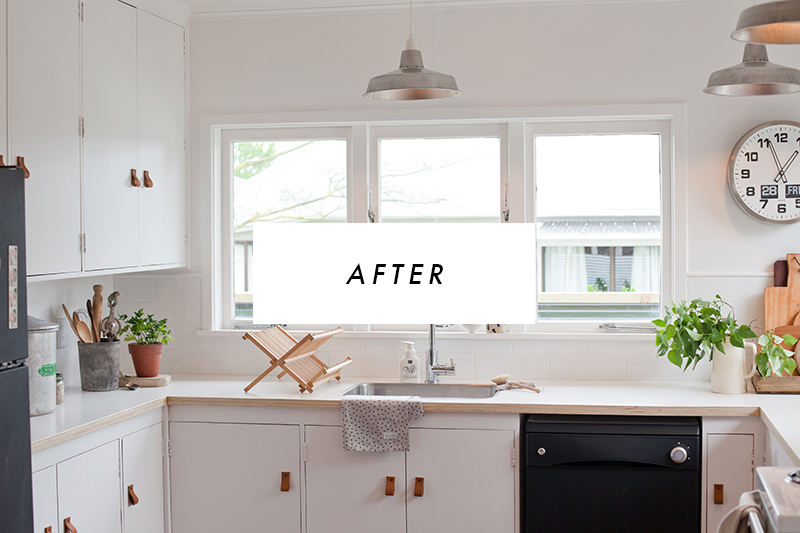
For those of you who saw the sneak peak, but didn’t see the February March edition of Homestyle Magazine, here is the final reveal of the Blackbird reno kitchen!

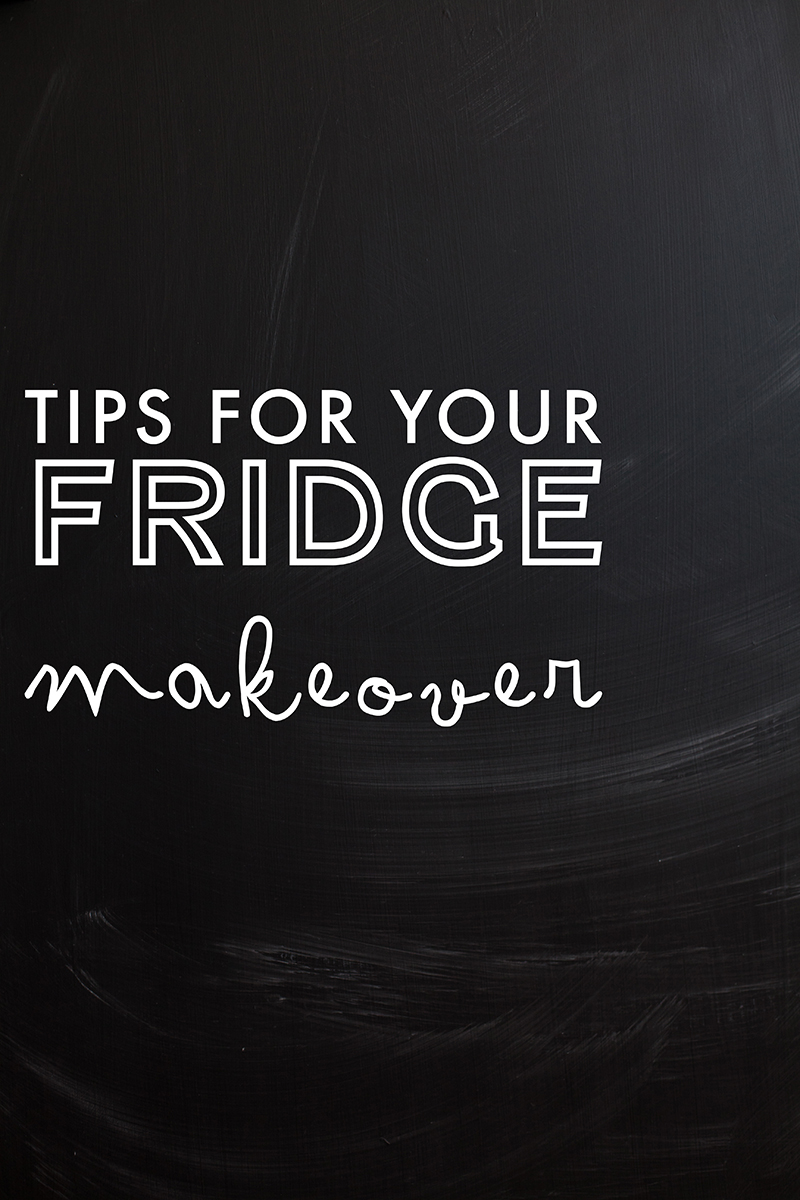
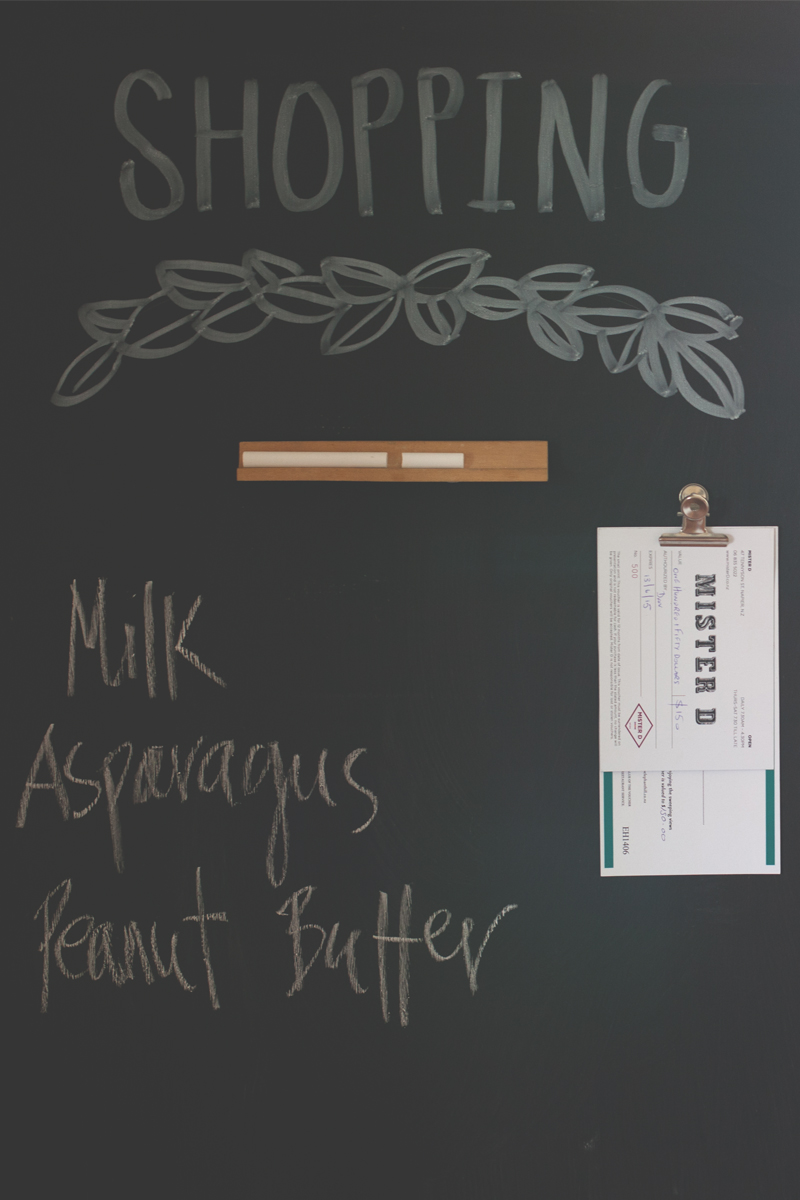
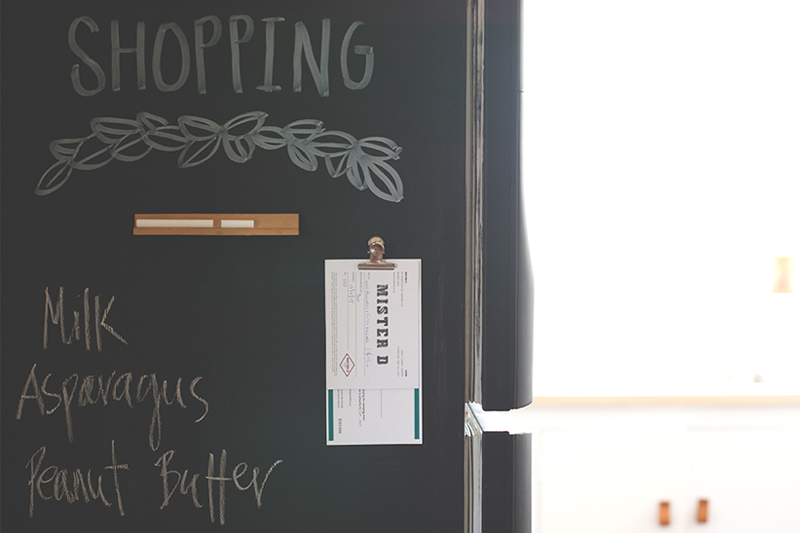
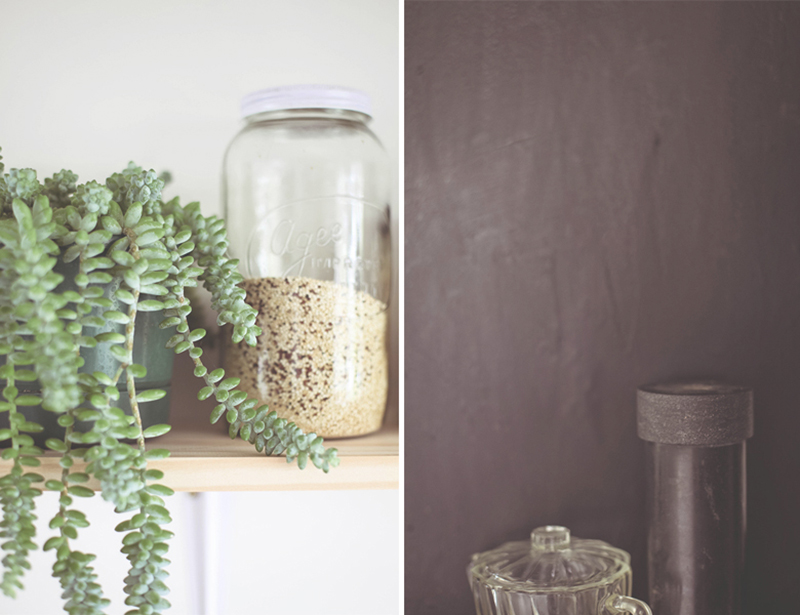
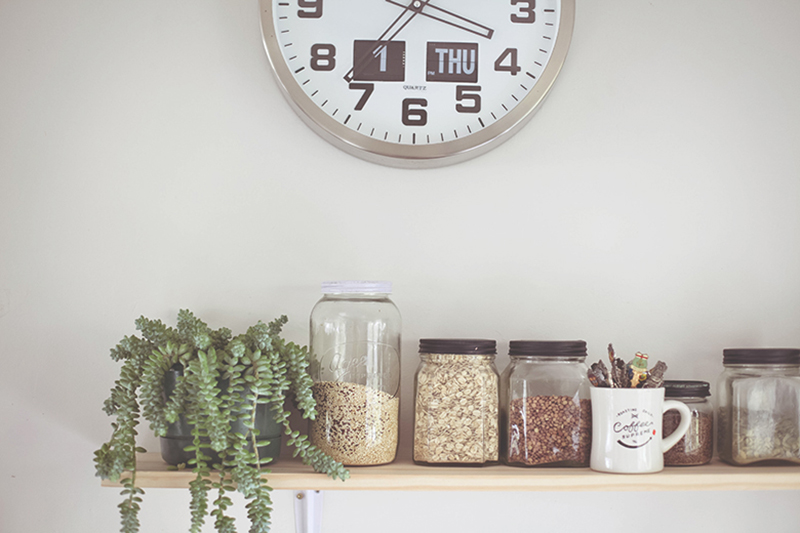
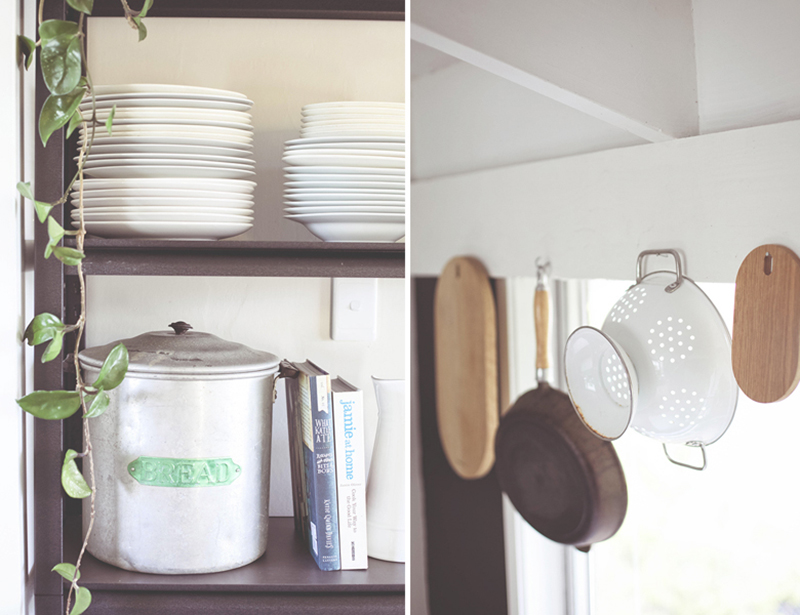
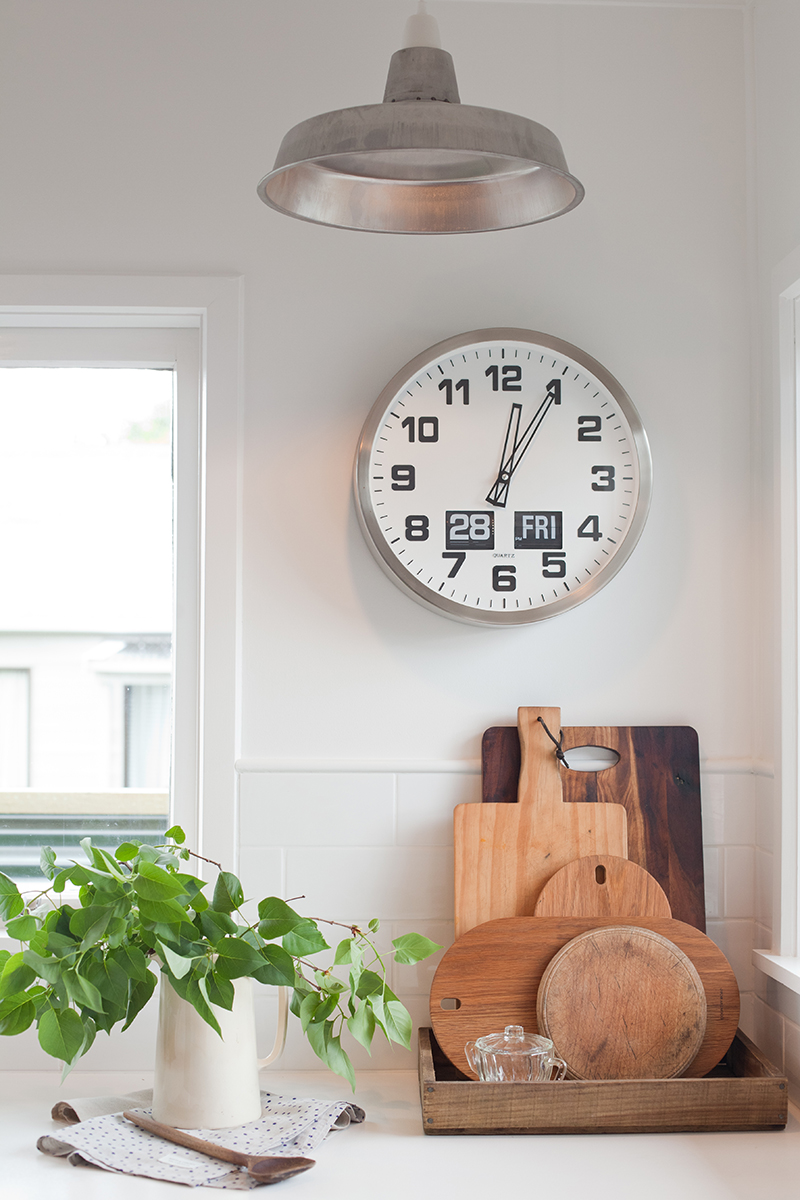
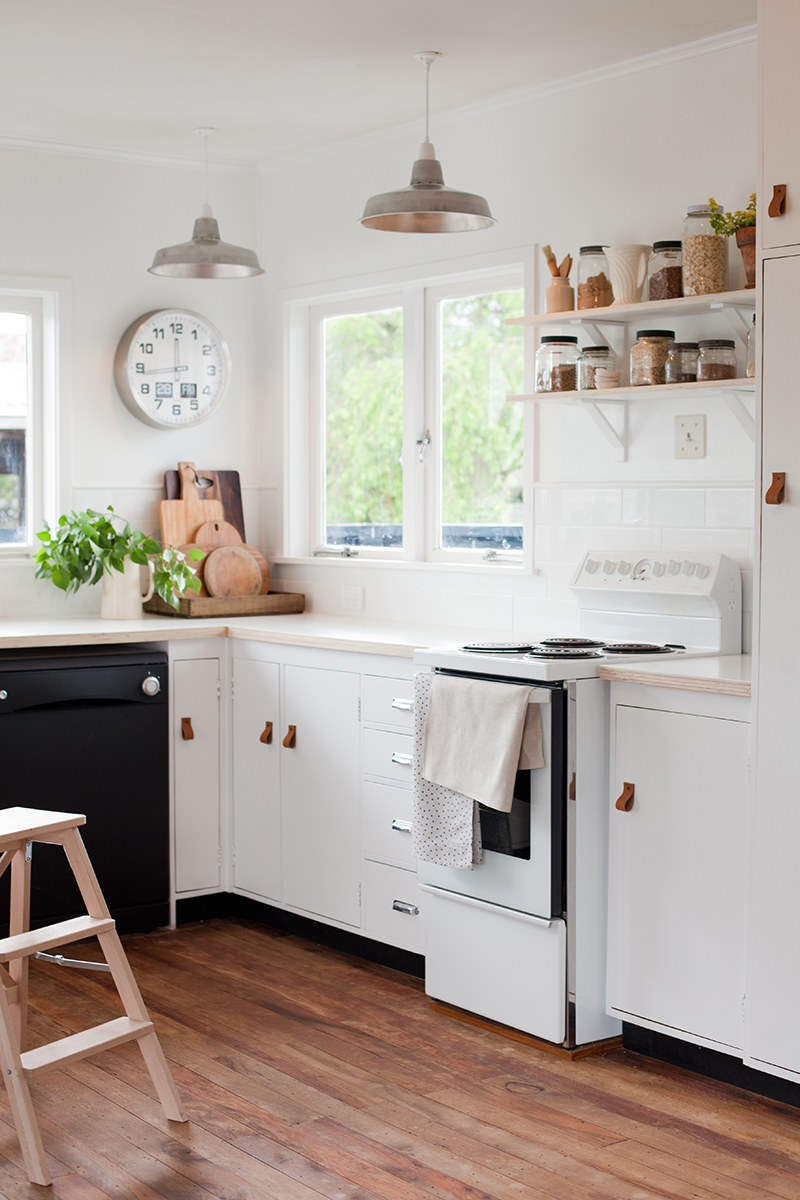
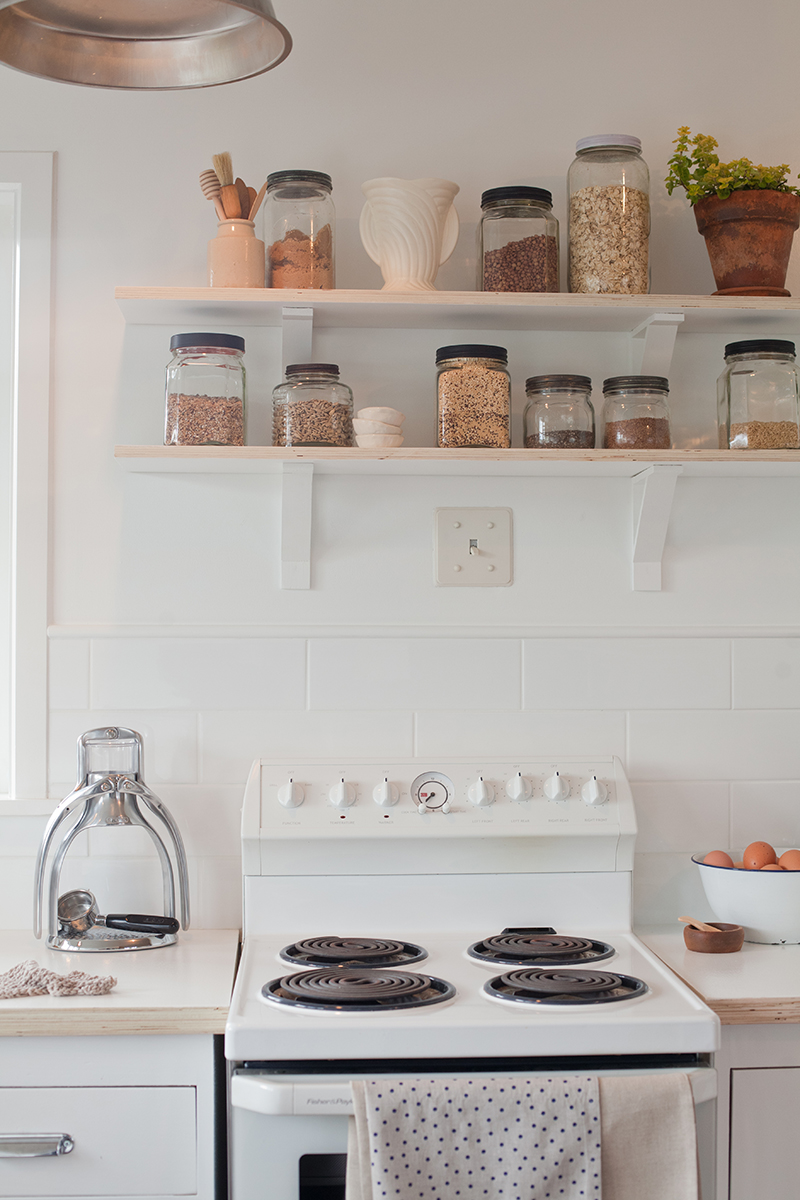
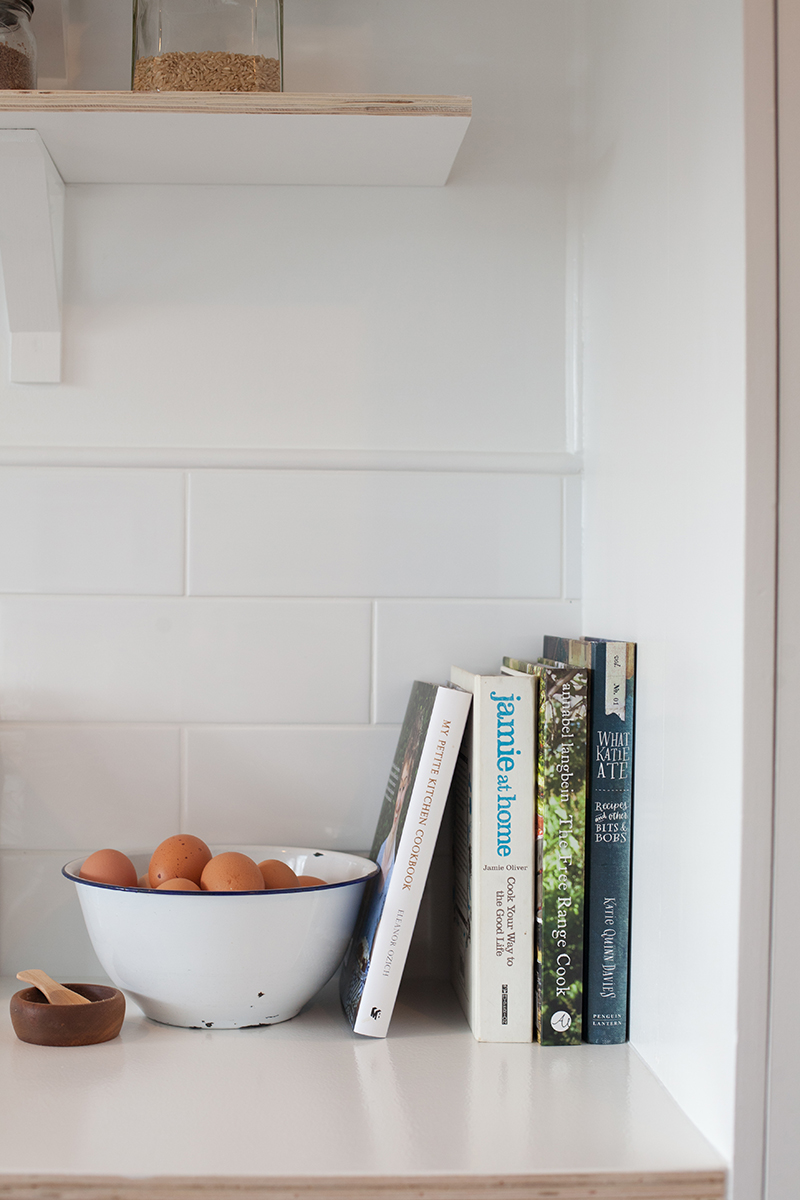
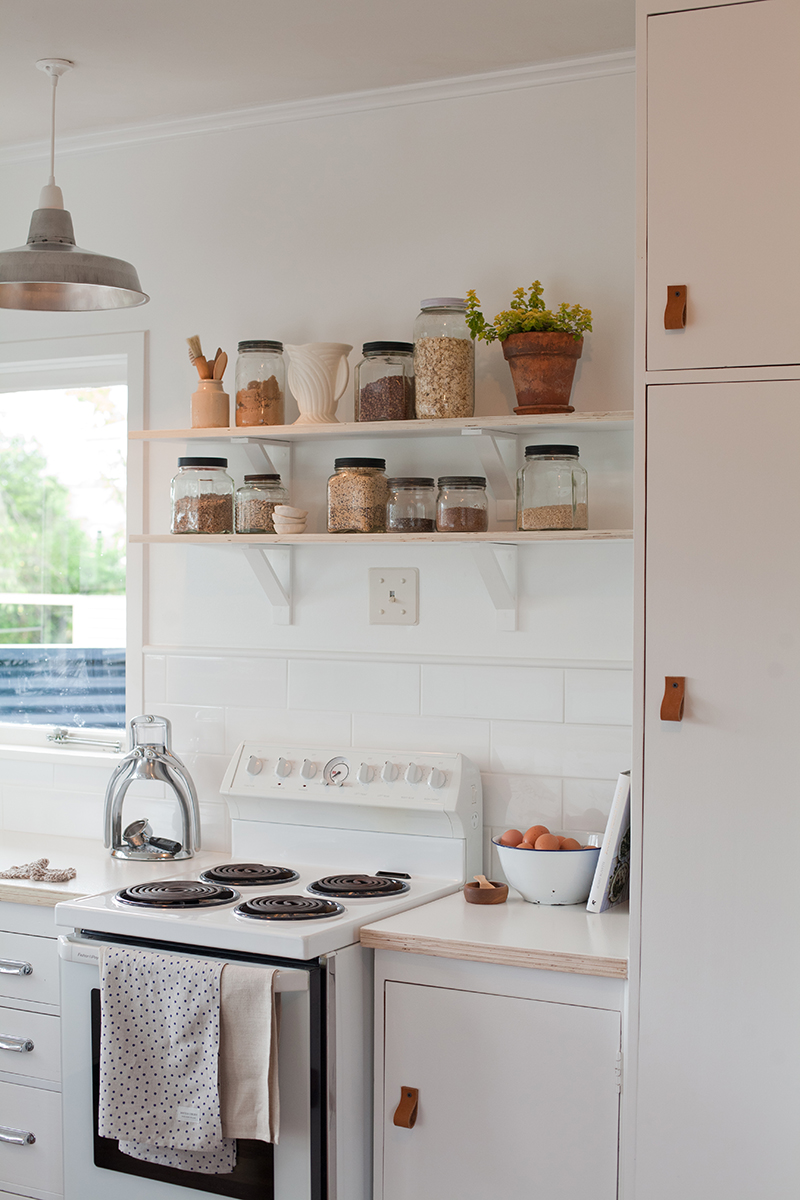
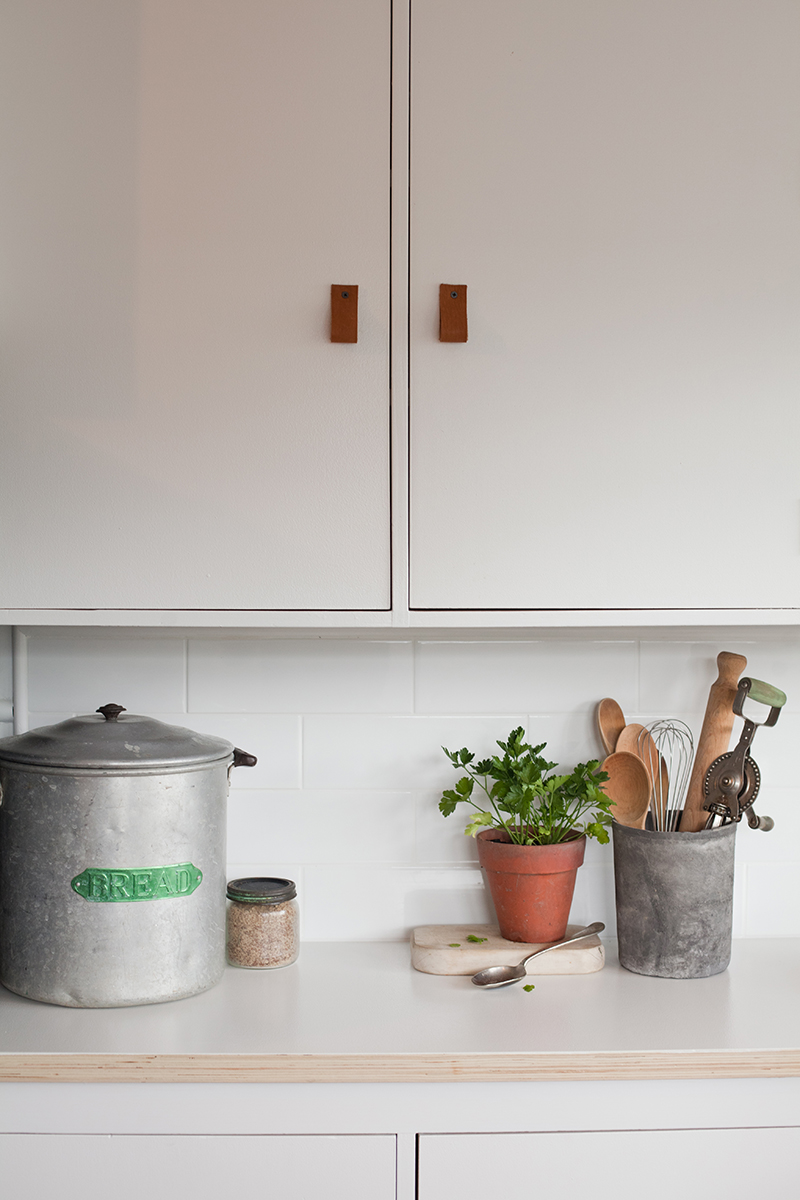
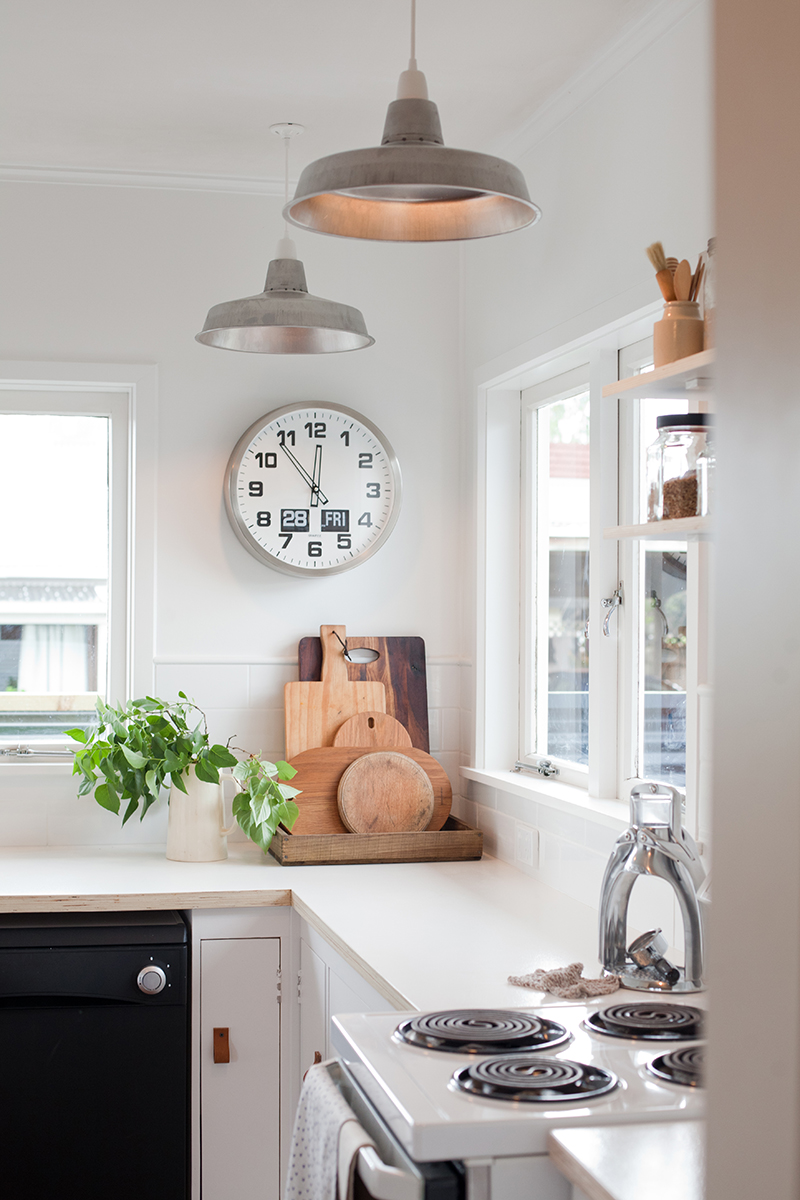
Although we were lucky to start with such great bones, like with the rest of the Blackbird Reno, the pennies have been tight. First things first we removed those hideous electric blue light shades ( in fact they came out the second I walked into the house ) and ripped up the faux timber board lino. Then off came the cabinet doors to be re painted in Alabaster by Resene and finished with our signature leather pulls. The new bench top was fashioned by my father out of Plywood. We bought a pre loved goose neck tap off Trade Me, Sink from the local wreckers yard, and tiled our own subway tile splash back. The fridge and dishwasher got a fresh coat of blackboard paint and the walls a bright white of Resene Alabaster. Up went the new lights and a few shelves ( thank you handy husband, I will keep you on. ) So after a lot of elbow grease and out of the box thinking we are done with the kitchen! Hooray!

Next stop Bathroom & Laundry!

Until next time

BlackbirdBLOG-signature

Before & After | Chair Makeover

Before After IMG_9220 IMG_9226 IMG_9233

One of the major motivators for moving from Auckland to the Hawkes Bay was the want for more time, a slower life and to do all the things that we never had the room, time or head space to do in ‘ The Big Smoke ‘.

Restoring a beautiful old chair was on that list.

She was a bit rough around the edges when we found her, but for $20, how could I say no. Like a puppy at the pound I scooped her up and took her home. Weekends of sanding, and she began to look good again. Next, I called up my trusty girls at The Fabric Store. They supplied me with a heavy weight dark charcoal wool coating, perfect for recovering the old girl. Then there was the task of actually re-upholstering. Enter my ever apt Mama. ( Can I just say, Hooray for Mums and their bountiful knowledge. ) Sewing, Oiling and some self covered buttons later and she was as good as new. Or maybe even better, charcoal is far more her colour.

Until next time,BlackbirdBLOG signature

MAKE IT/ fridge makeover

title
IMG_8904blackbirdblackboard2blackbirdblackboard

If you follow my instagram you would know that we are up to our eyeballs in renovations, and if you have renovated before you would know that before you know it the kitty is empty and you still have a lot to do ( even when you have watched every bloody penny ) so there is always room for fast, effective and cheap makeovers.

Here is mine on our old beast of a fridge.

First of all I need to diguse the not-so-cool retro exterior ( which, in my haste I failed to photograph ) think grey, cream and pink. ugh. Before I painted I gave it a thorough clean and then a light sand with wet and dry sandpaper. Then using Resene Blackboard paint I lathered on one coat, letting it dry, then applying another. ( Note: Don’t try to be a speed demon like me and not tape the edges, or it will result in messy little brush marks where you don’t want them )

With it finally dry, I had to decide on a little decorating of sort. After countless ideas and drawings I decided for our kitchen, it need simple and classic, enter the laurel. This time I slowed down a little and actually measured out where I wanted the laurel to sit and the writing to go. Still wanting to keep it hand finished I drew and wrote with CKS Window marker from Warehouse stationary.

For the finishing touches I needed somewhere to put my chalk, so I repurposed an old wood scrabble rack and blue tacked it to the side. Then super glued a small magnet to a bulldog clip to use as a handy docket, postcard or voucher holder!

All up this makeover was super fast, and pretty cost-effective too.

Until next time,BlackbirdBLOG signature

RENTAL RENO // Before & After :: KITCHEN

BEFORE copy

IMG_9948 copy IMG_9955 ONE IMG_9971 TWO

Our new house is finally beginning to feel like our home.  And although I still have lofty dreams of actual renovation, actually owning our own home and of making a nest for ourselves we all know Auckland is a bit of a dick when it comes to house prices.  So I accept defeat, for now.  But not absolute defeat. I still refuse to live with ugliness.  Anywhere can go from butt ugly to half decent with a little elbow grease, some smart thinking and a bit of cash.  So here is what we did with our kitchen.

Firstly, Painted the wall, Now, we had to ask the landlord, and he was fine, so away I went.  I found that this grounded the kitchen a little more. I used paint we already had, so ‘freebie’. But often you can get test pots cheap, or cheap paint at renovation dealerships and Habitat for Humanity stores.

Secondly, We changed the handles. The drawer handles from a second hand shop for 50c a pop. And we made our own handles for the others, You can see the DIY HERE.

Next, we covered the bench top with a vinyl. You can get it at your local bunnings, for $20 a roll, or I found it HERE for $3 a roll. So a little cheaper. It took 5 rolls to cover everything completely. It is basically like covering your books with duraseal, but its your benches….with this stuff.

Finally, The husband made me a shelf. with a couple of braces ( $3 each ) and we were lazy and bought a pre cut piece of wood ( $15 )

So under $50 for the change, that is not breaking the bank. And now I don’t want to throw up when I see the kitchen….Although I am still on the hunt for a fantastic lamp shade, I will let you know when I find it.

Until next time.
BlackbirdBLOG signature