All posts by Gem Camille : BLACKBIRD

Christmas Foraged Wreath

TITLEblackbirdwreath _MG_2854 _MG_2843 _MG_2847

Last week we threw a little Summer Night Soirée at Blackbird Goods , we drank bubbles, met new people, found out the name of our local barista and I demonstrated a foraged wreath.  It was such a great night connecting with our community and all the people who support Blackbird and Blackbird Goods. Thanks so much to all the babes that made it out! We may need to extend the space to fit you all next time!

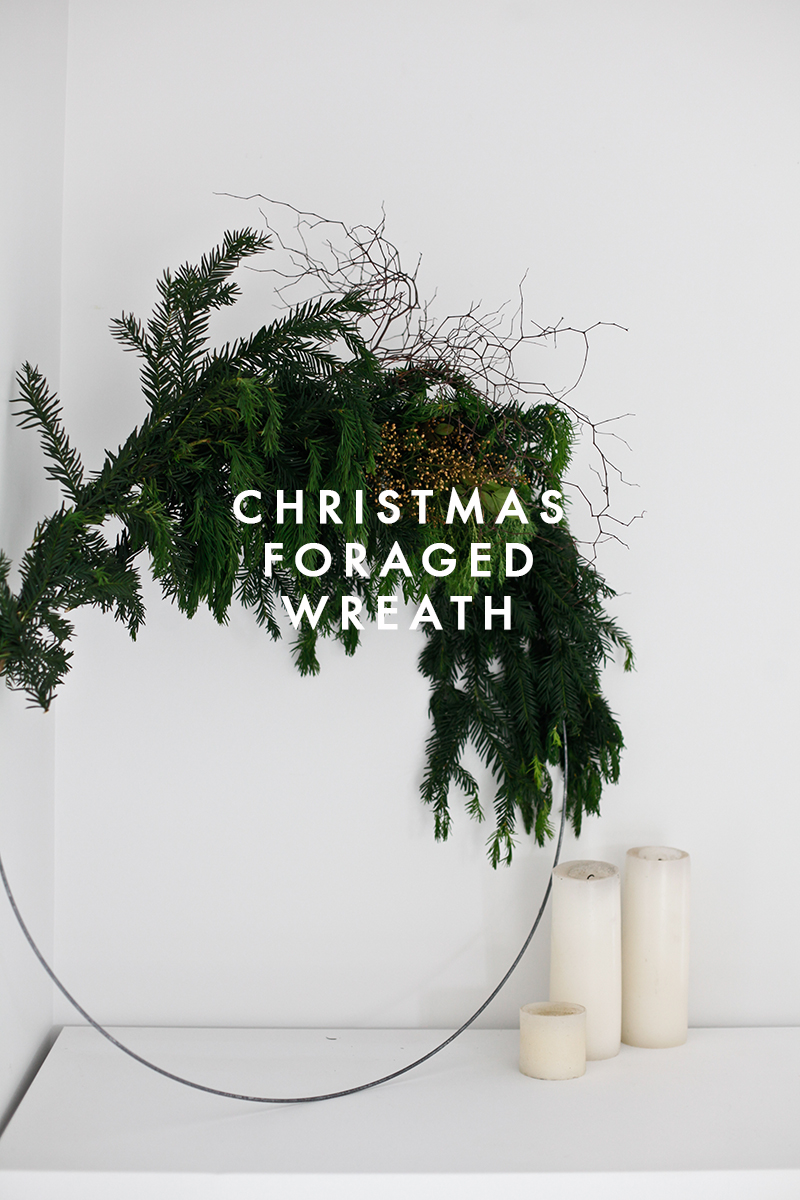
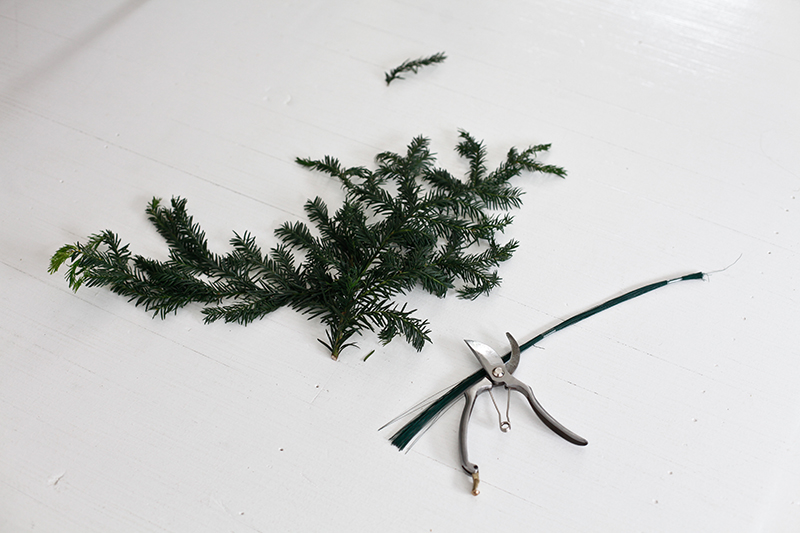
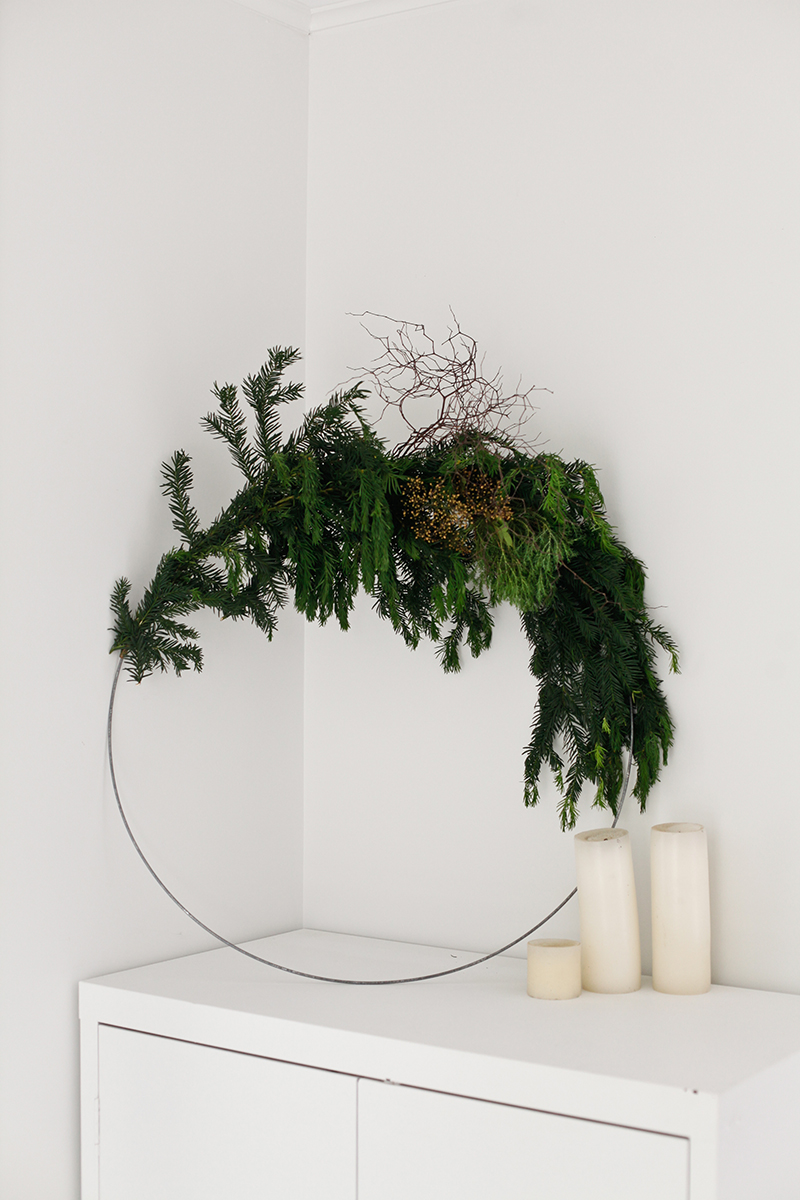
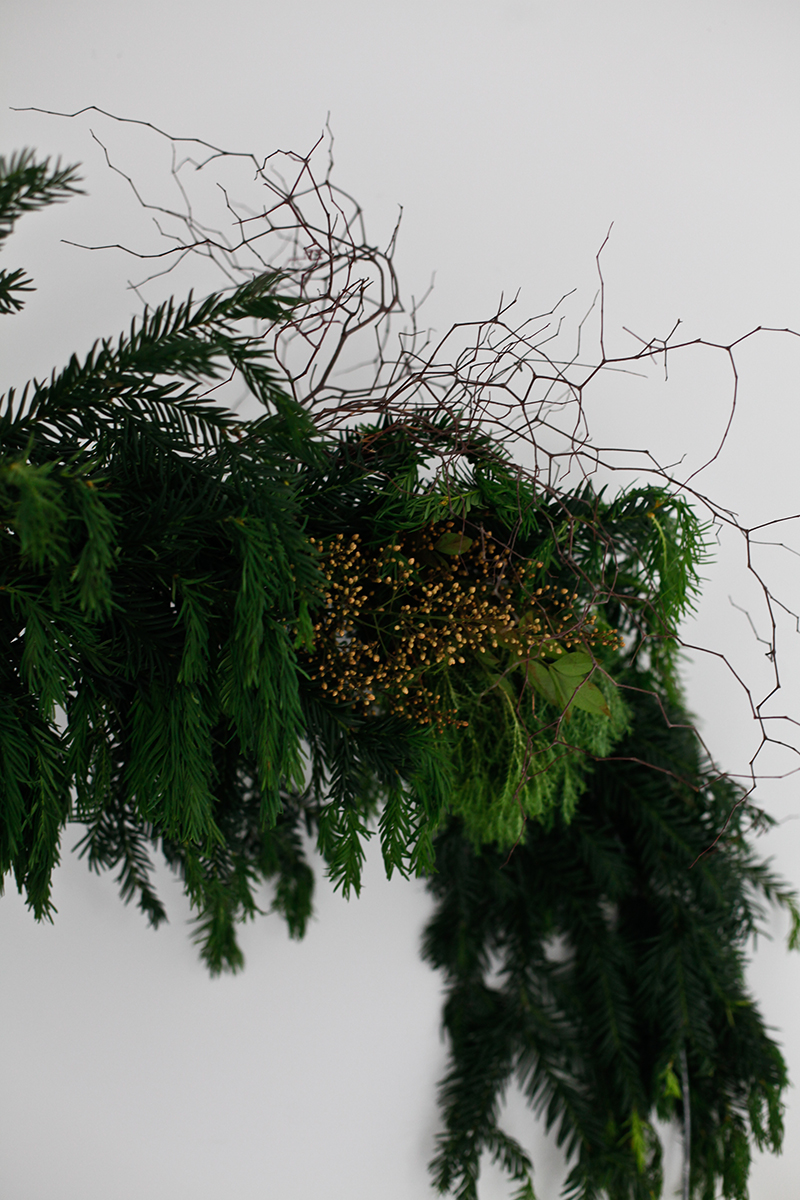
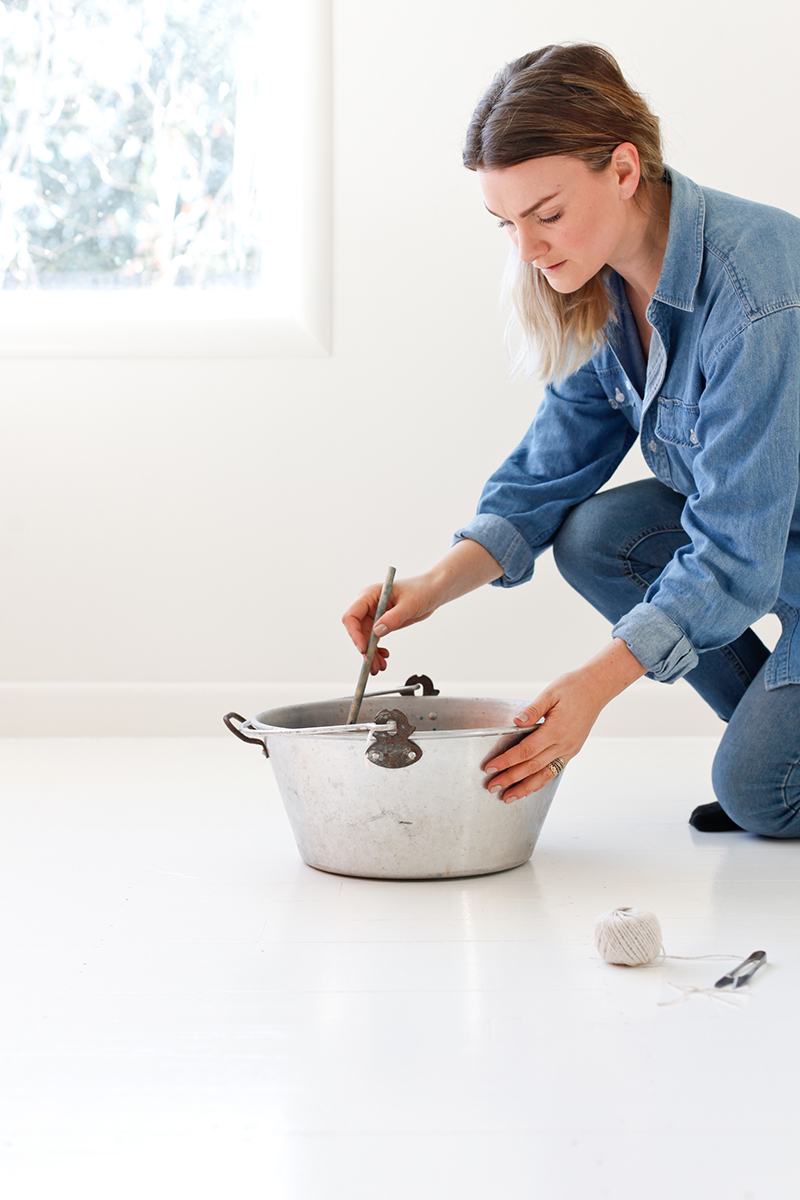
Okay, so I am a total sucker for a good wreath, believing that they are not only a great decoration for Christmas, but a great way to slow down and celebrate the change of seasons and milestones in our lives. Wreaths are such a great way to bring a festive feel, in a subtle and ‘grown up’ way. So, for this wreath, I bought a large wire round from a local emporium as my base, but you can make it out of willow or another bendy branch. Next, using florist wire ( also from the emporium ) I attached evergreens ( unsure of the names sorry! ) to a little over half of the round, bulking it out a focal point with a piece of budded yarrow and some dried Corokia. But really, just get out there with your secateurs  and a thoughtful eye and you can create magic! And I would love to see what you end up making!

I hope everyone has an amazing Christmas and relax with delicious food, family, friends and some sun!

Make sure you pop into Blackbird Goods if you are in Napier for the summer! Until then you can find us on Instagram, just follow @blackbirdgem !

Until next year! x

BlackbirdBLOG-signature

Blackbird Goods feature for Homestyle Magazine

Blackbird Goods - Retouched-6216 copy Blackbird Goods - Retouched-5993 copy Blackbird Goods - Retouched-5956 copy Blackbird Goods - Retouched-6166 copy Blackbird Goods - Retouched-6283 (1) copy Blackbird Goods - Retouched-6159 copy

Images by our ever talented gal pal Heather Liddell

For those of you who have been following our journey,  you would’ve seen that we opened our very own bricks & mortar a few months ago, and we are so very proud to have Blackbird Goods featured in the latest issue of Homestyle Magazine ! It’s so nice to see the shop in print, to see our hard work come to fruition! ‘Cos it wasn’t that pretty when we moved in (cue images of dark grey, coffee stains with a flaking fire engine red feature wall) Luckily, Resene to the rescue!

After pulling everything out and cleaning off coffee grime, our next port of call was to block out the wall of red. Red is one of those colours that seeps through when you are going white, often leaving a pink tinge. So we painted a coat of Resene Stack over the lot which covered it nicely allowing us to power ahead with the white. We also had a large chalkboard wall to cover, sealing it with trusty Resene  Sureseal.

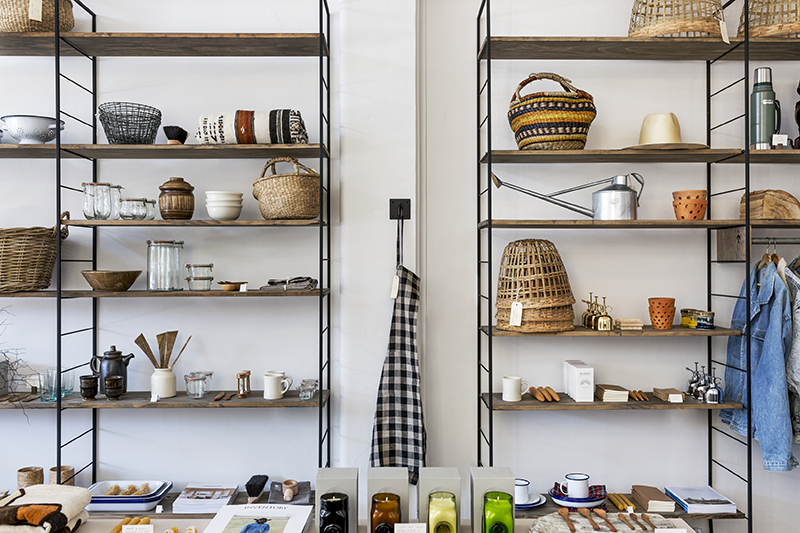
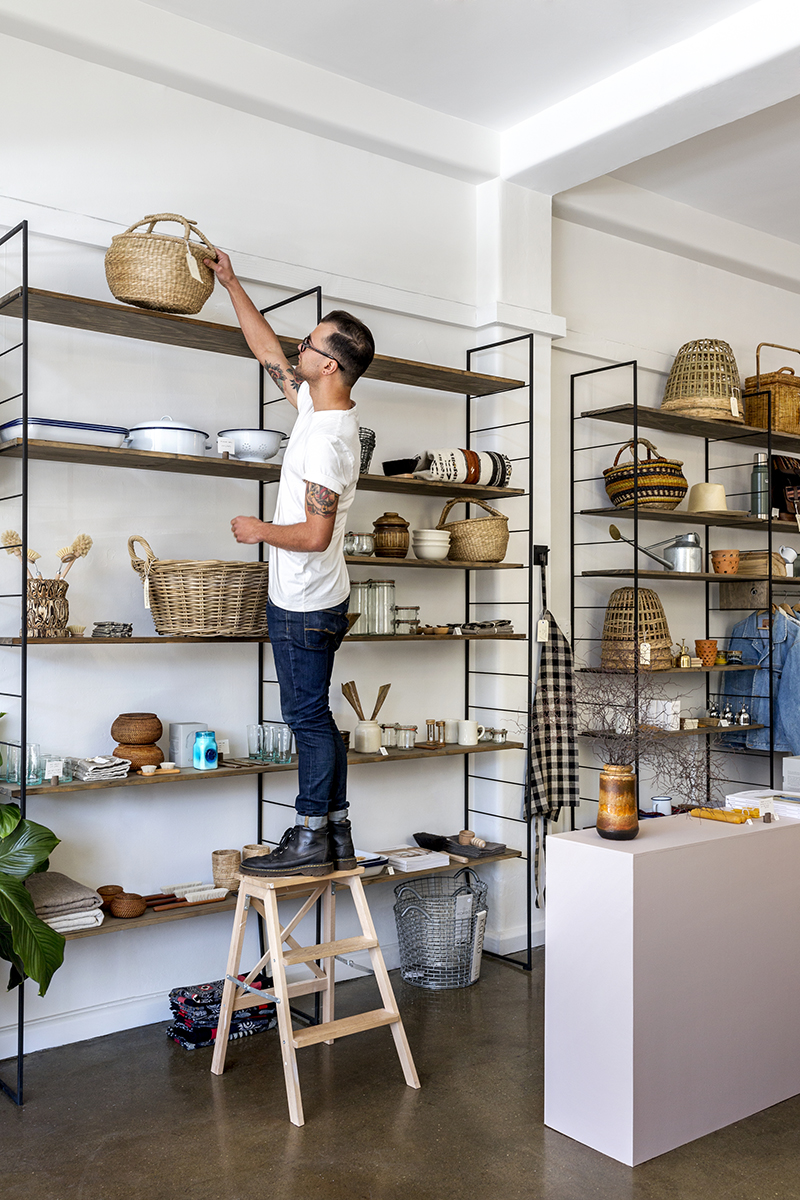
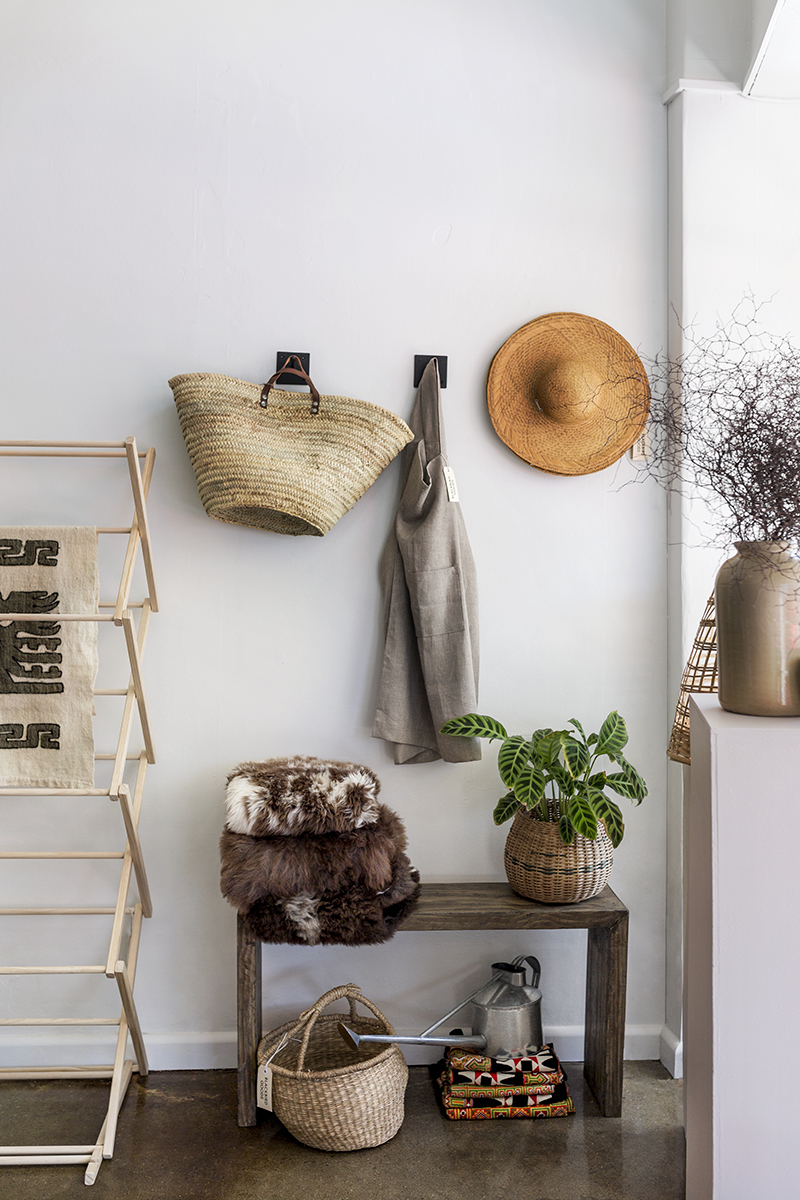
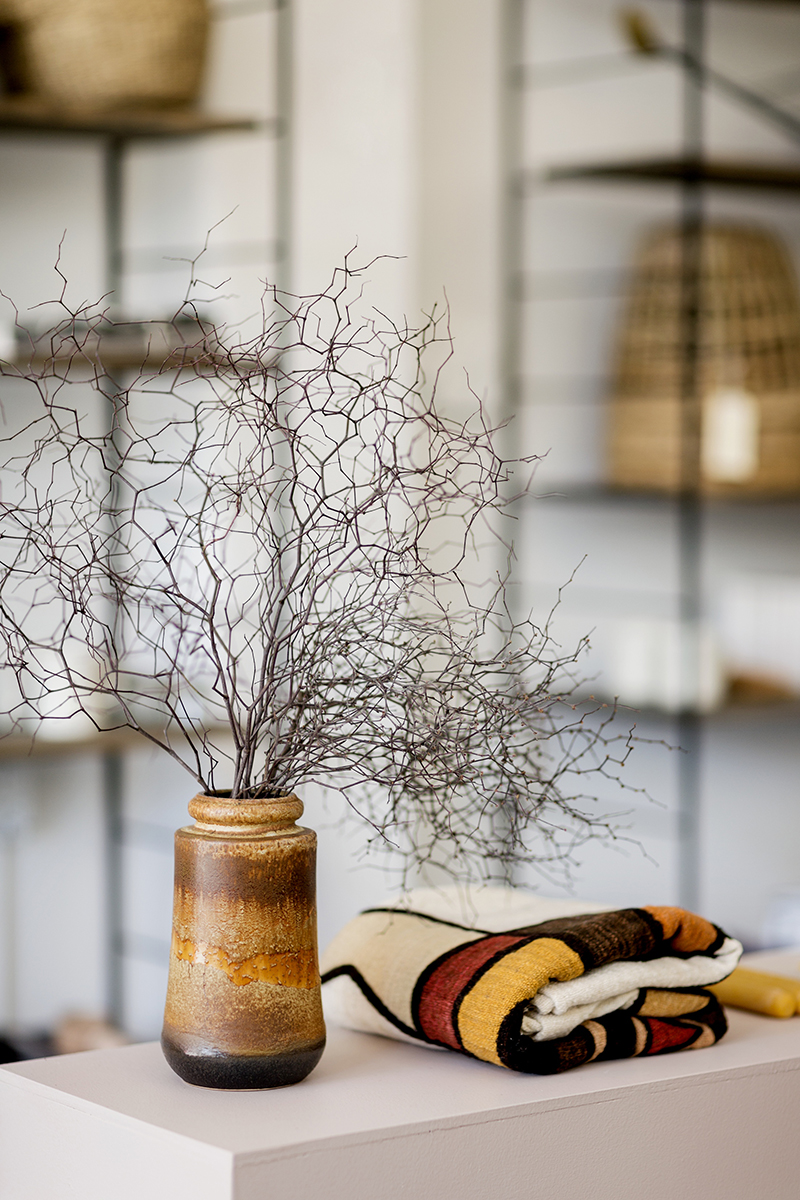
Next up we bought back our old favourite, Resene Black White, we knew it was the only choice for walls, giving us the gallery like feel we were after. We wanted the shop to feel open and fresh, to have space to let each item breathe and shine. Resene Black White went over the walls, bar our panelled back door and panel which I wanted to feature. ( You can see that a little in the top image ) we painted that in Resene Antidote, a new favourite, it’s a neutral almost nude like putty. I loved it so much we also painted our gallery like plinths in it too! The idea with the plinths was to  feature different products, to show them off in isolation to the rest of the mid-west general store type feel. Our floor to ceiling  shelves were made by the handy father and husband, Metal frames painted in Resene Flat Black, mirroring our giant industrial windows painted in the same. The pine shelves were stained in Resene Iroko, and the stain echoed in our large plywood counter.

When it came to the exterior we wanted to give a nod to the heritage of our city of Napier. An art deco feel, but bringing it into 2015. After multiple tests to find the perfect earthy, slightly muddied green we landed on Resene Siam.

All in all we are pretty chuffed with the outcome, and we hope you like it too!

To read more about the shop, our influences for the design and our journey between work and life go pick up a copy of the latest Homestyle! Or come and chat in store at 25 Dalton Street, Napier.

Also, keep your eyes peeled for my wreath DIY later in the week!

Until next time

BEFORE & AFTER | Laundry & Bathroom

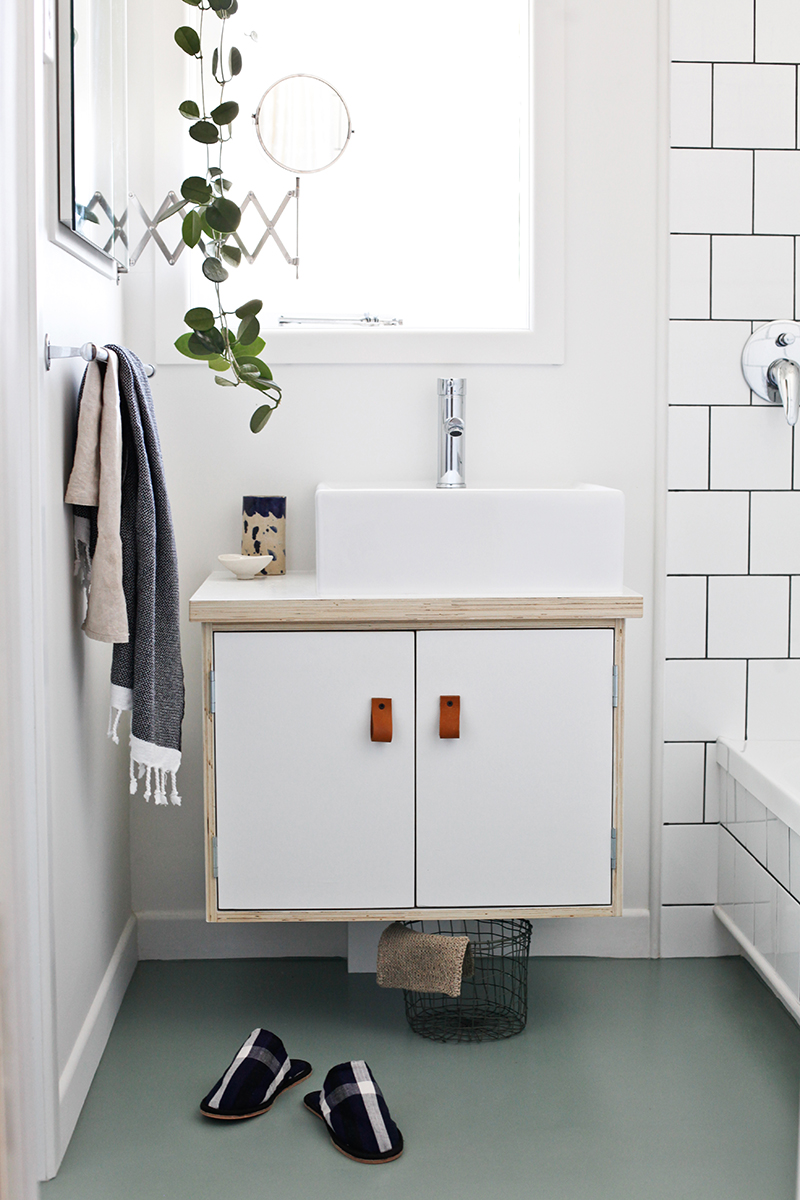
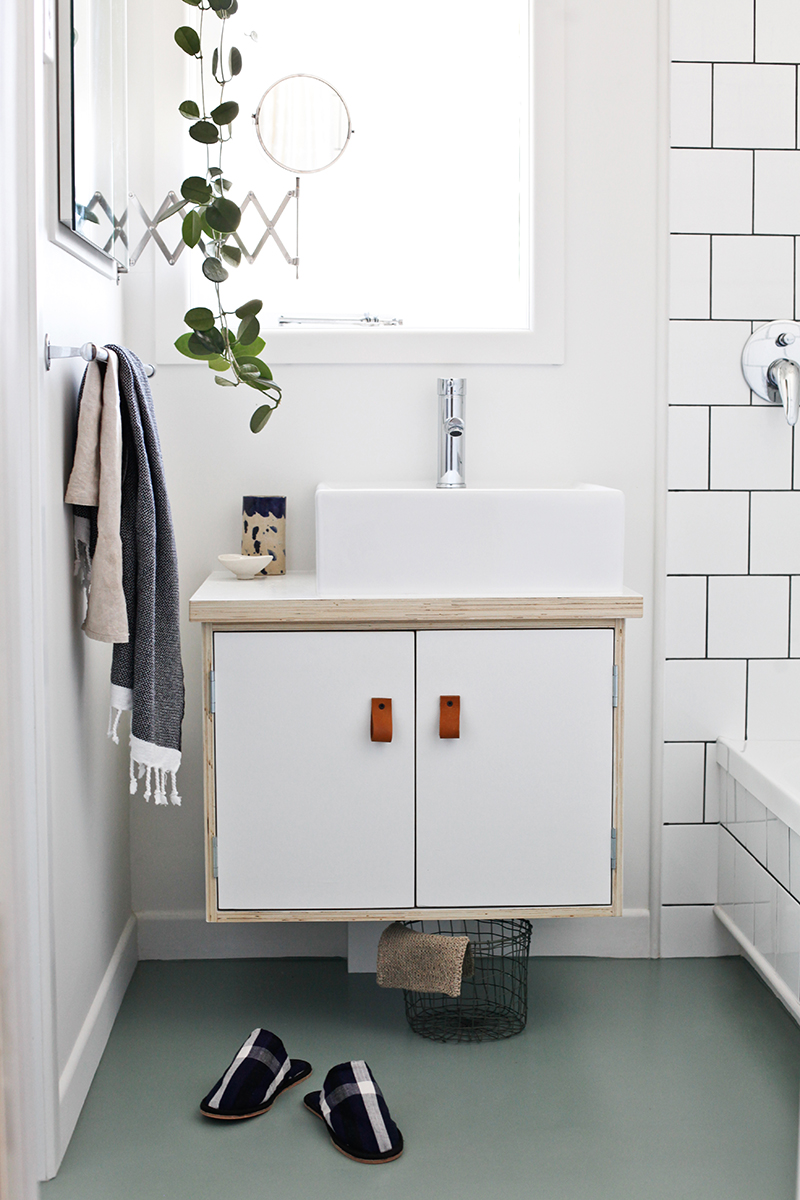
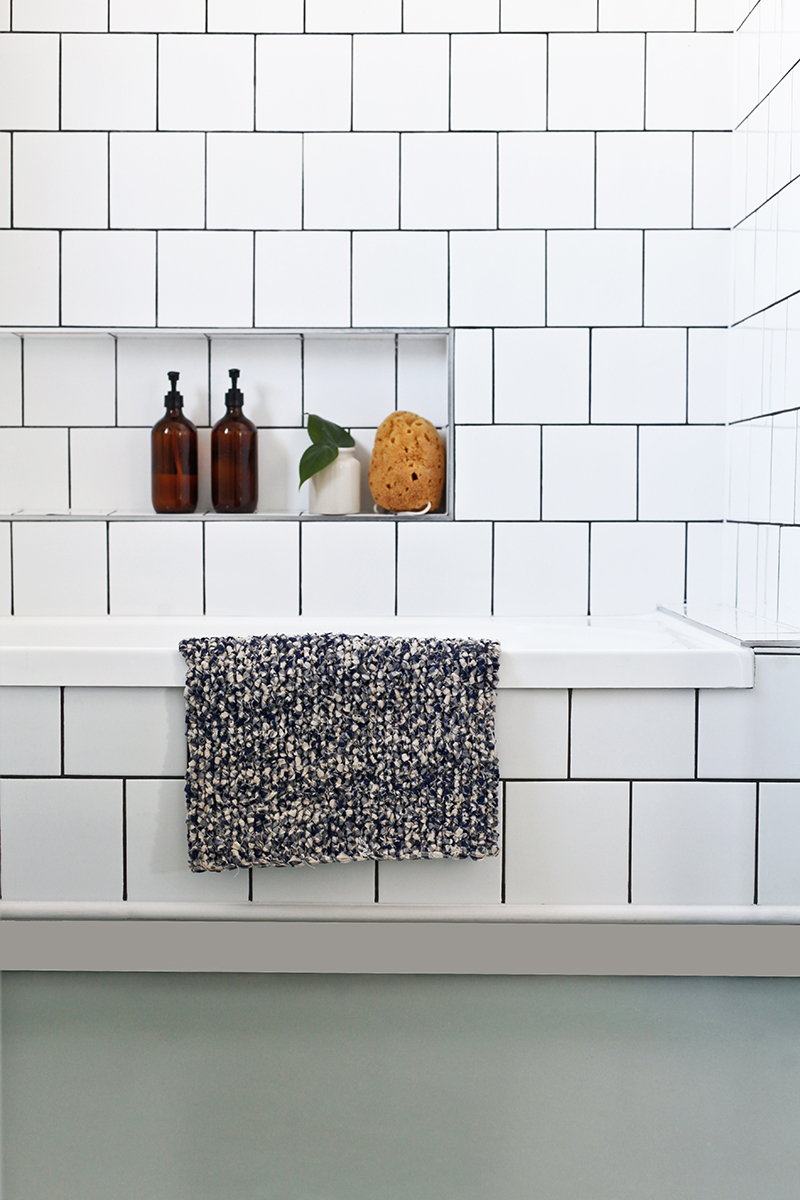
BATHROOMbefore BlackbirdBATHROOM1 BlackbirdBathroom2GET THE LOOK | Cape Cod bath towel by Ottoloom, $73.00, ottoloom.co.nz, Fog Linen basket $39.00, paperplanestore.com, Fog Linen Wash Cloth, $24.00, fatherrabbit.com, Indigo House Shoes, $135.00, mavisandosborn.com, Amber Shower Shower Bottles, $18.00, theblackbird.co.nz, Mediterranean Sea Sponge, $39.00, paperplanestore.com, Fog Linen Knitted Floor Mat, $89.00, fatherrabbit.com, Walls, Resene Alabaster, Vanity, Resene Double Alabaster, Floor, Resene Smoky Green.

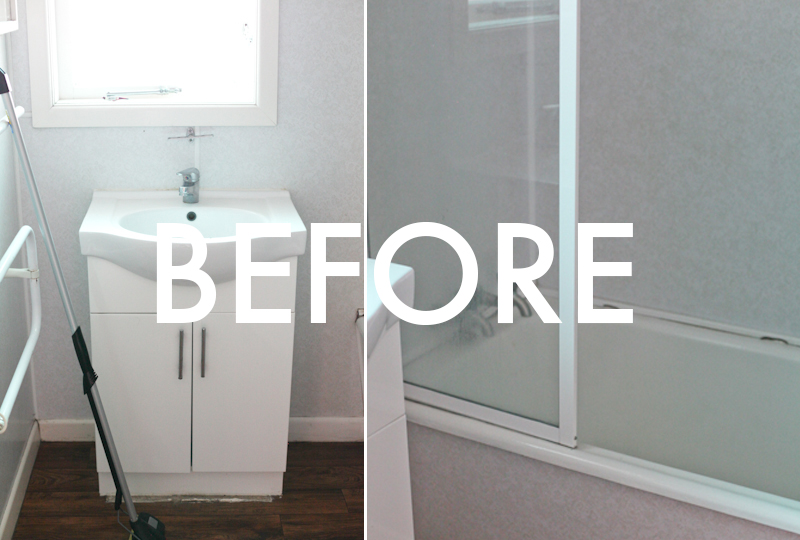
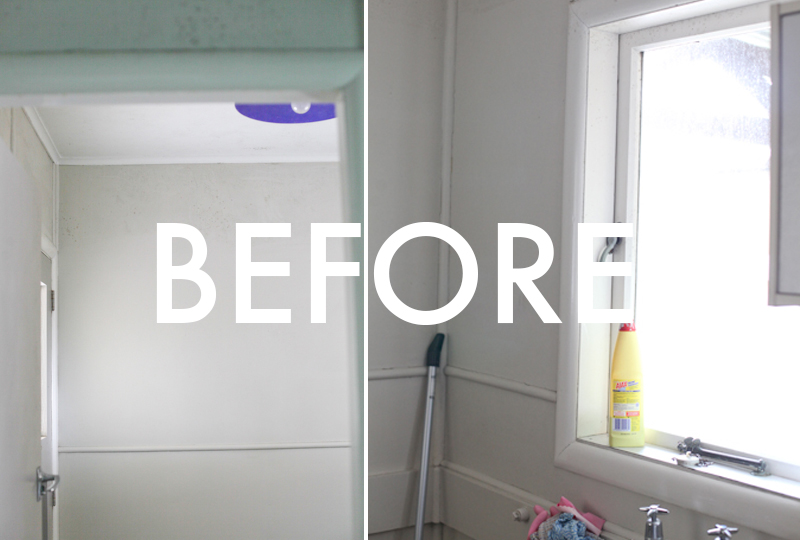
Good golly, she was a little rough when we saw her. And not much better after the move. The bath tub was stained and had sunken in the move south, in fact it was held together with duct tape for the first 4 months of living there. The walls pale blue were stained with years of mould, not quite the sanctuary that a bathroom should and with a square meterage of only 3m, we were now not only wrestling with budget but also with space. However, we aren’t one to shy away from a challenge.

Gutting the bathroom but keeping the plumbing in the same place was the key. We quickly disposed of the old enamel bath with it’s years of yellow stain and replacing it with a near new bath off TradeMe. Creating space without knocking down walls was a priority, so to maximise space we took off the existing inward opening door, replacing it with an old T&G door hung on industrial castors we found at the local wreckers. Choosing a recessed mirrored cabinet creates a sense of space and light and allows for added storage with out loosing precious elbowroom. Adding baskets under the vanity keep bits in bobs in place while looking sharp.

Deciding to make our own vanity to replace the previous eye sore was a relatively easy and cheaper option. After constructing the console out of plywood, we painted the face with Resene Double Alabaster and sealed it with Resene Graffiti Shield. Bringing back the DIY leather pulls, adding an off set ceramic basin and new tape ware we were done for under $300.00 . Once again following my hard and fast rule of fresh and clean we gibed and painted the walls in Resene Black White dressing up the floor in a dusty green, Resene Smokey Green. We also chose to tile, and went with a cost effective square tile adding texture with a charcoal grout, leaving us with a crisp new space at steal. Although it is not a task to be taken lightly, tiling yourself is achieve-able . Make sure you measure and then measure again, it’s all about that straight line. Playing around with grout can transform mundane into mod. TIP : The smaller your tile you use, the trickier the process. Using larger tiles leaves less room for errors.
BEFORElaundry BlackbirdLaunrdy BlackbirdLaundry2 BlackbirdLaundry3

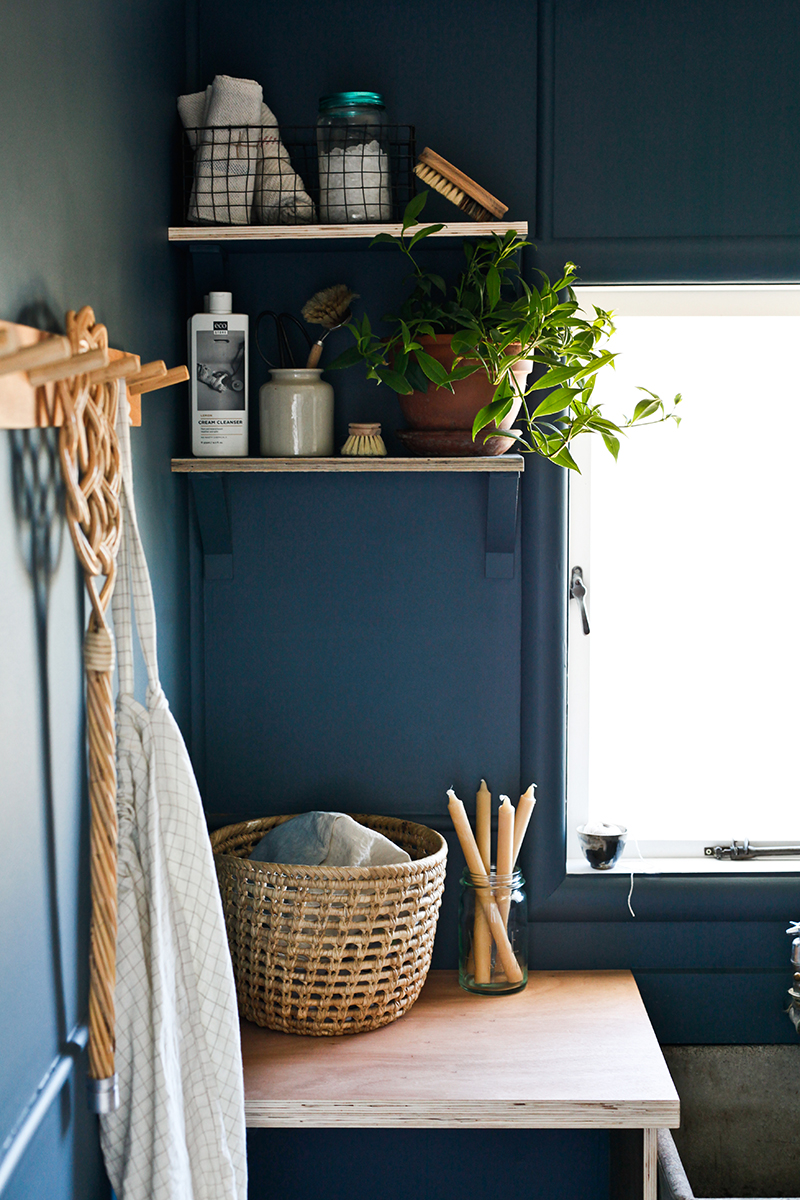
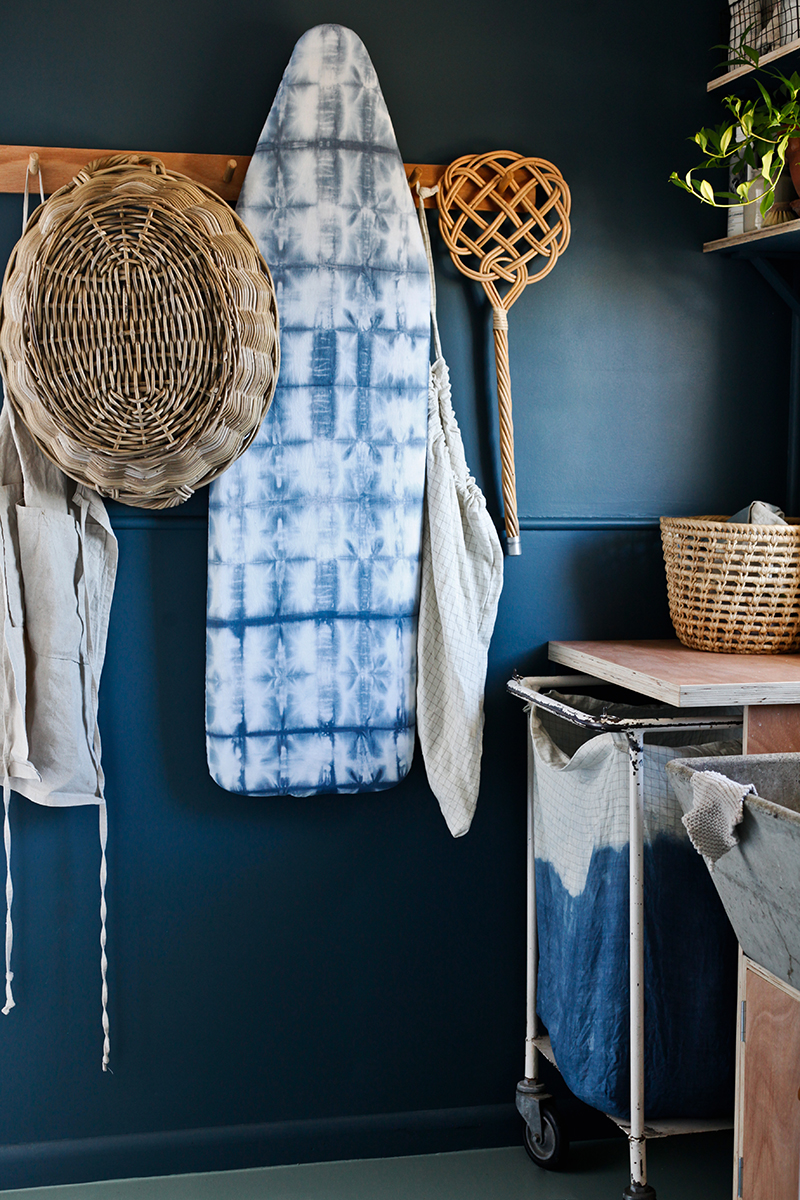
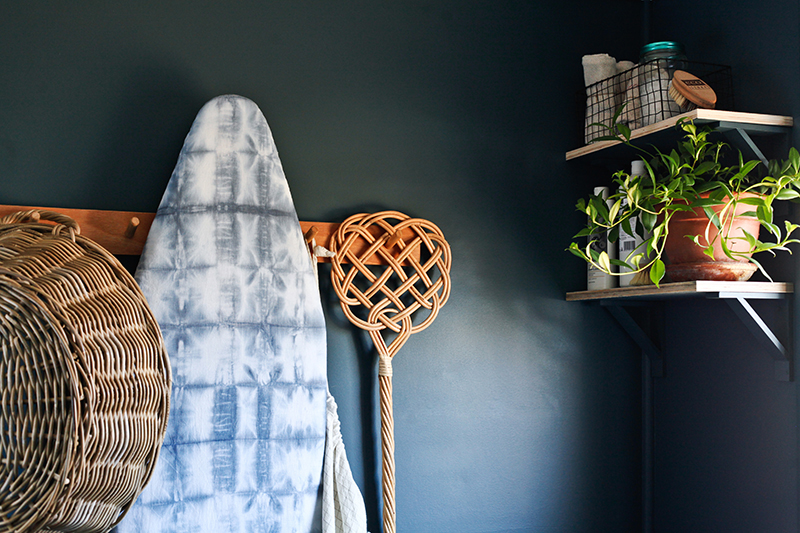
GET THE LOOK : Cane Laundry Basket, $70.00, theblackbird.co.nz , Linen Keep-All Bag, $88.00, theblackbird.co.nz, Carpet Beater, $39.00, paperplanestore.com, Fog Linen Basket, $36.00, fatherrabbit.com, Cleaning Cloths, $18.00 each, fatherrabbit.com, Scrubbing Brush, $$8.95, www.ecostoredirect.co.nz, Indigo Ceramic Bowl, $28.00, theblackbird.co.nz, Bees Wax Candles, $8.50 each, fatherrabbit.com, Walls in Resene Atomic, Floors in Resene Smoky Green, Everything else Stylist Own.

The laundry on the other hand wasn’t in extreme disrepair, just a little tired and in serious need of extra storage.

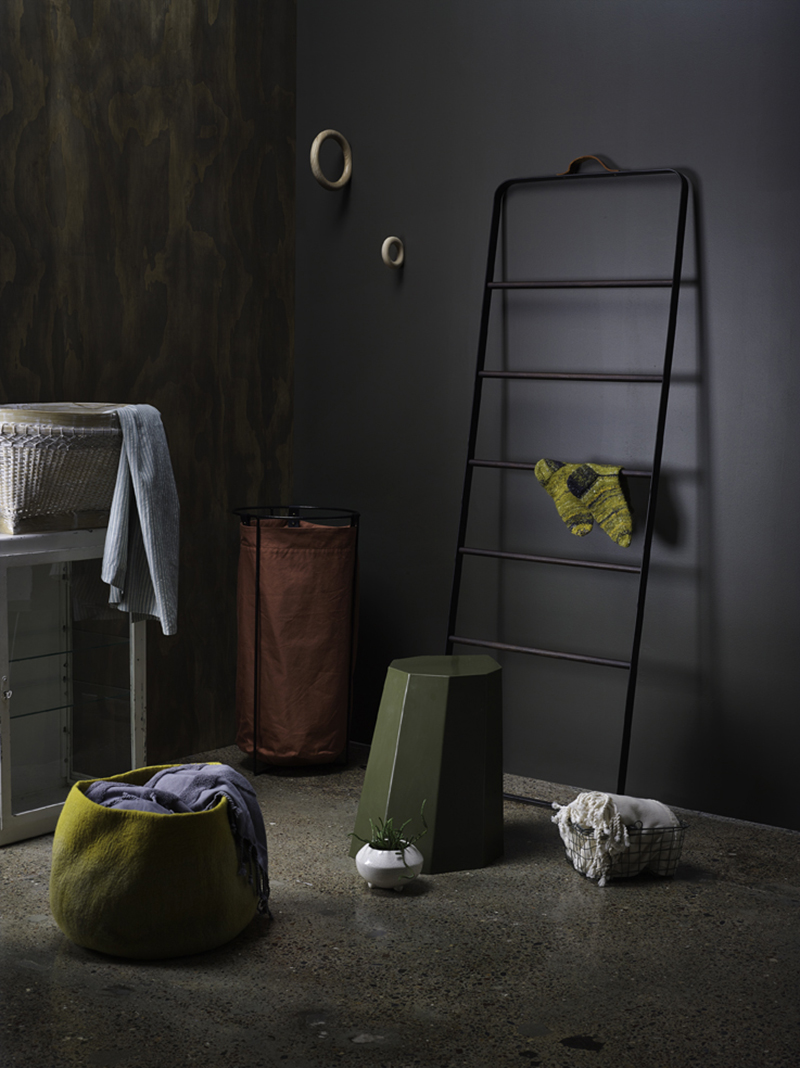
For most people the laundry is a dull and uneventful place not worth much musing, but I like a good laundry l. It needs to be practical, but also easy on the eyes. Opting to contrast the white on white house, and fulfil my yearning for a dark room,  we went for Resene Atomic on the walls, adding drama and complimenting the continued Resene Smoky Green floors. Pulling out the old tub we replaced it with a concrete tub from the wreckers on a built in plywood cabinet for hidden storage, and added a bench top for those extra bits and bobs. We decided to leave the plywood unpainted enhancing it’s natural tones and sealing it against any moisture with a satin polyurethane. Now back to practicality, the handy husband made brackets, shelves and a rail to hang everything from the laundry basket and ironing board to the carpet beater.

All in all, a bit of elbow grease and out of the box thinking left us with fresh new spaces at steal.


Until next time

BlackbirdBLOG-signature

The latest in Homestyle Magazine

7874_MoodyBathroom_1016797874_LightBathroom_101596SocialMediaPic12009842_907652639282250_4266082724219436687_n_MG_1663.11 _MG_1800.11

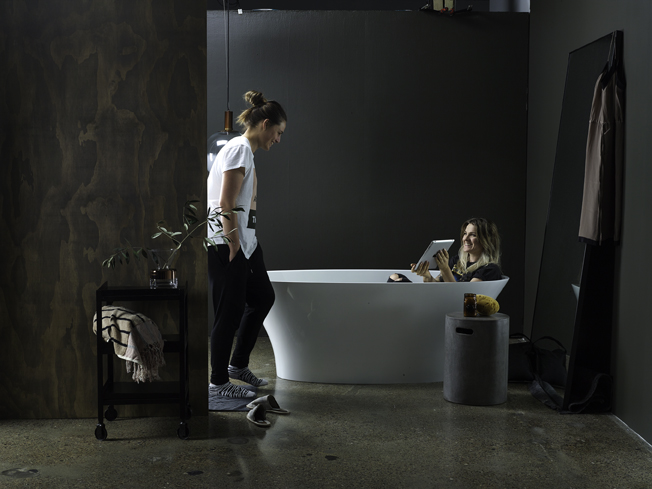
I realised the other day it has been a while since I did a work update. So here is a little peek. The latest Homestyle has hit the shelves and it is chocka with some of my favourite work to date. I took on the bathroom, playing with both Dark and Moody and Light and Bright, as well as a little fun behind the scenes with my girl Annique from Gezellig Interiors. Wrote my first Artist Profile on the talented Pamela Tinning, Did a little Shibori DIY and finished by showing off our freshly renovated Laundry and Bathroom! So all in all a jam-packed issue! As per usual, thanks for having me Homestyle!

Go grab a copy for the full features!

x

Gem