Tag Archives: HOME WARES

Lounge | Before & After, and finding the perfect standing lamp

IMG_4573 copyGem-007web _MG_1100 _MG_1092 IMG_9484 IMG_9538

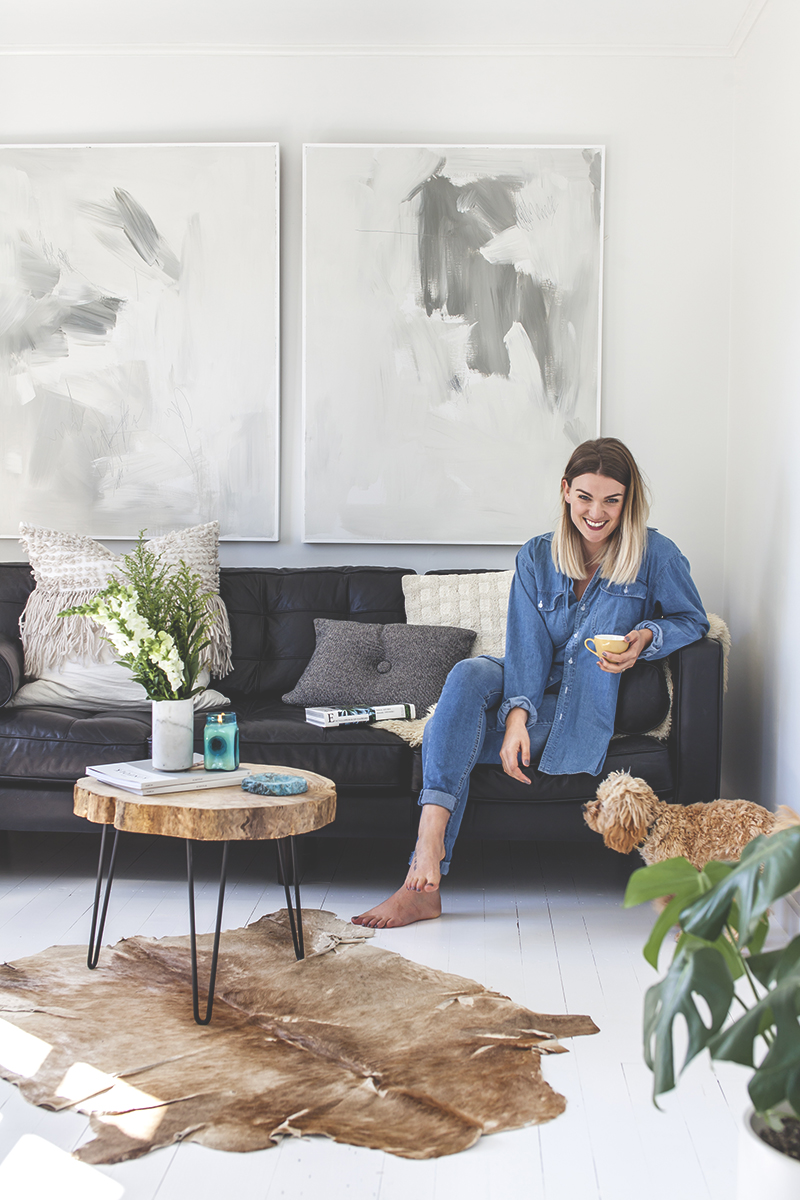
That beautiful capture of the pooch Frankie Blossom and I was snapped by the ever incredible photographer and gal pal Heather Liddell. All other photos by Blackbird.

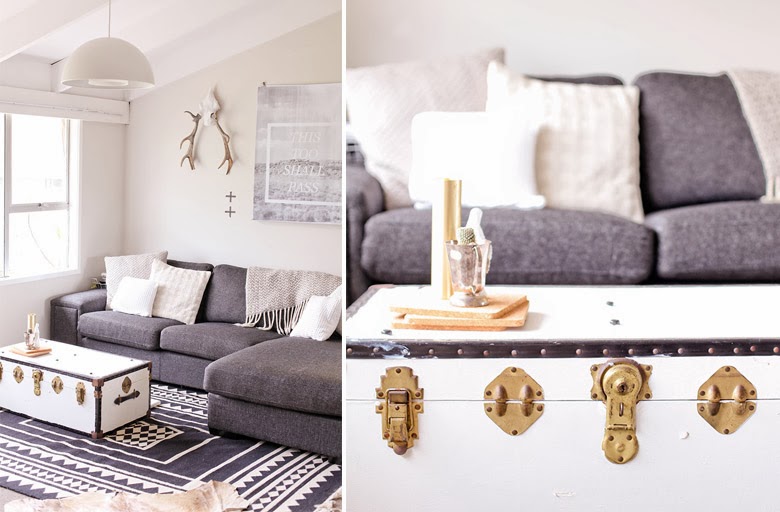
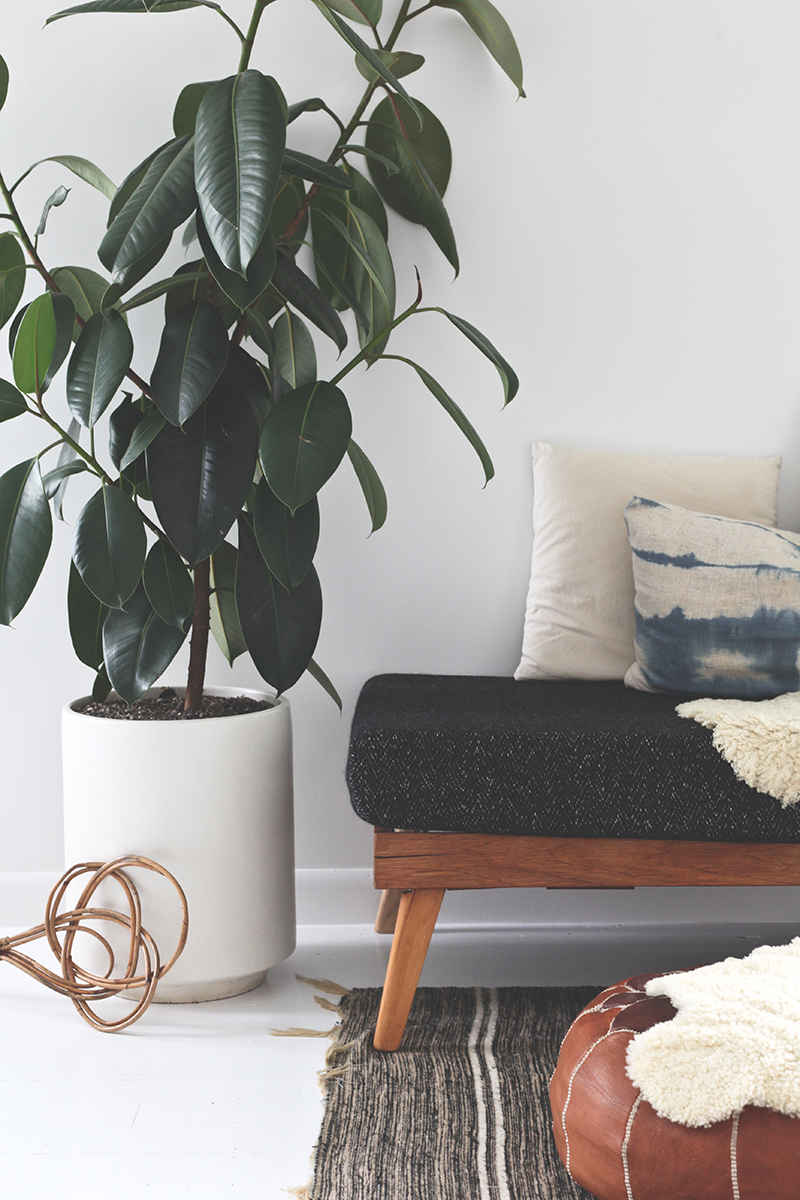
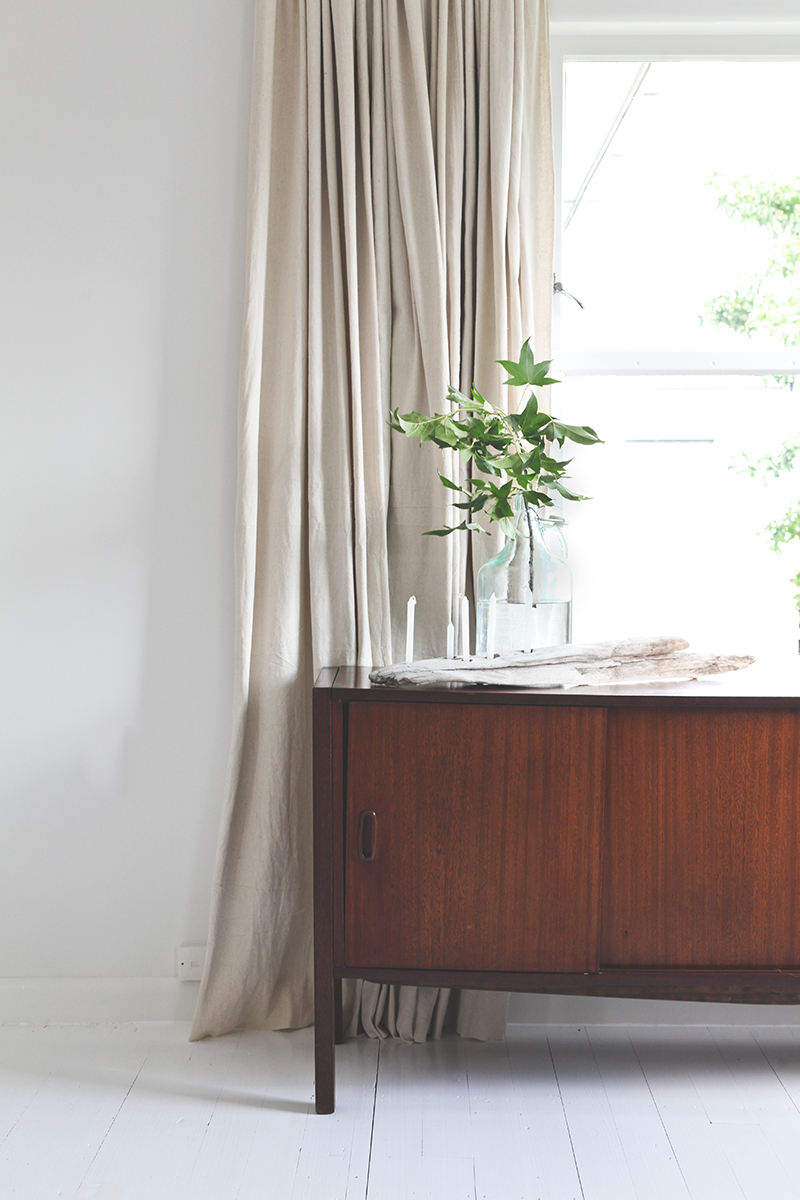
Artwork by Blackbird | Couch from Big Save | Tassel Cushion by Blackbird, | Tweed Cushion from Jamie Kay | Cream cushion old Country Road | Sheepskin from Lapco | Hide on floor from Lapco | Coffee Table by Blackbird & Co | Marble Vase old Country Road | Candle by Curio Noir | Shibori Cushion by Blackbird | Day bed refurbished by Blackbird & Co, covered in fabric from The Fabric Store | Cane chair vintage, Thrift store find | Grey Rug, vintage off Trade Me | Leather Moroccan pouf from Let Liv | Rubi lamp from Let Liv | Linen Look curtains are DIY with Drop cloths from here  | Sideboard, vintage off Trade Me | Driftwood Candle holder by Blackbird

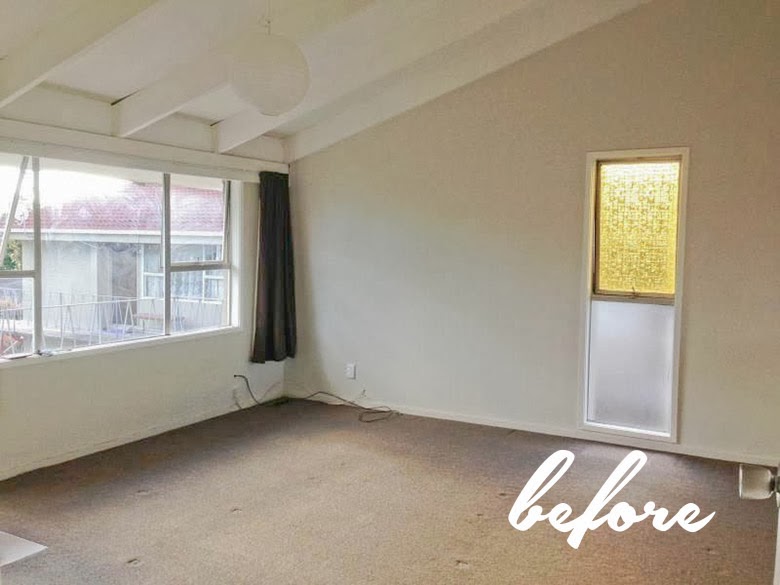
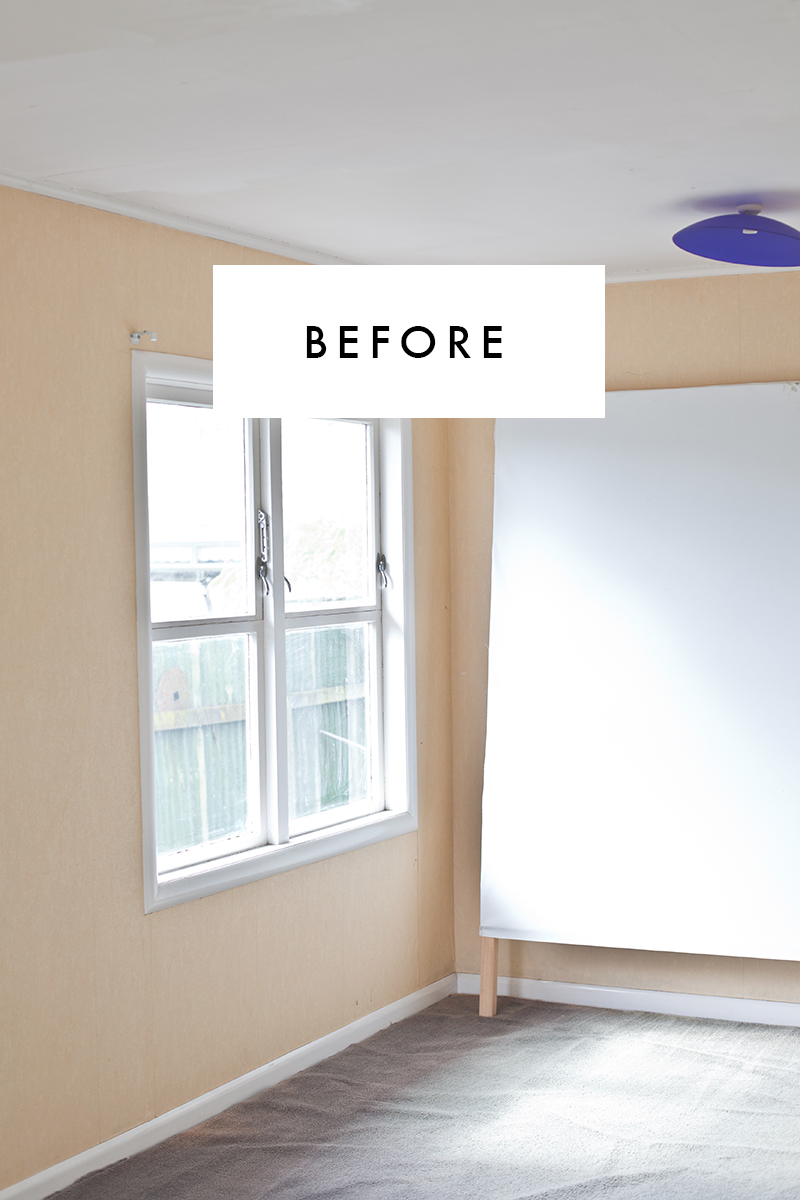
Nearly one year on, and it is incredible to stand back and see how much we have done, and how far we have come. With most of the major projects done, we have the hallway and spare room to go. Can you imagine, a finished house!?! Amazing.

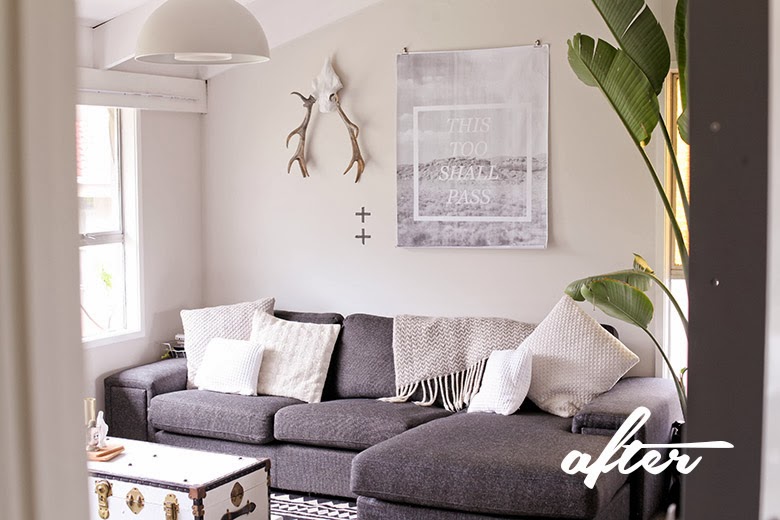
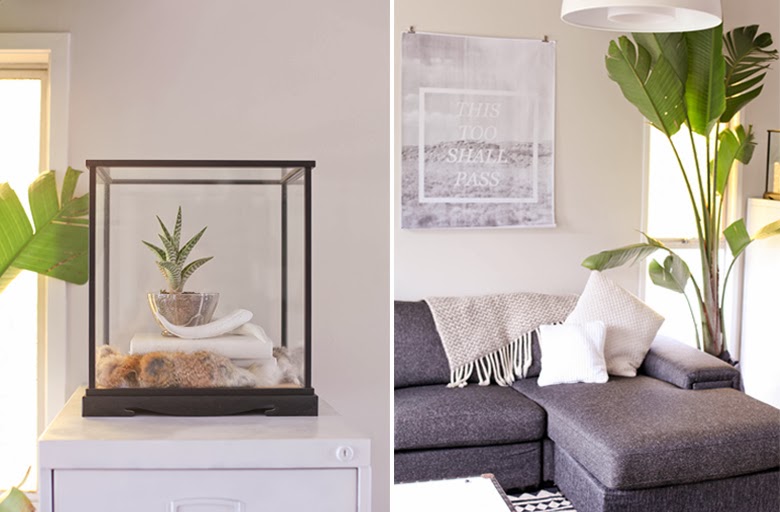
So here it is, in all her white on white glory ( Sorry to all the unpainted wood fanatics,  she was a mess under there ) . We adore living in this space, even with a dirty pawed dog. The floors are in Resene white in Enamacryll gloss, which wipes up in no time. And the walls in my favourite Resene Black White. White on white really gives the most amazing canvas to display all your treasures on. 

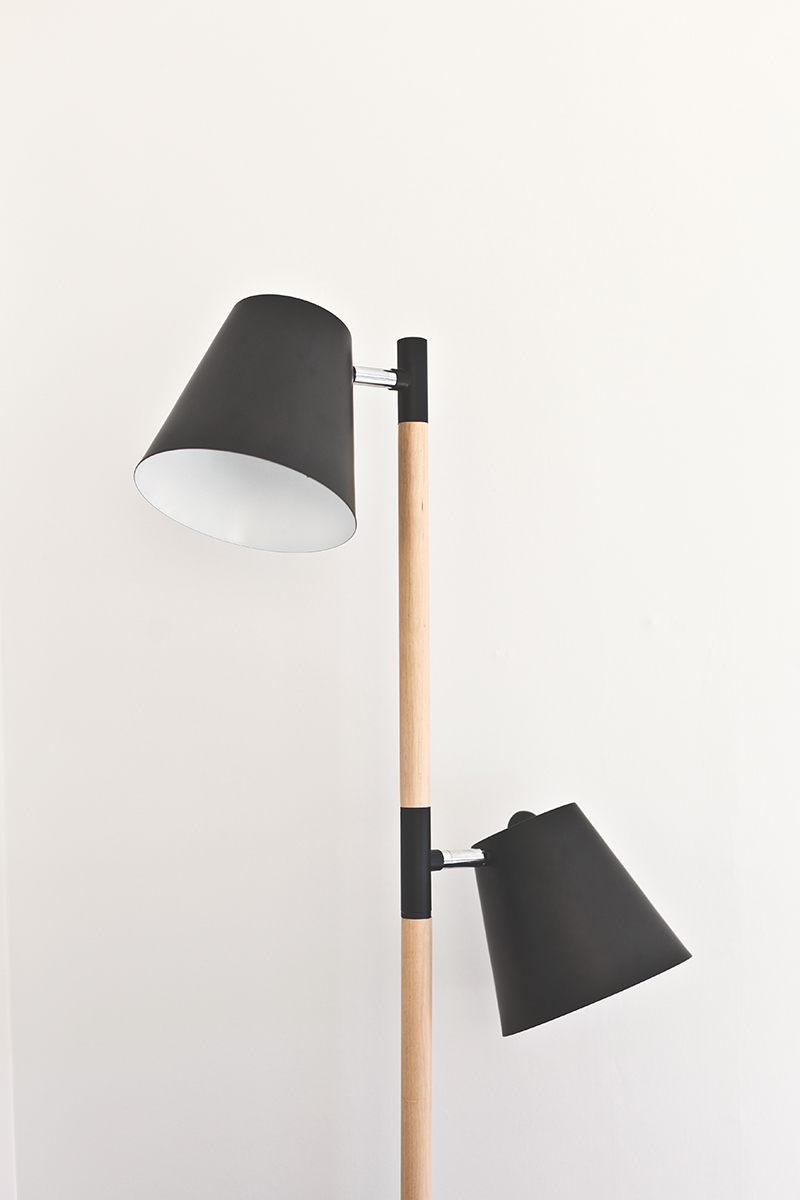
Now for that lamp. After searching high and low and finding others too modern, too vintage, too small or big, I found her. Rubi, the standing lamp by leitmotiv from Let Liv. The perfect clean lines with a nod to mid century. Perfection. Tying in nicely with our absolute find of the year, the 5th Avenue couch in leather from Big Save

Yep, we are pretty chuffed with how she turned out, and we must’ve done something right cause we made the cover

You can read more about our lounge by grabbing a copy of the latest Homestyle Magazine

Until Next time

BlackbirdBLOG-signature

MAKE IT | Rope basket diy

DIY rope basket BLACKBIRD BLOG

I am a storage enthusiast. A true advocate for ” A place for everything and everything in its place”. Maybe it comes from years on tour in cramped spaces, or living in open plan homes, or maybe I am just a little bit of a neat freak. Either way, storage and I are pals, and I am always on the look out for another kid to join the club.

Inspired by the talented and matching first name babe that is Gemma Patford I set out to make the perfect knitting basket!

IMG_8981

You will need :

10m of rope ( my basket had a 190mm diameter )

2 tablespoons of acrylic paint ( I chose Mackenzie from Resene )

2 cups of water

A bucket

A masher, or some sort utensil to push the rope down with

Sewing machine and thread ( I chose to keep mine the same colour as the rope, but you can choose whatever you like! )

step one

First, in your bucket mix the paint, two tablespoons of paint to 2 cups of water was the ratio I used, this way it absorbed but still had a dense colour. Next, loop your rope and dip into the bucket. Using your masher or other utensil,push down the rope so it is coated well. If you want crisp lines between the rope and paint you can always tape it.

IMG_8996

Squeeze out the excess water and paint mixture and hang it up on the line to dry, Make sure they are spaced out and don’t sit against each other. Once dry, your rope is ready to sew!

step three

Set your machine to zig zag stitch. Starting with a small coil  begin to sew, I found at this stage it is easiest to use the hand control on the sewing machine as it difficult to push it through a turn. continue sewing until you have the desired  diameter of your vessles base, I made mine 150mm.

steps four

Next, Turn the base on a right angle ( the more angle you use, the more abrupt the sides will be ) continue to sew. Once you are a few centimeters from the end, loop the rope back under itself and sew to finish. Voile! You’re finished! Now fill with any of those bits and bobs then sit back and admire.

IMG_9034

Until next time,BlackbirdBLOG signature

RENTAL RENO // Lounge Before & After

Hello November!

I know, once again it has been a while, I have been a busy bee, and I can’t wait to share what I have been doing! In the mean time, say hello to our ‘new’ lounge!

We were fortunate to move in to it with a fairly neutral colour. So I don’t know if this is a Reno as much as a cover up. The only ‘major’ change is the curtains, traded out for cream ones from the warehouse, and the light shade, which we already had from IKEA.

But keeping the tones light and bright made the room feel fresh. Adding texture in the cushions and throws creates depth. And hanging some artwork gives it some personality.

Now, listen, it does not have to be expensive. The artwork on the wall is a photo I took whilst in America, I put some script over it and took it to a printer, cost me $12 to get printed. Then I hung it up with a couple of bulldog clips and drawing pins. The antlers are from trade me and the crosses are washi tape.  Bam. Done, dusted, happy. So get hunting.

Until next time.

BlackbirdBLOG signature