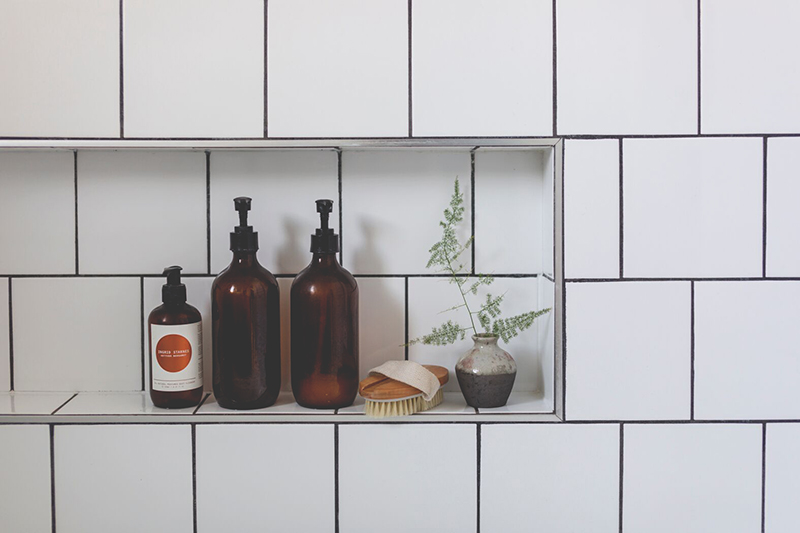
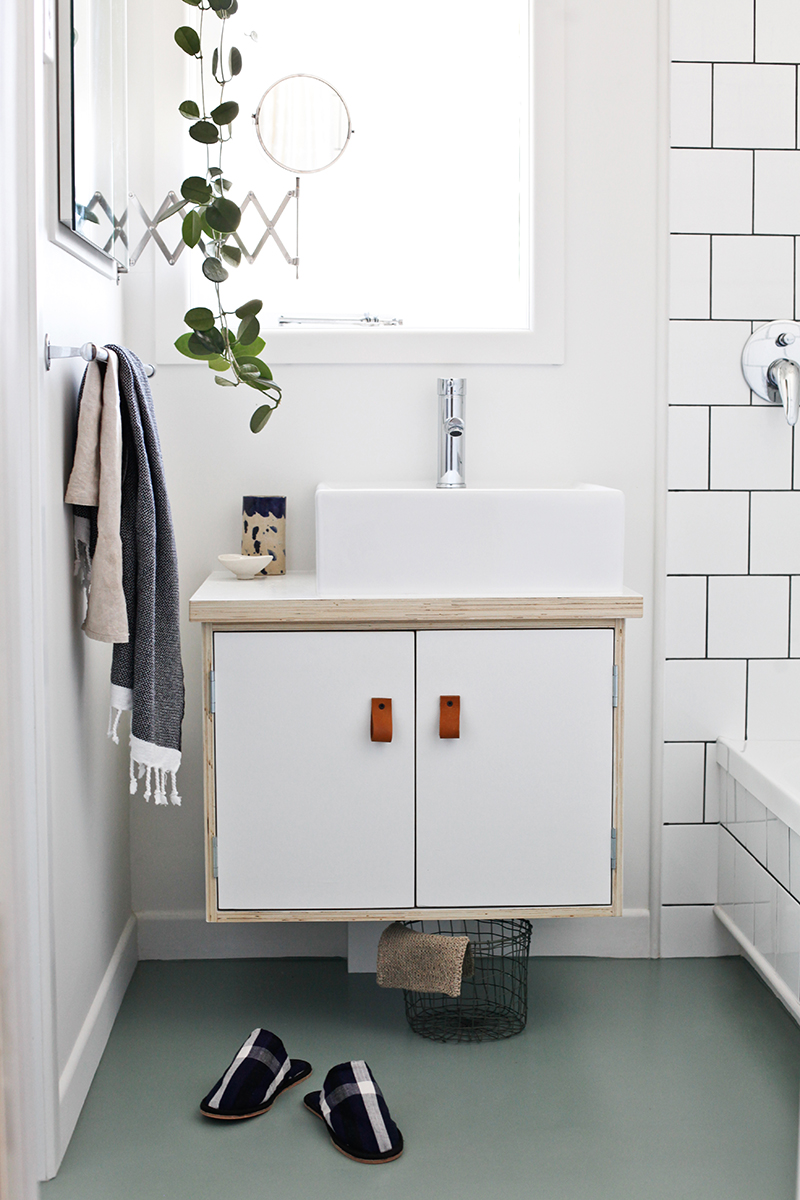
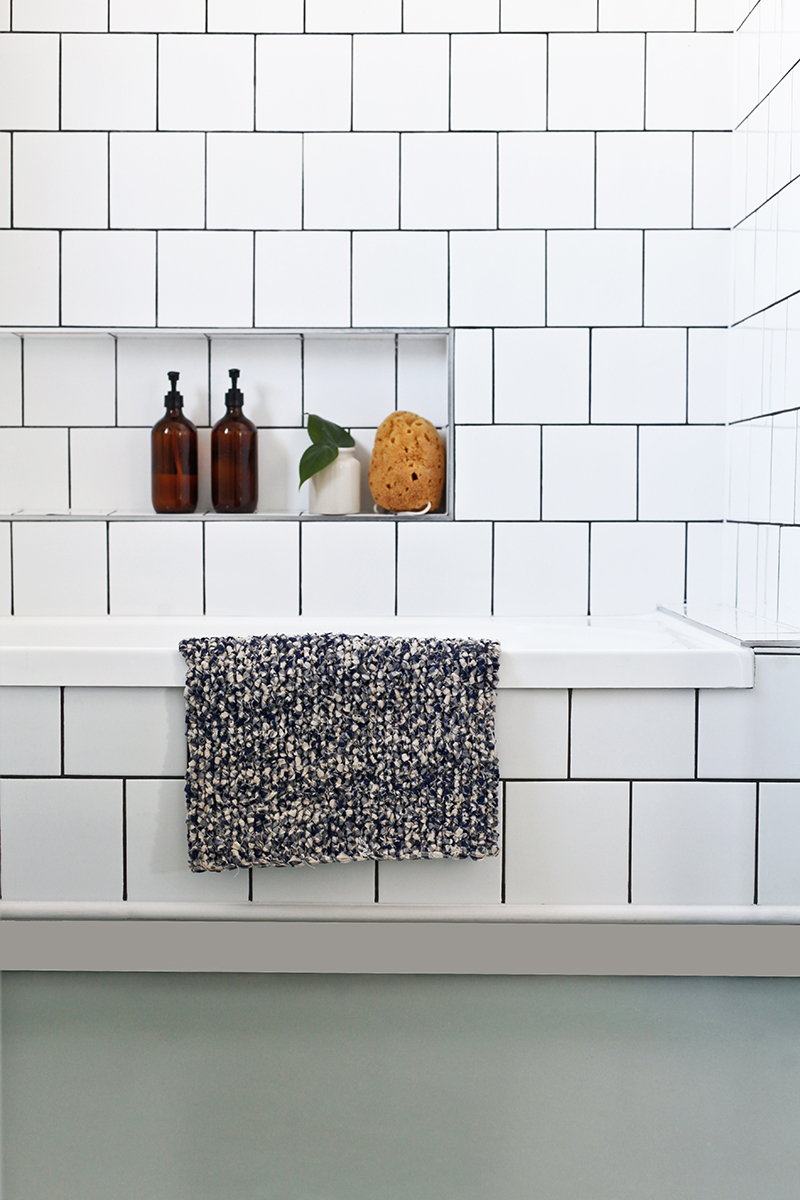
 GET THE LOOK | Cape Cod bath towel by Ottoloom, $73.00, ottoloom.co.nz, Fog Linen basket $39.00, paperplanestore.com, Fog Linen Wash Cloth, $24.00, fatherrabbit.com, Indigo House Shoes, $135.00, mavisandosborn.com, Amber Shower Shower Bottles, $18.00, theblackbird.co.nz, Mediterranean Sea Sponge, $39.00, paperplanestore.com, Fog Linen Knitted Floor Mat, $89.00, fatherrabbit.com, Walls, Resene Alabaster, Vanity, Resene Double Alabaster, Floor, Resene Smoky Green.
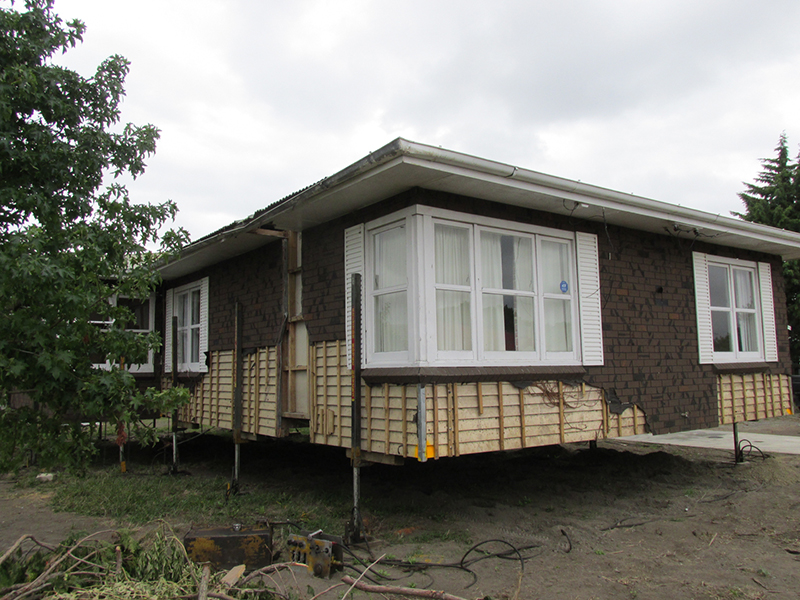
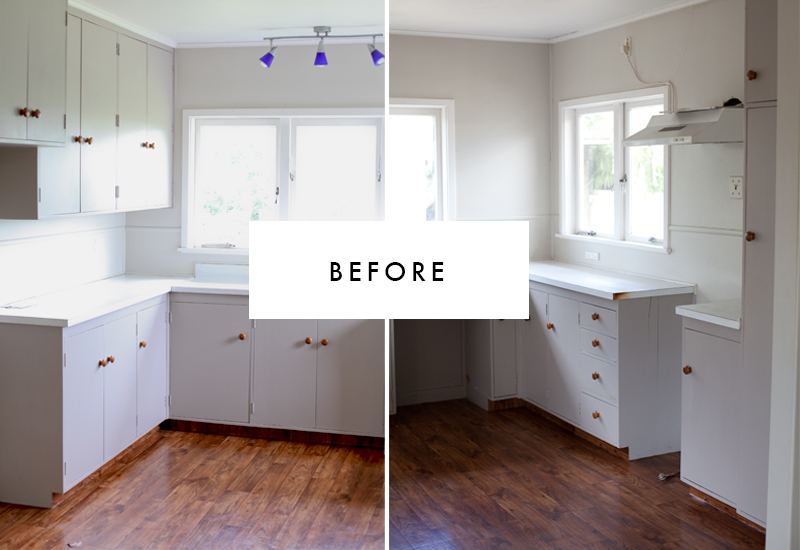
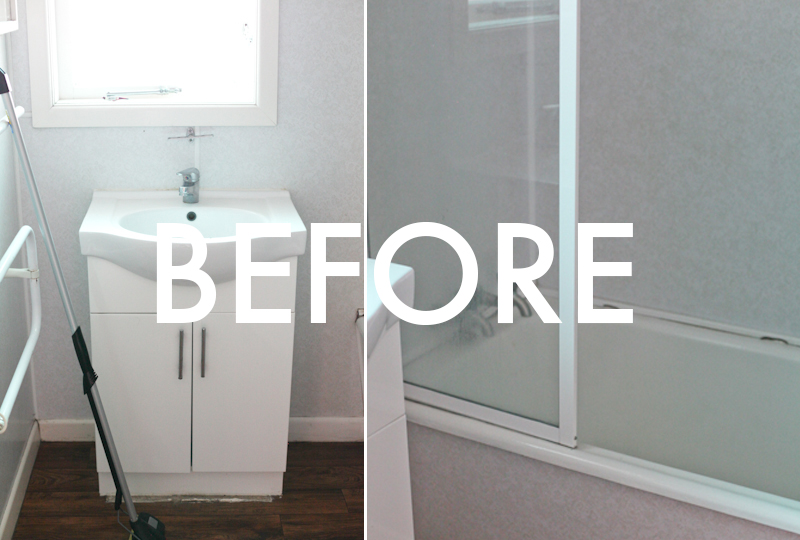
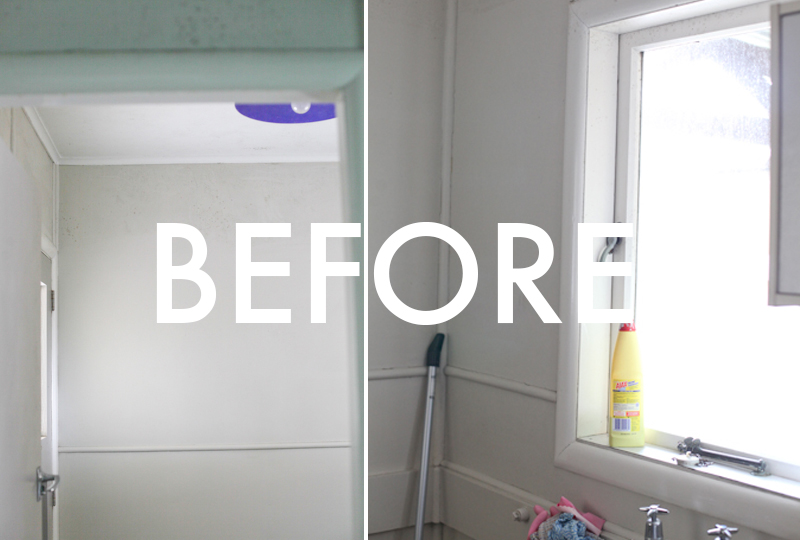
Good golly, she was a little rough when we saw her. And not much better after the move. The bath tub was stained and had sunken in the move south, in fact it was held together with duct tape for the first 4 months of living there. The walls pale blue were stained with years of mould, not quite the sanctuary that a bathroom should and with a square meterage of only 3m, we were now not only wrestling with budget but also with space. However, we aren’t one to shy away from a challenge.
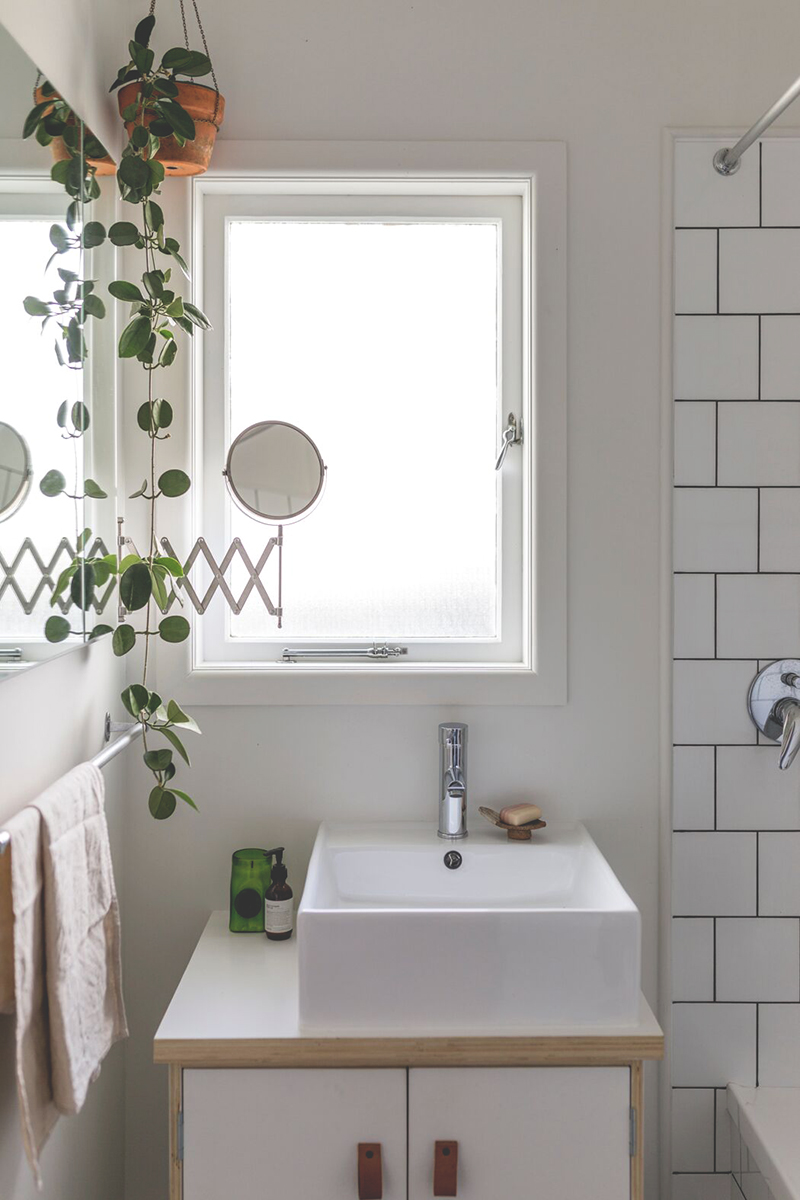
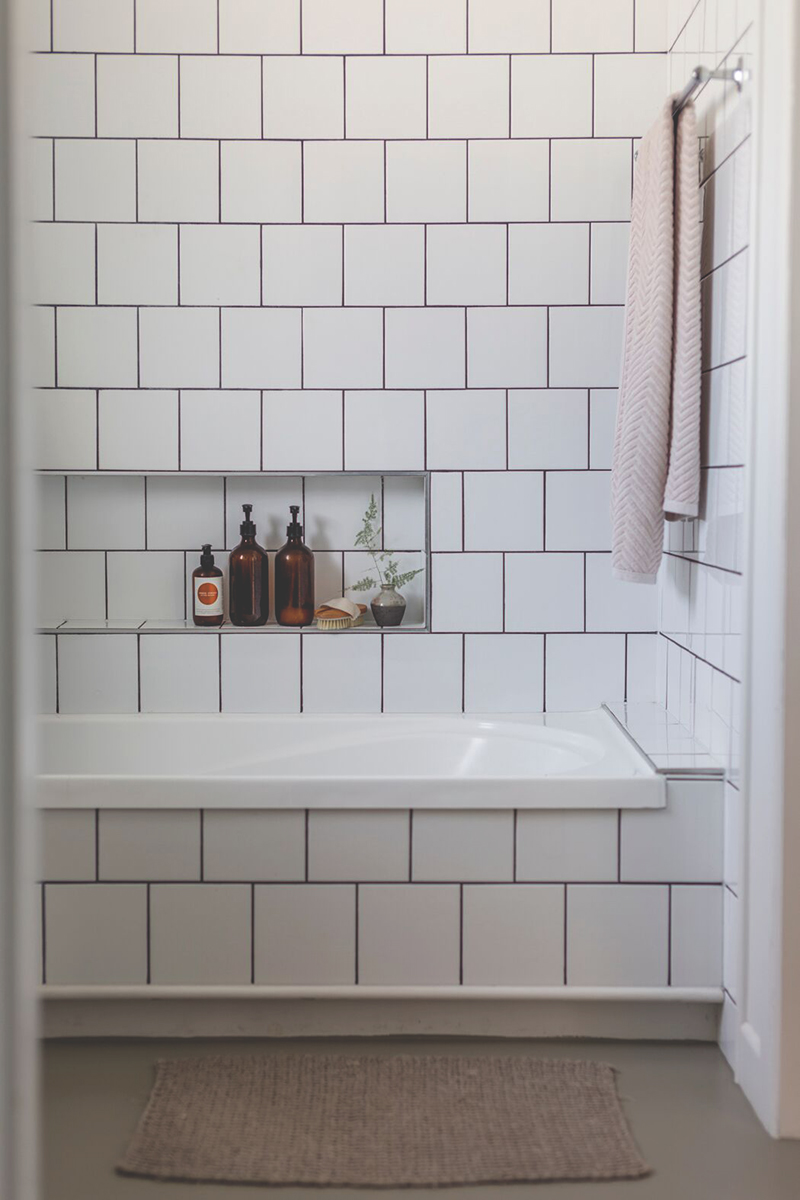
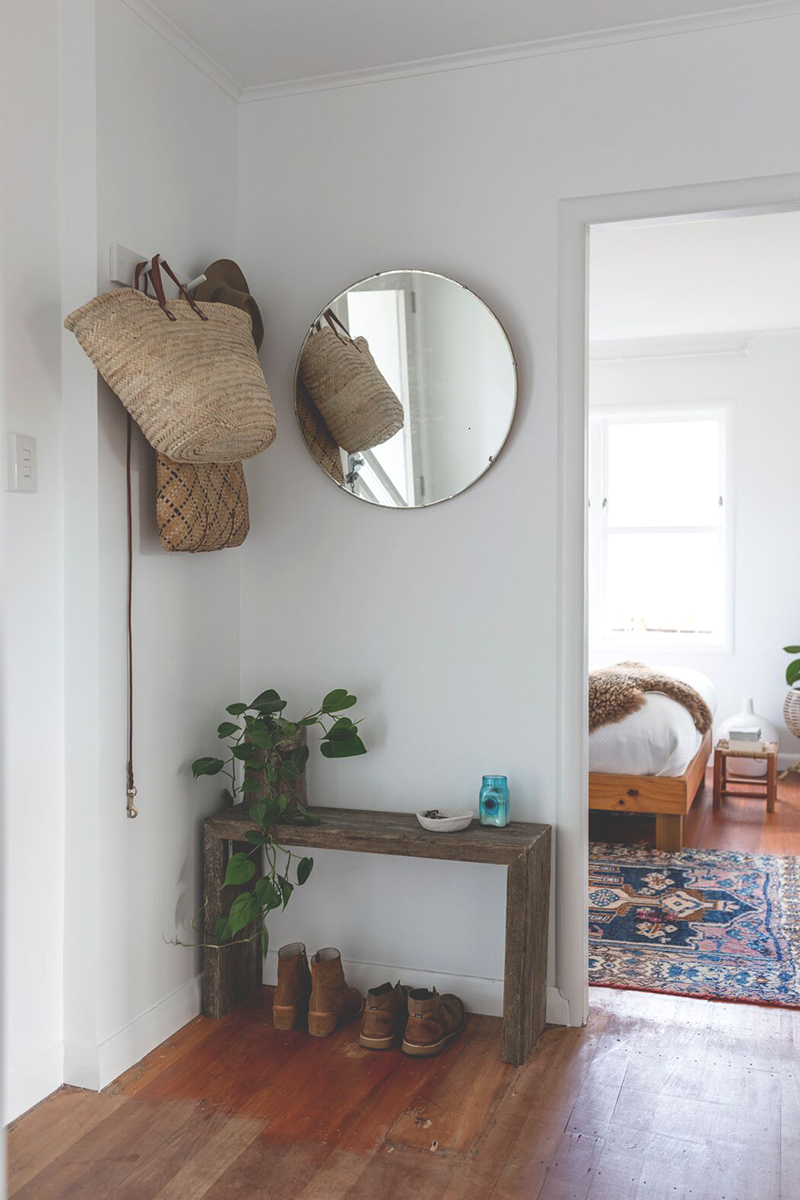
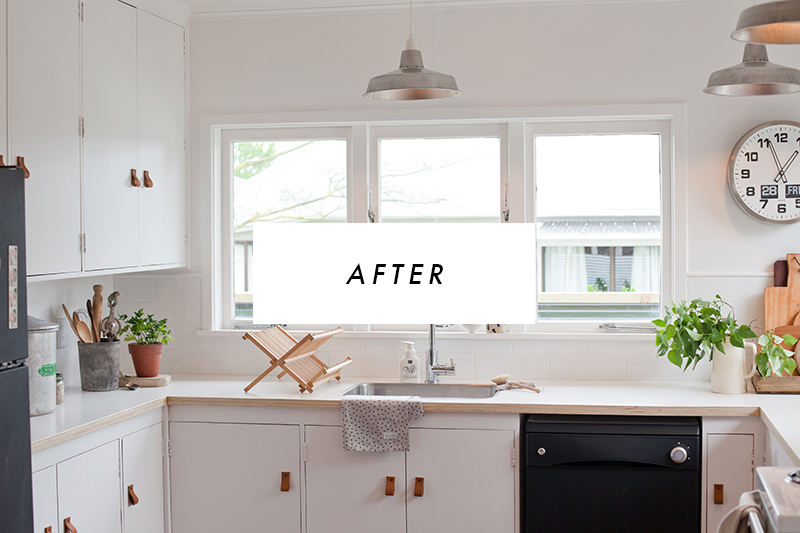
Gutting the bathroom but keeping the plumbing in the same place was the key. We quickly disposed of the old enamel bath with it’s years of yellow stain and replacing it with a near new bath off TradeMe. Creating space without knocking down walls was a priority, so to maximise space we took off the existing inward opening door, replacing it with an old T&G door hung on industrial castors we found at the local wreckers. Choosing a recessed mirrored cabinet creates a sense of space and light and allows for added storage with out loosing precious elbowroom. Adding baskets under the vanity keep bits in bobs in place while looking sharp.
Deciding to make our own vanity to replace the previous eye sore was a relatively easy and cheaper option. After constructing the console out of plywood, we painted the face with Resene Double Alabaster and sealed it with Resene Graffiti Shield. Bringing back the DIY leather pulls, adding an off set ceramic basin and new tape ware we were done for under $300.00 . Once again following my hard and fast rule of fresh and clean we gibed and painted the walls in Resene Black White dressing up the floor in a dusty green, Resene Smokey Green. We also chose to tile, and went with a cost effective square tile adding texture with a charcoal grout, leaving us with a crisp new space at steal. Although it is not a task to be taken lightly, tiling yourself is achieve-able . Make sure you measure and then measure again, it’s all about that straight line. Playing around with grout can transform mundane into mod. TIP : The smaller your tile you use, the trickier the process. Using larger tiles leaves less room for errors.
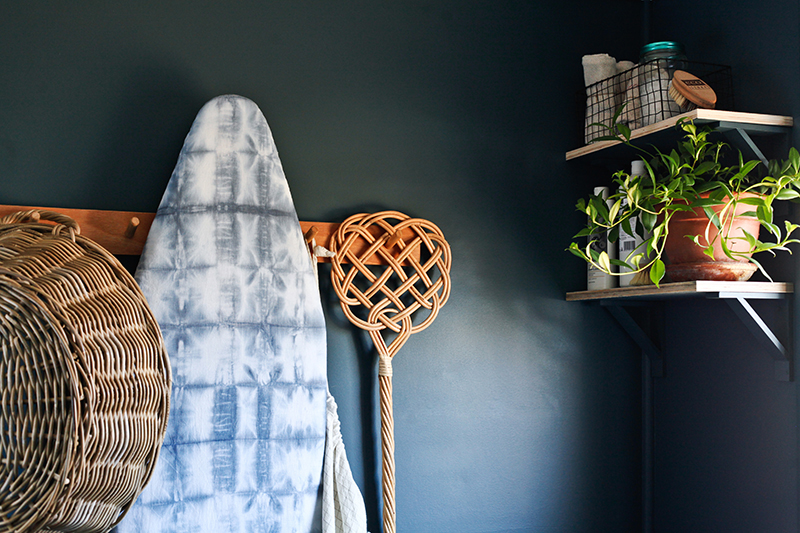
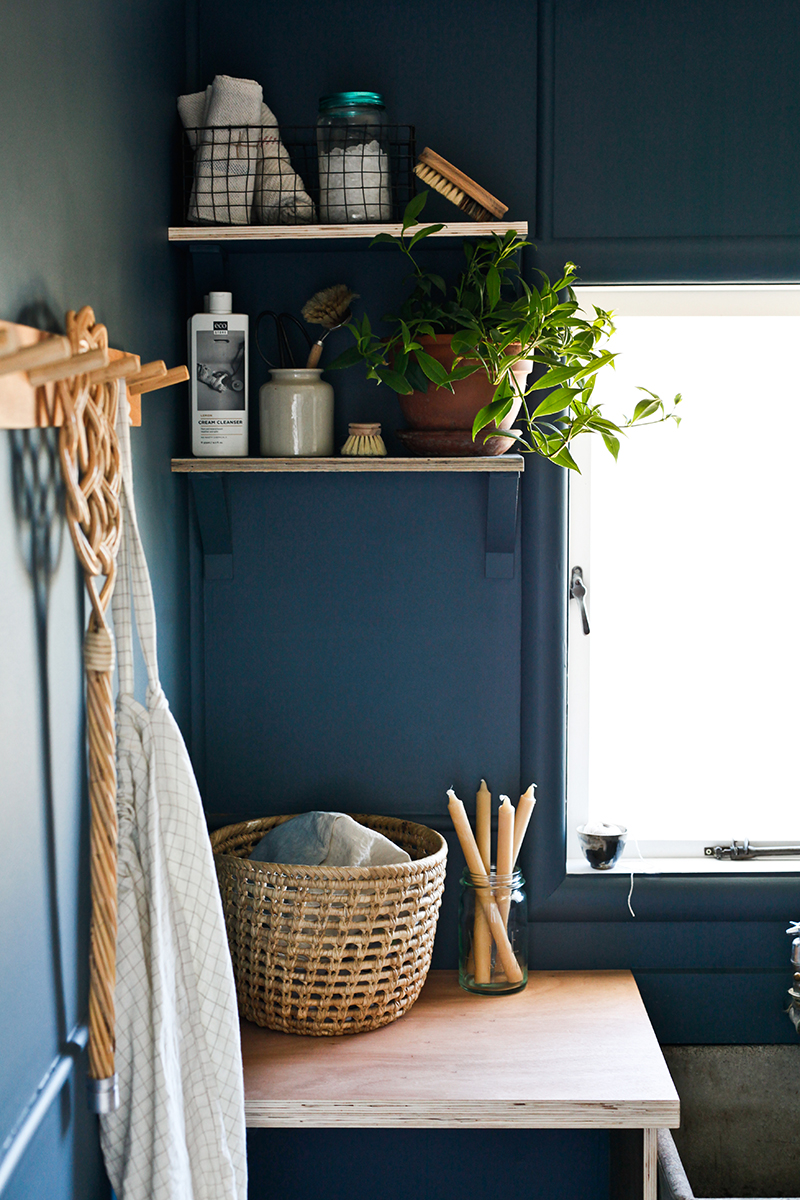
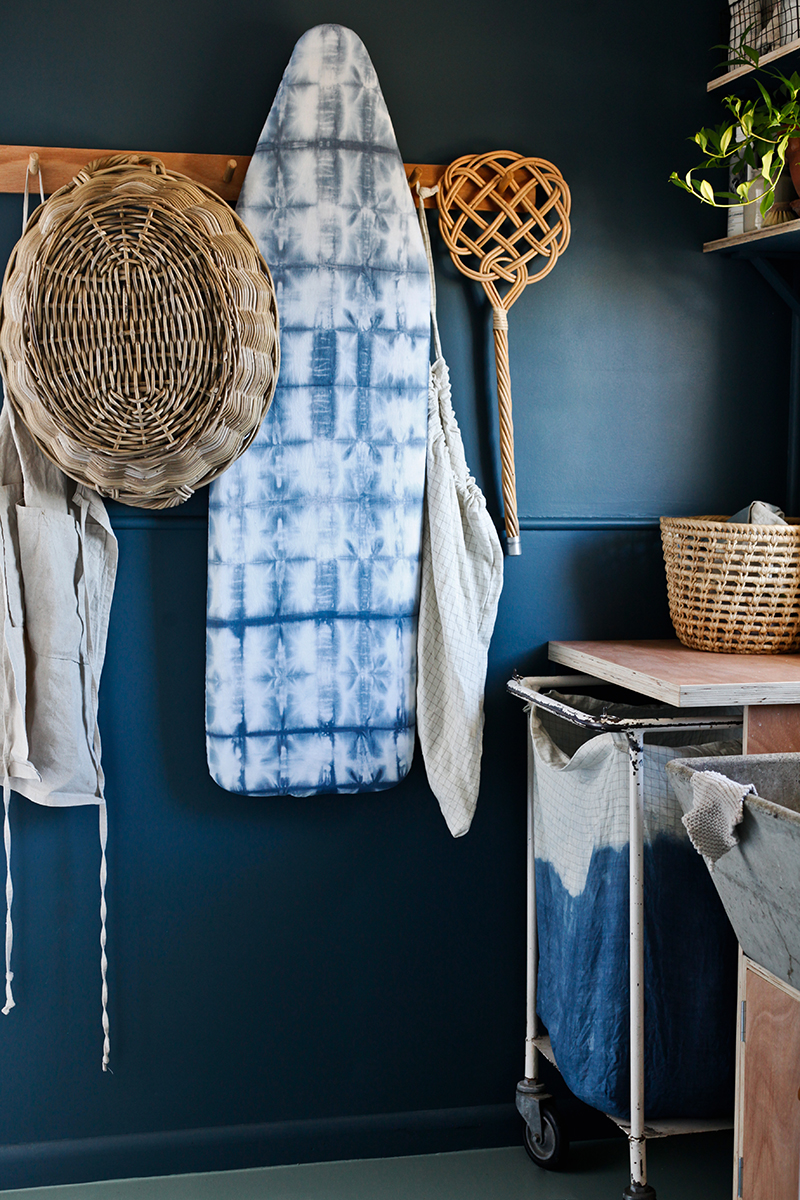
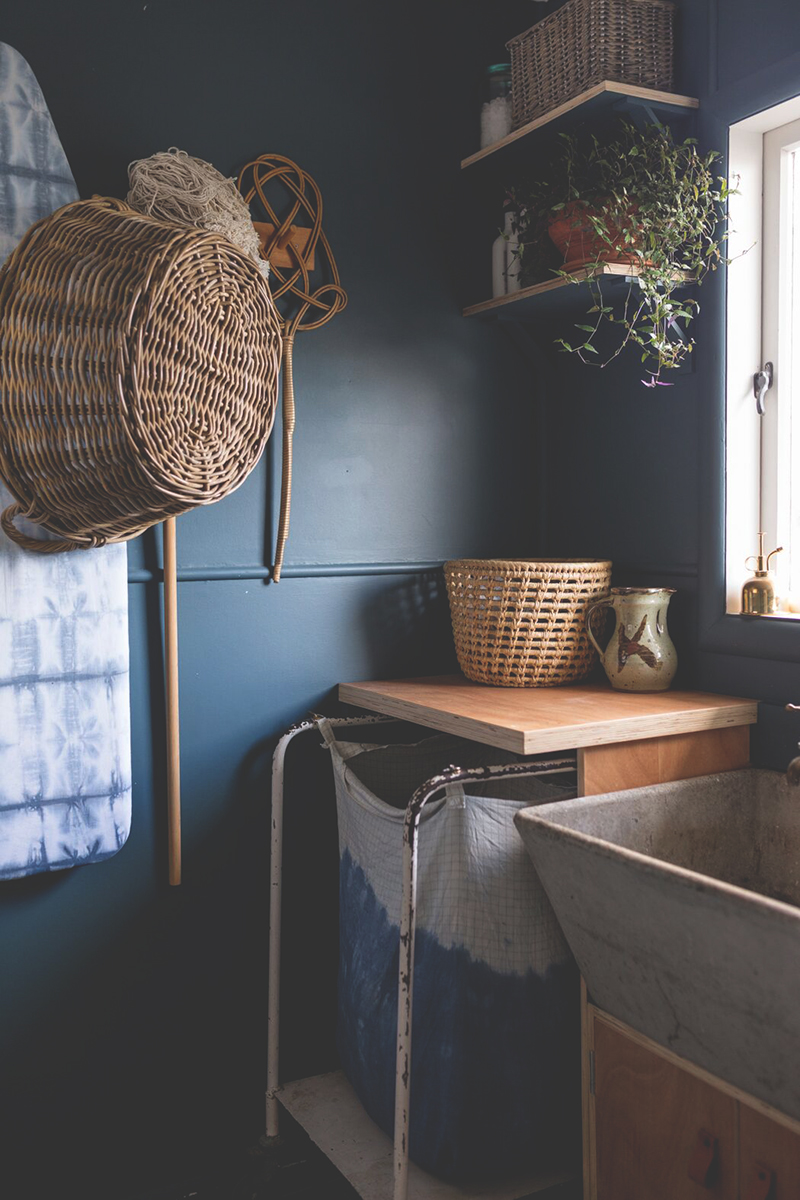
GET THE LOOK : Cane Laundry Basket, $70.00, theblackbird.co.nz , Linen Keep-All Bag, $88.00, theblackbird.co.nz, Carpet Beater, $39.00, paperplanestore.com, Fog Linen Basket, $36.00, fatherrabbit.com, Cleaning Cloths, $18.00 each, fatherrabbit.com, Scrubbing Brush, $$8.95, www.ecostoredirect.co.nz, Indigo Ceramic Bowl, $28.00, theblackbird.co.nz, Bees Wax Candles, $8.50 each, fatherrabbit.com, Walls in Resene Atomic, Floors in Resene Smoky Green, Everything else Stylist Own.
The laundry on the other hand wasn’t in extreme disrepair, just a little tired and in serious need of extra storage.
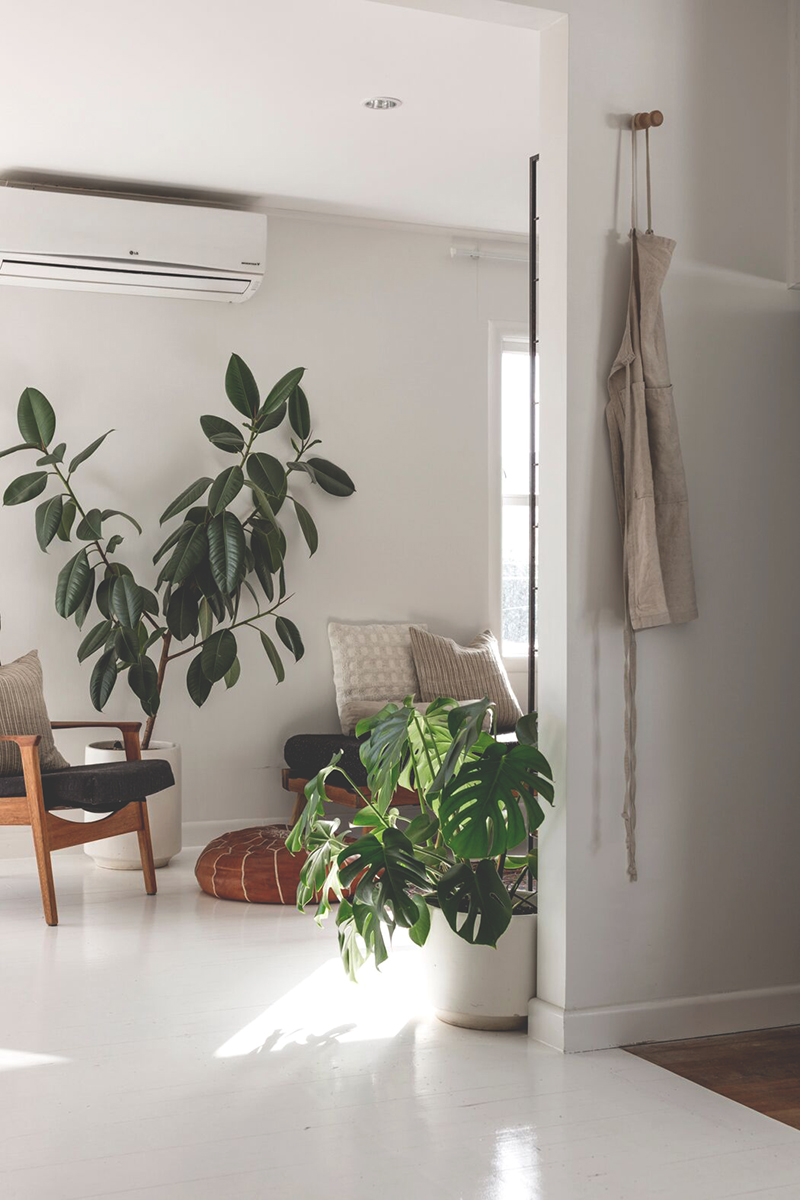
For most people the laundry is a dull and uneventful place not worth much musing, but I like a good laundry l. It needs to be practical, but also easy on the eyes. Opting to contrast the white on white house, and fulfil my yearning for a dark room, we went for Resene Atomic on the walls, adding drama and complimenting the continued Resene Smoky Green floors. Pulling out the old tub we replaced it with a concrete tub from the wreckers on a built in plywood cabinet for hidden storage, and added a bench top for those extra bits and bobs. We decided to leave the plywood unpainted enhancing it’s natural tones and sealing it against any moisture with a satin polyurethane. Now back to practicality, the handy husband made brackets, shelves and a rail to hang everything from the laundry basket and ironing board to the carpet beater.
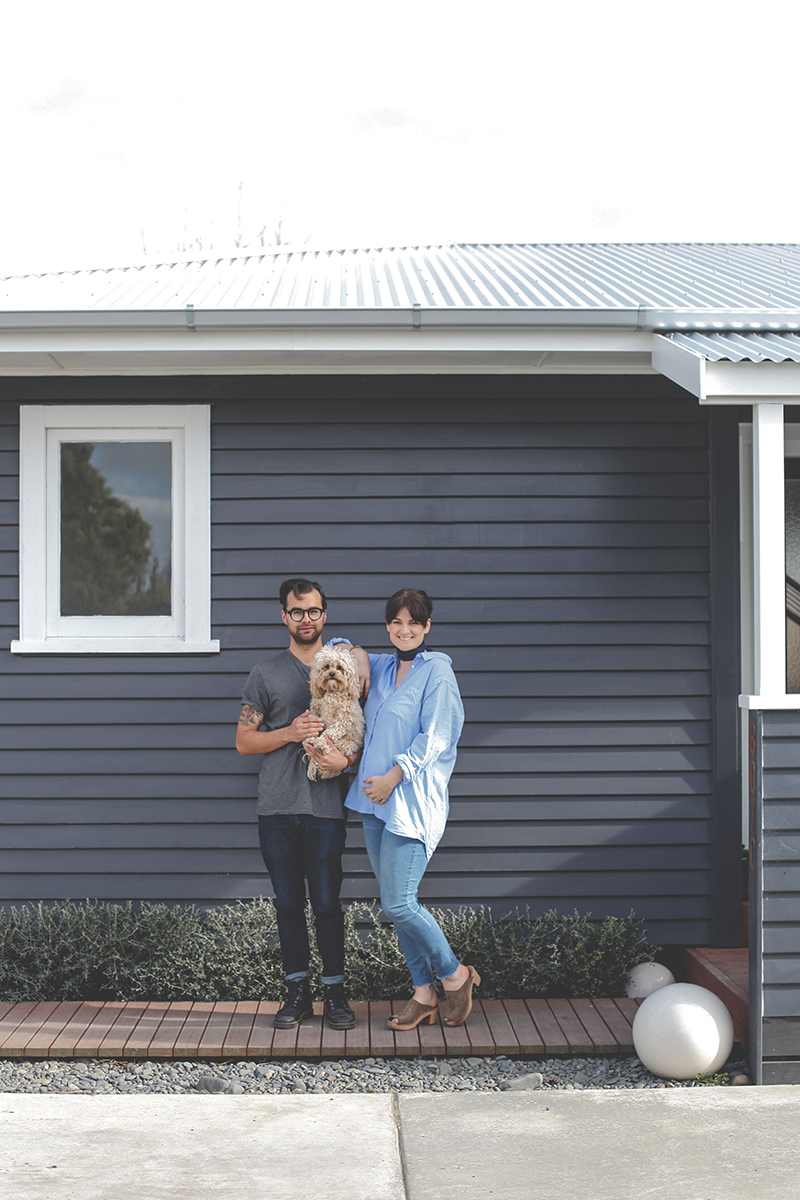
All in all, a bit of elbow grease and out of the box thinking left us with fresh new spaces at steal.
Until next time